Hello lovelies! Today I am going to show you how to throw a slammin' Wine Tour Bachelorette Party for that special bestie in your life! Planning a bachelorette party can be overwhelming, but if you follow these 5 simple steps, you are sure to host an event everyone will be talking about.
Step 1: Scout out the locale
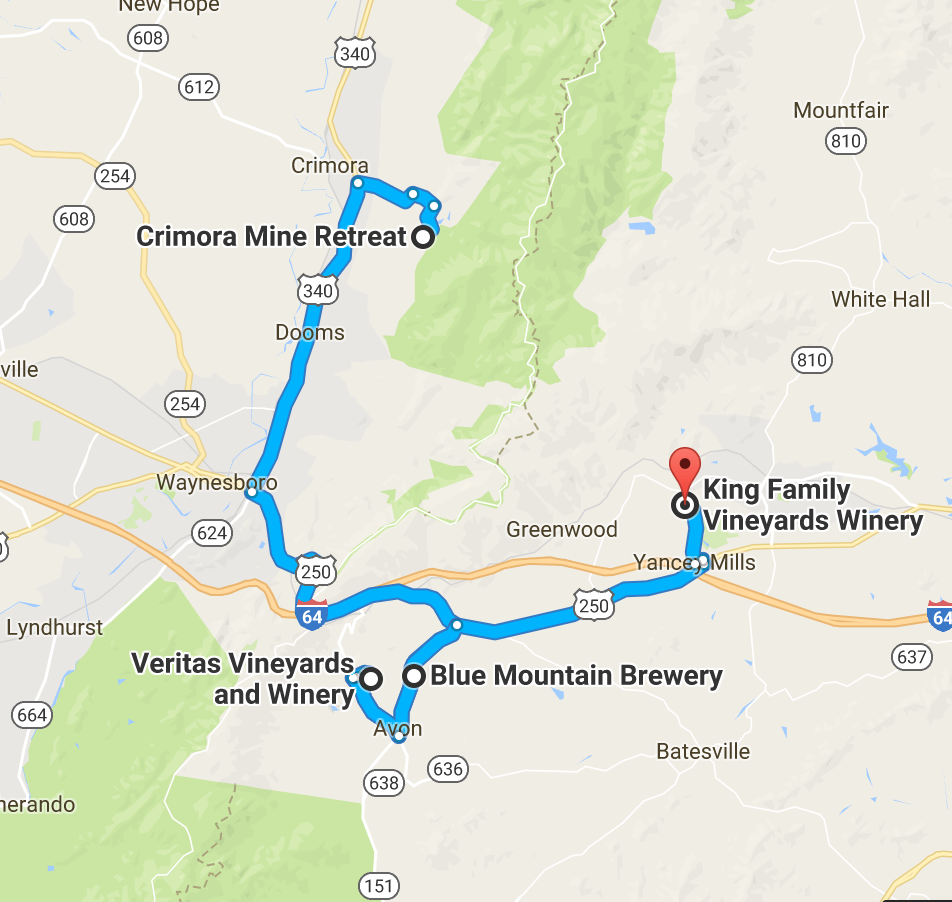
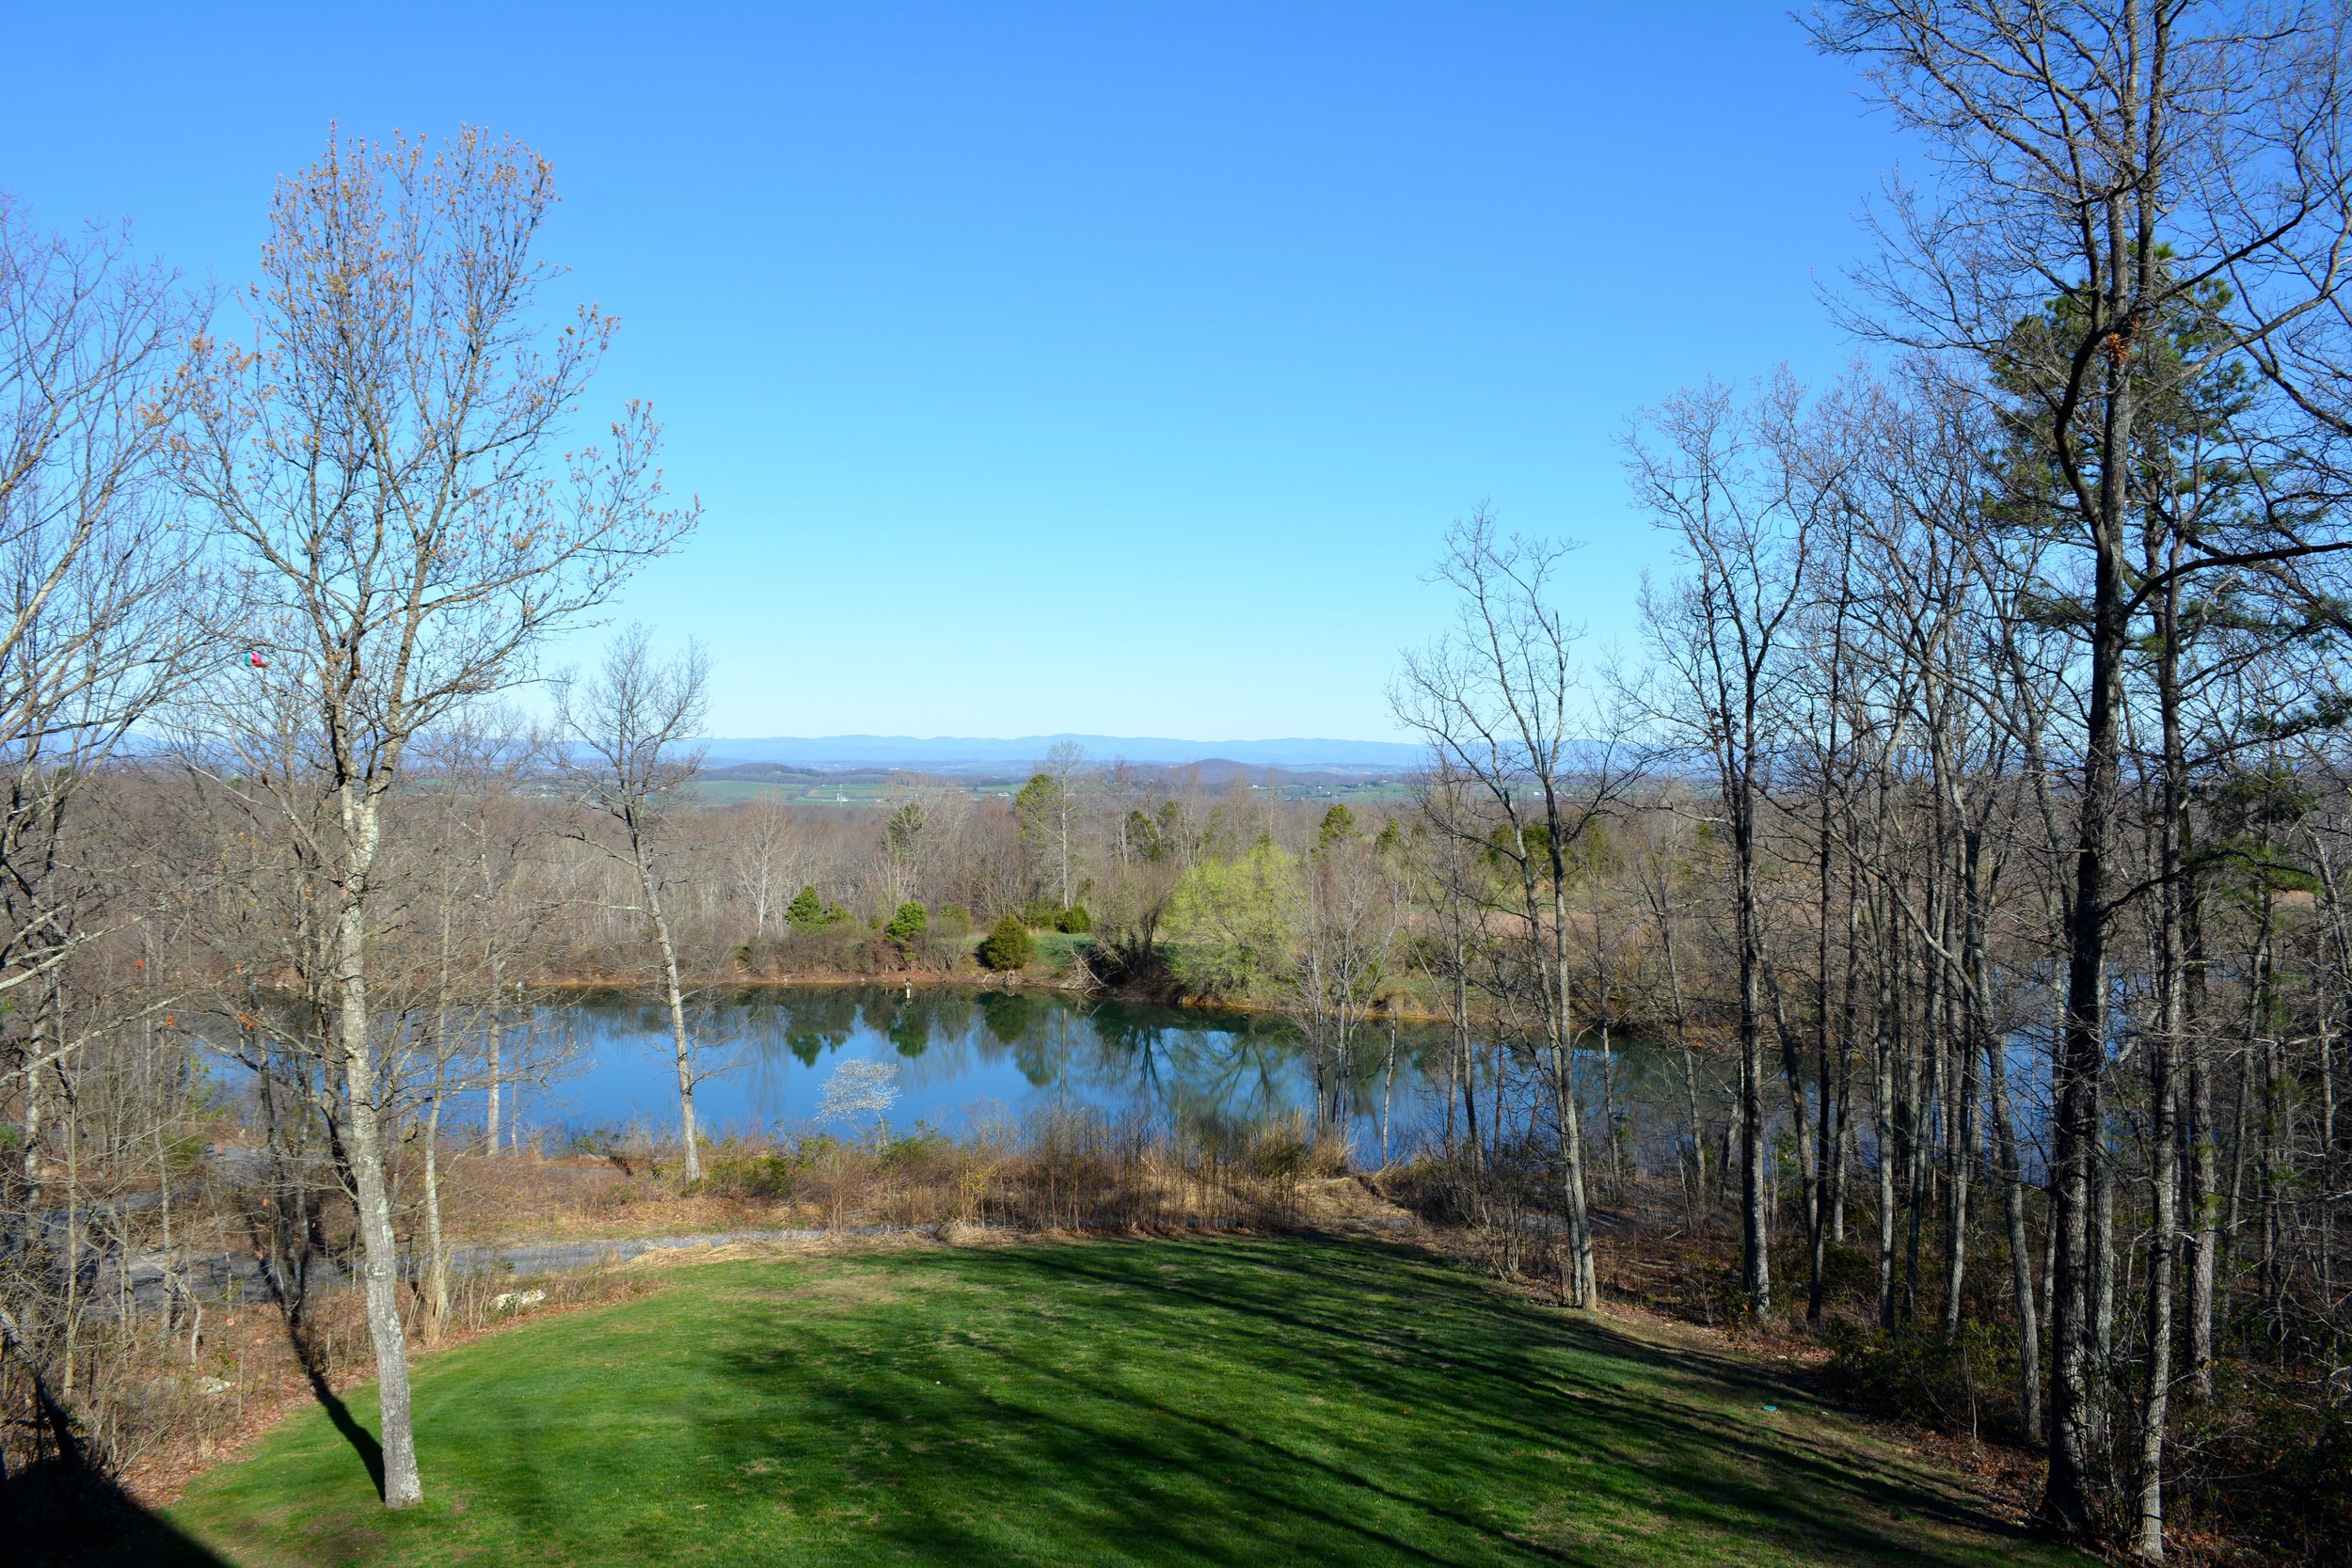
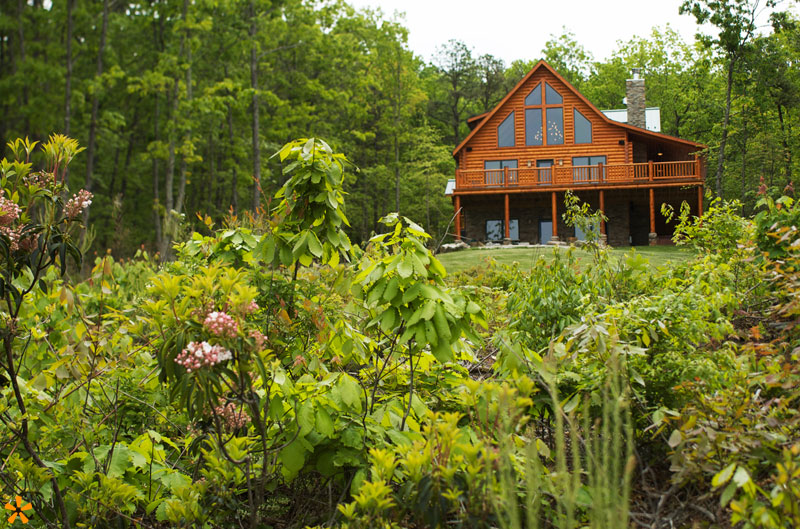
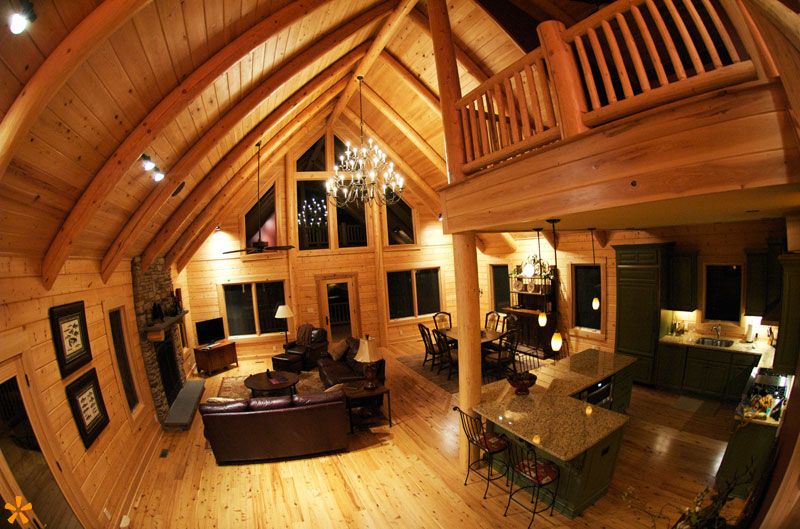
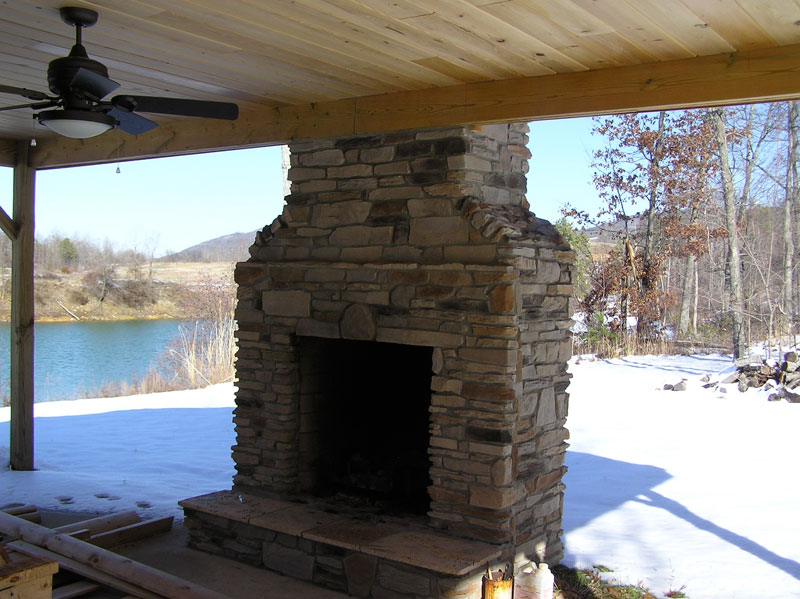
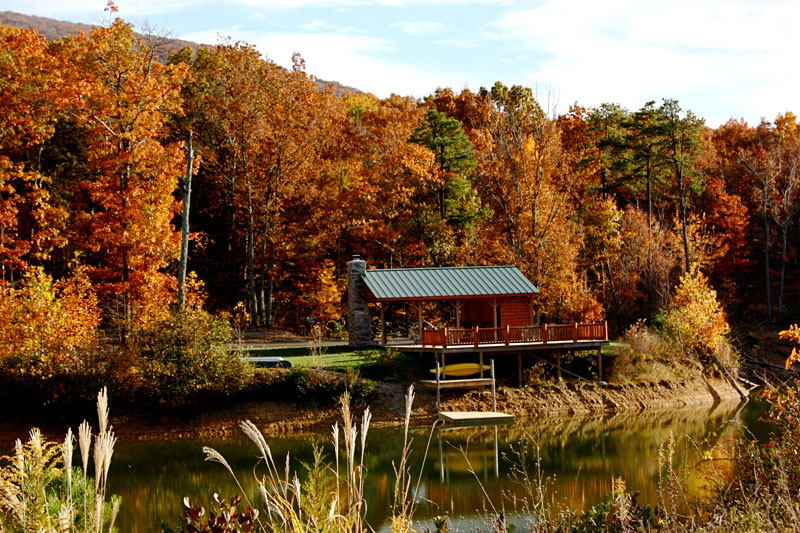
For this wine tour bachelorette, we were set on the beautiful Virginia wine country, which has about 230 vineyards! ....Not overwhelming at all! Narrowing it down can be tricky. Yelp reviews and visiting vineyards websites was helpful in eliminating certain vineyards to narrow down exactly where we wanted to go. I could not have done it without the help of Wish Wish Wine Tour online planner. It allows you to enter the number of guests and select which vineyards to visit. It gives you an itinerary complete with commute times and details about costs and reservations for your selected vineyards. Once you have an idea of where you want to go then you can scope out a cute little cabin in the woods or B&B to slumber up at. We chose the Crimora Mine Retreat and I would HIGHLY recommend this venue! It was a gorgeous, secluded home near Shenandoah National Park on 150 private acres of expansive mountain views! It sleeps 10 and is around $525/nt depending on the time of the year. I mean seriously though...I already want to go back!
Step 2: Select your fav vineyards (and/or breweries)
We set aside Saturday for all of our wine tour festivities. Saturday morning, we woke up and had a brunch celebration for the Bride. Then around noon we set out for a day of drinking. We hired a driver for the day since we knew no one would want to be DD. There are a TON of companies that specialize in this in VA; we ended up using Central Virginia Wine Tours & Transportation. They were very responsive and the vehicle was very nice and equipped with much needed H2O, however, I will say the driver had a hard time finding our house and he arrived late to pick us up (even though all 6 girls from out of state managed to find it AT NIGHT with no issues...). So, I wouldn't necessarily recommend that you use this company. But what would a bachelorette be with out a few bumps in the road. We were lucky, everything still worked out beautifully and we had a blast at 2 different vineyards, plus a brewery! Here is where we ventured and what we did at each place (btw some of these photos I can't take credit for, I got them off the venue's websites, click on them to go to the source):
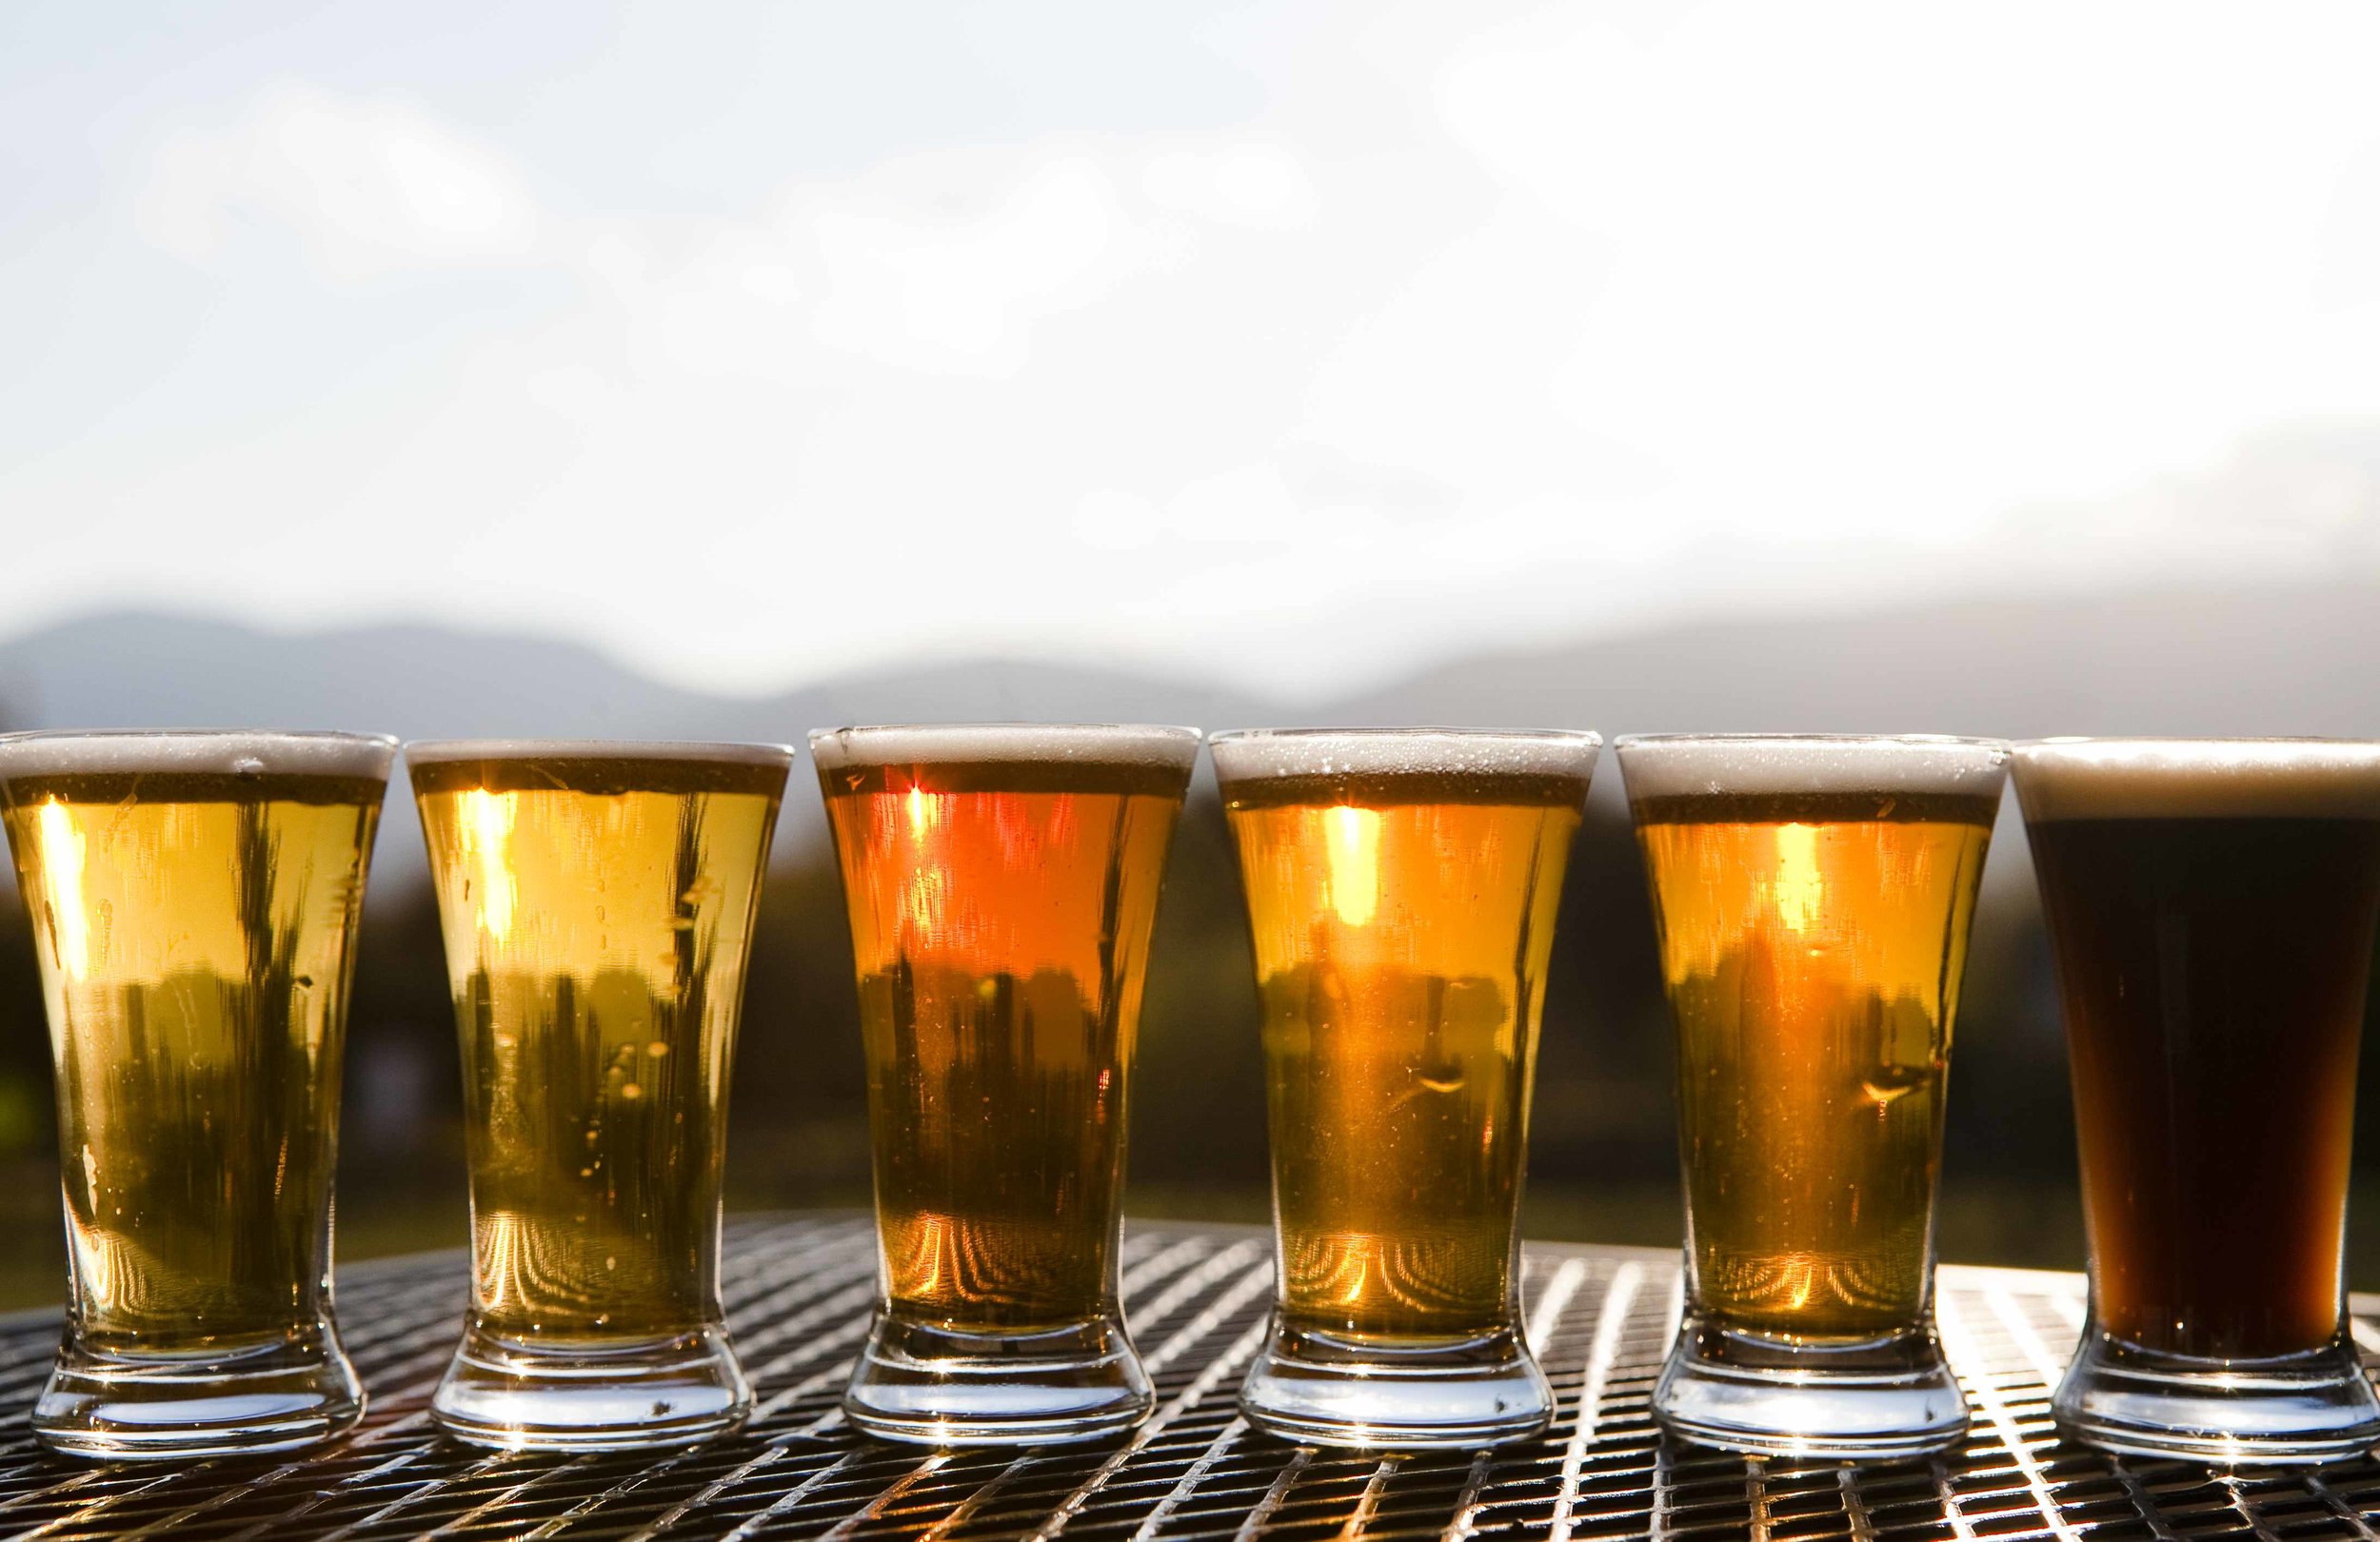
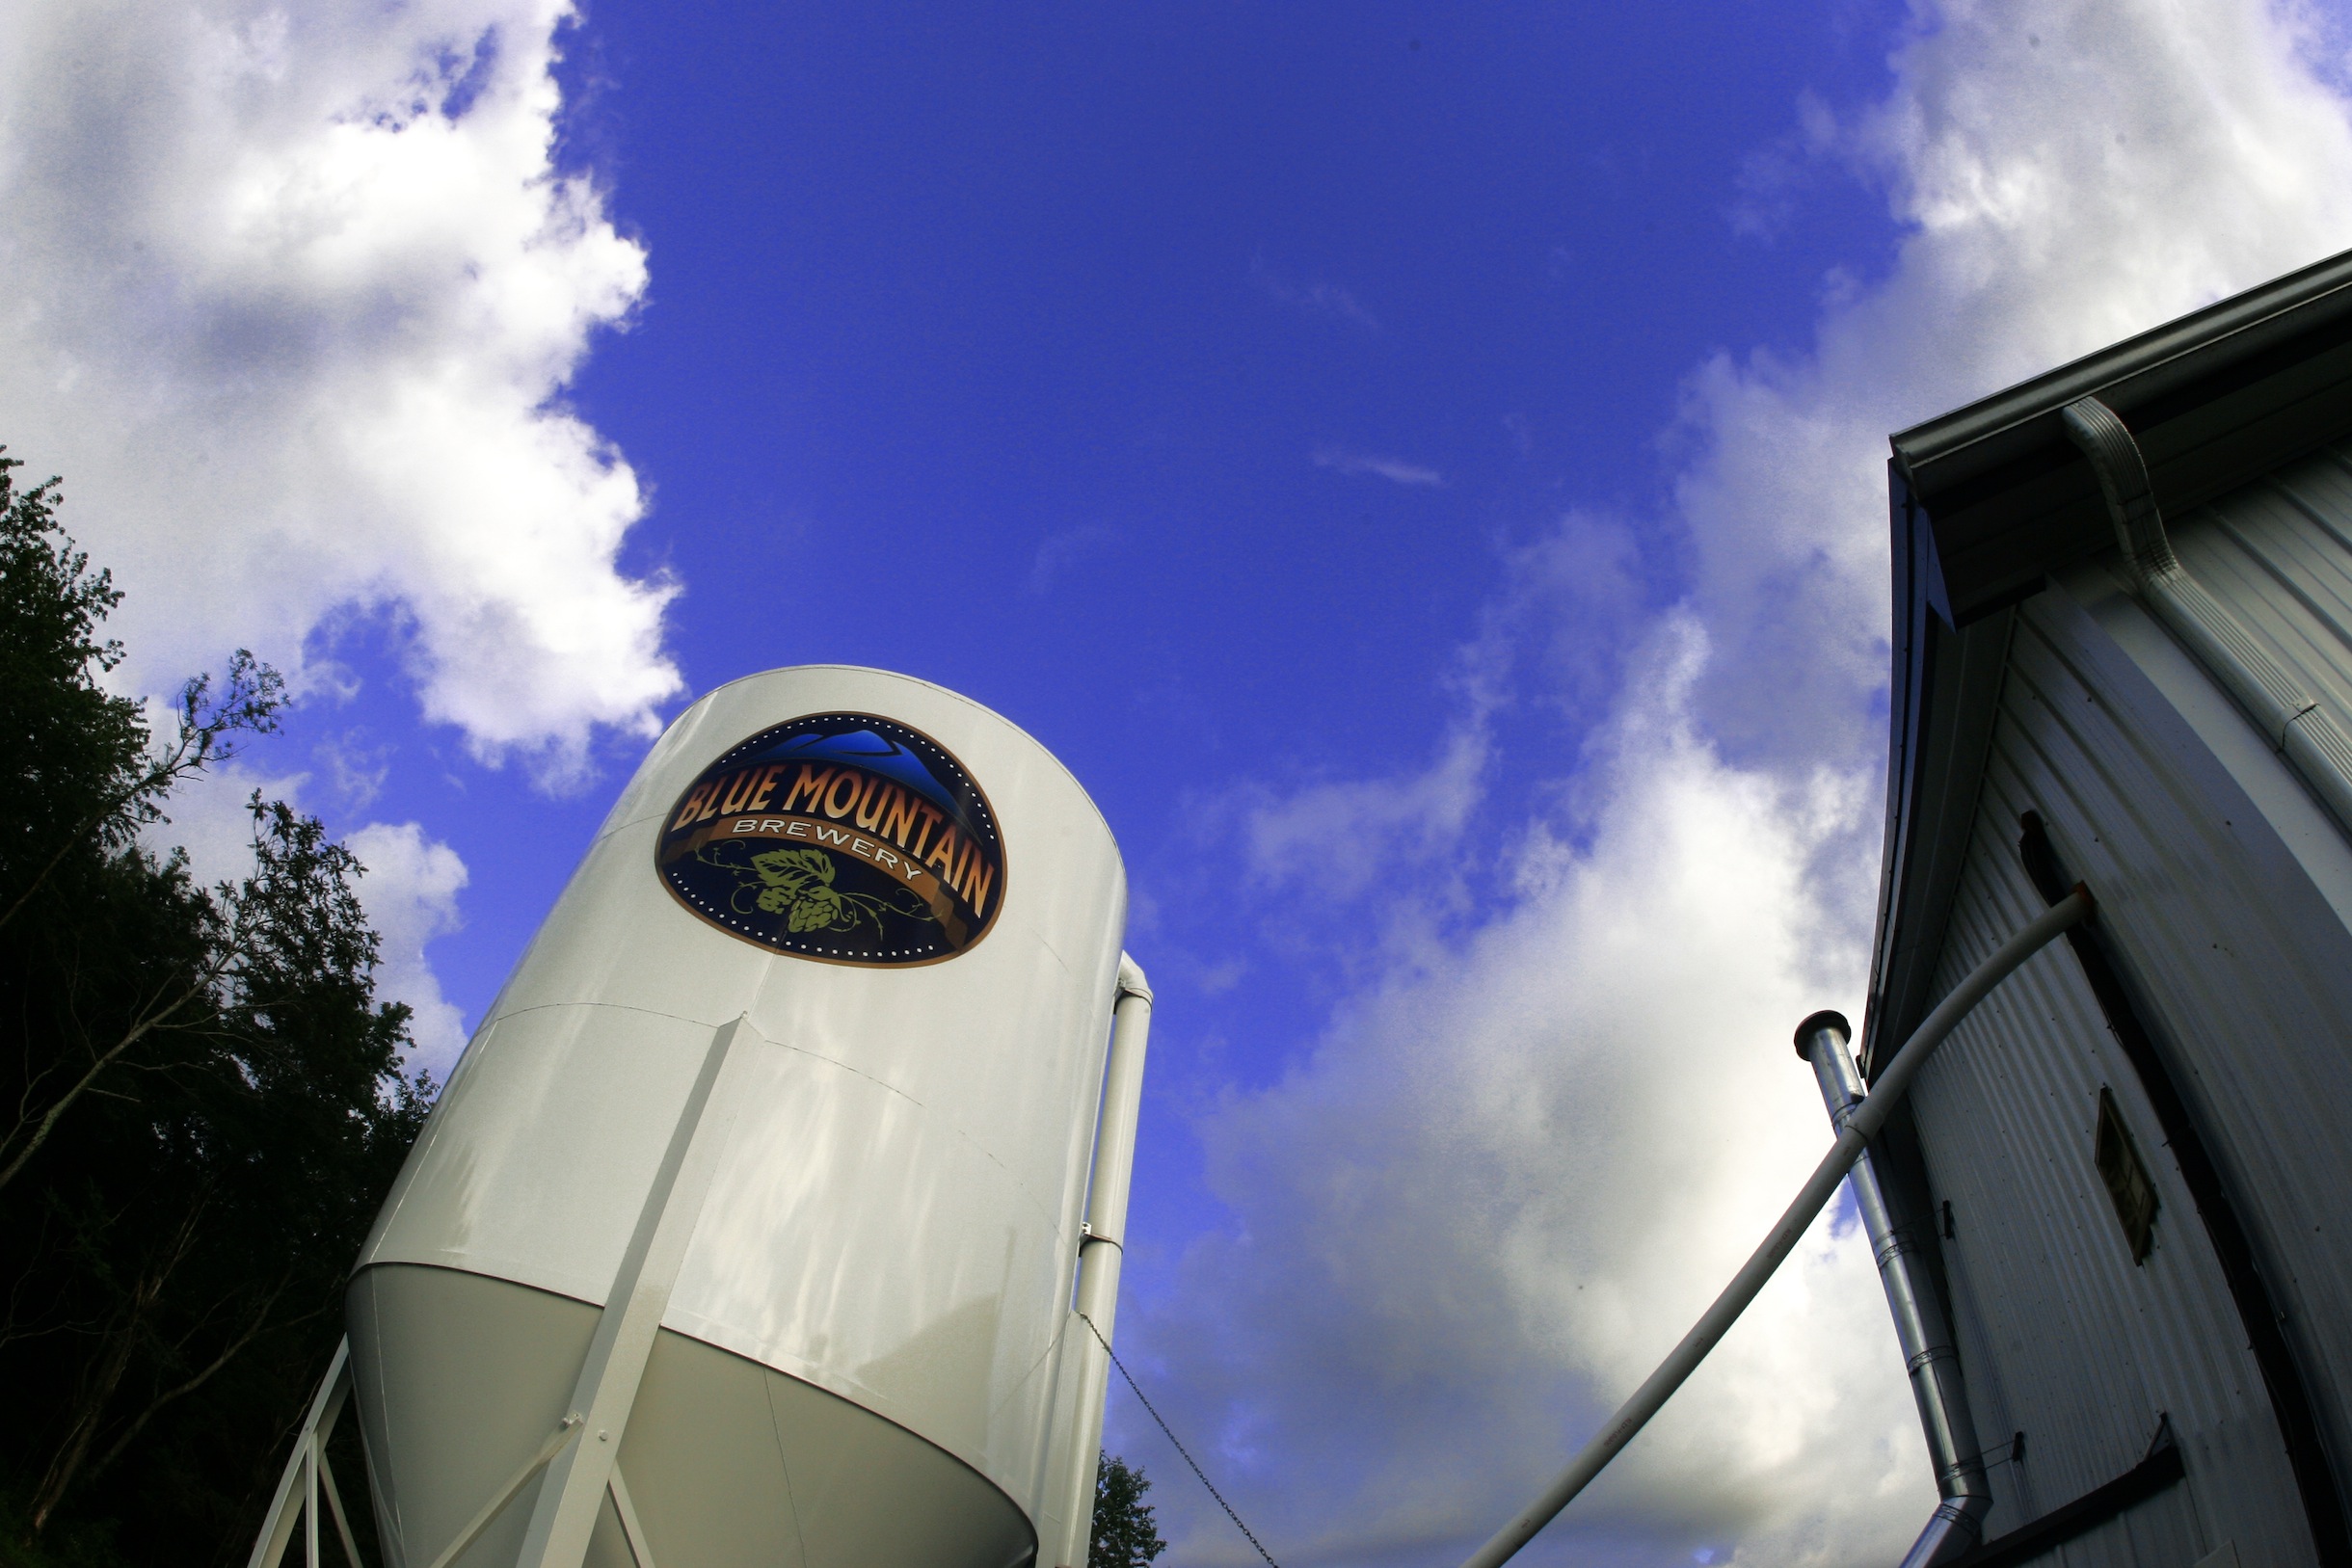
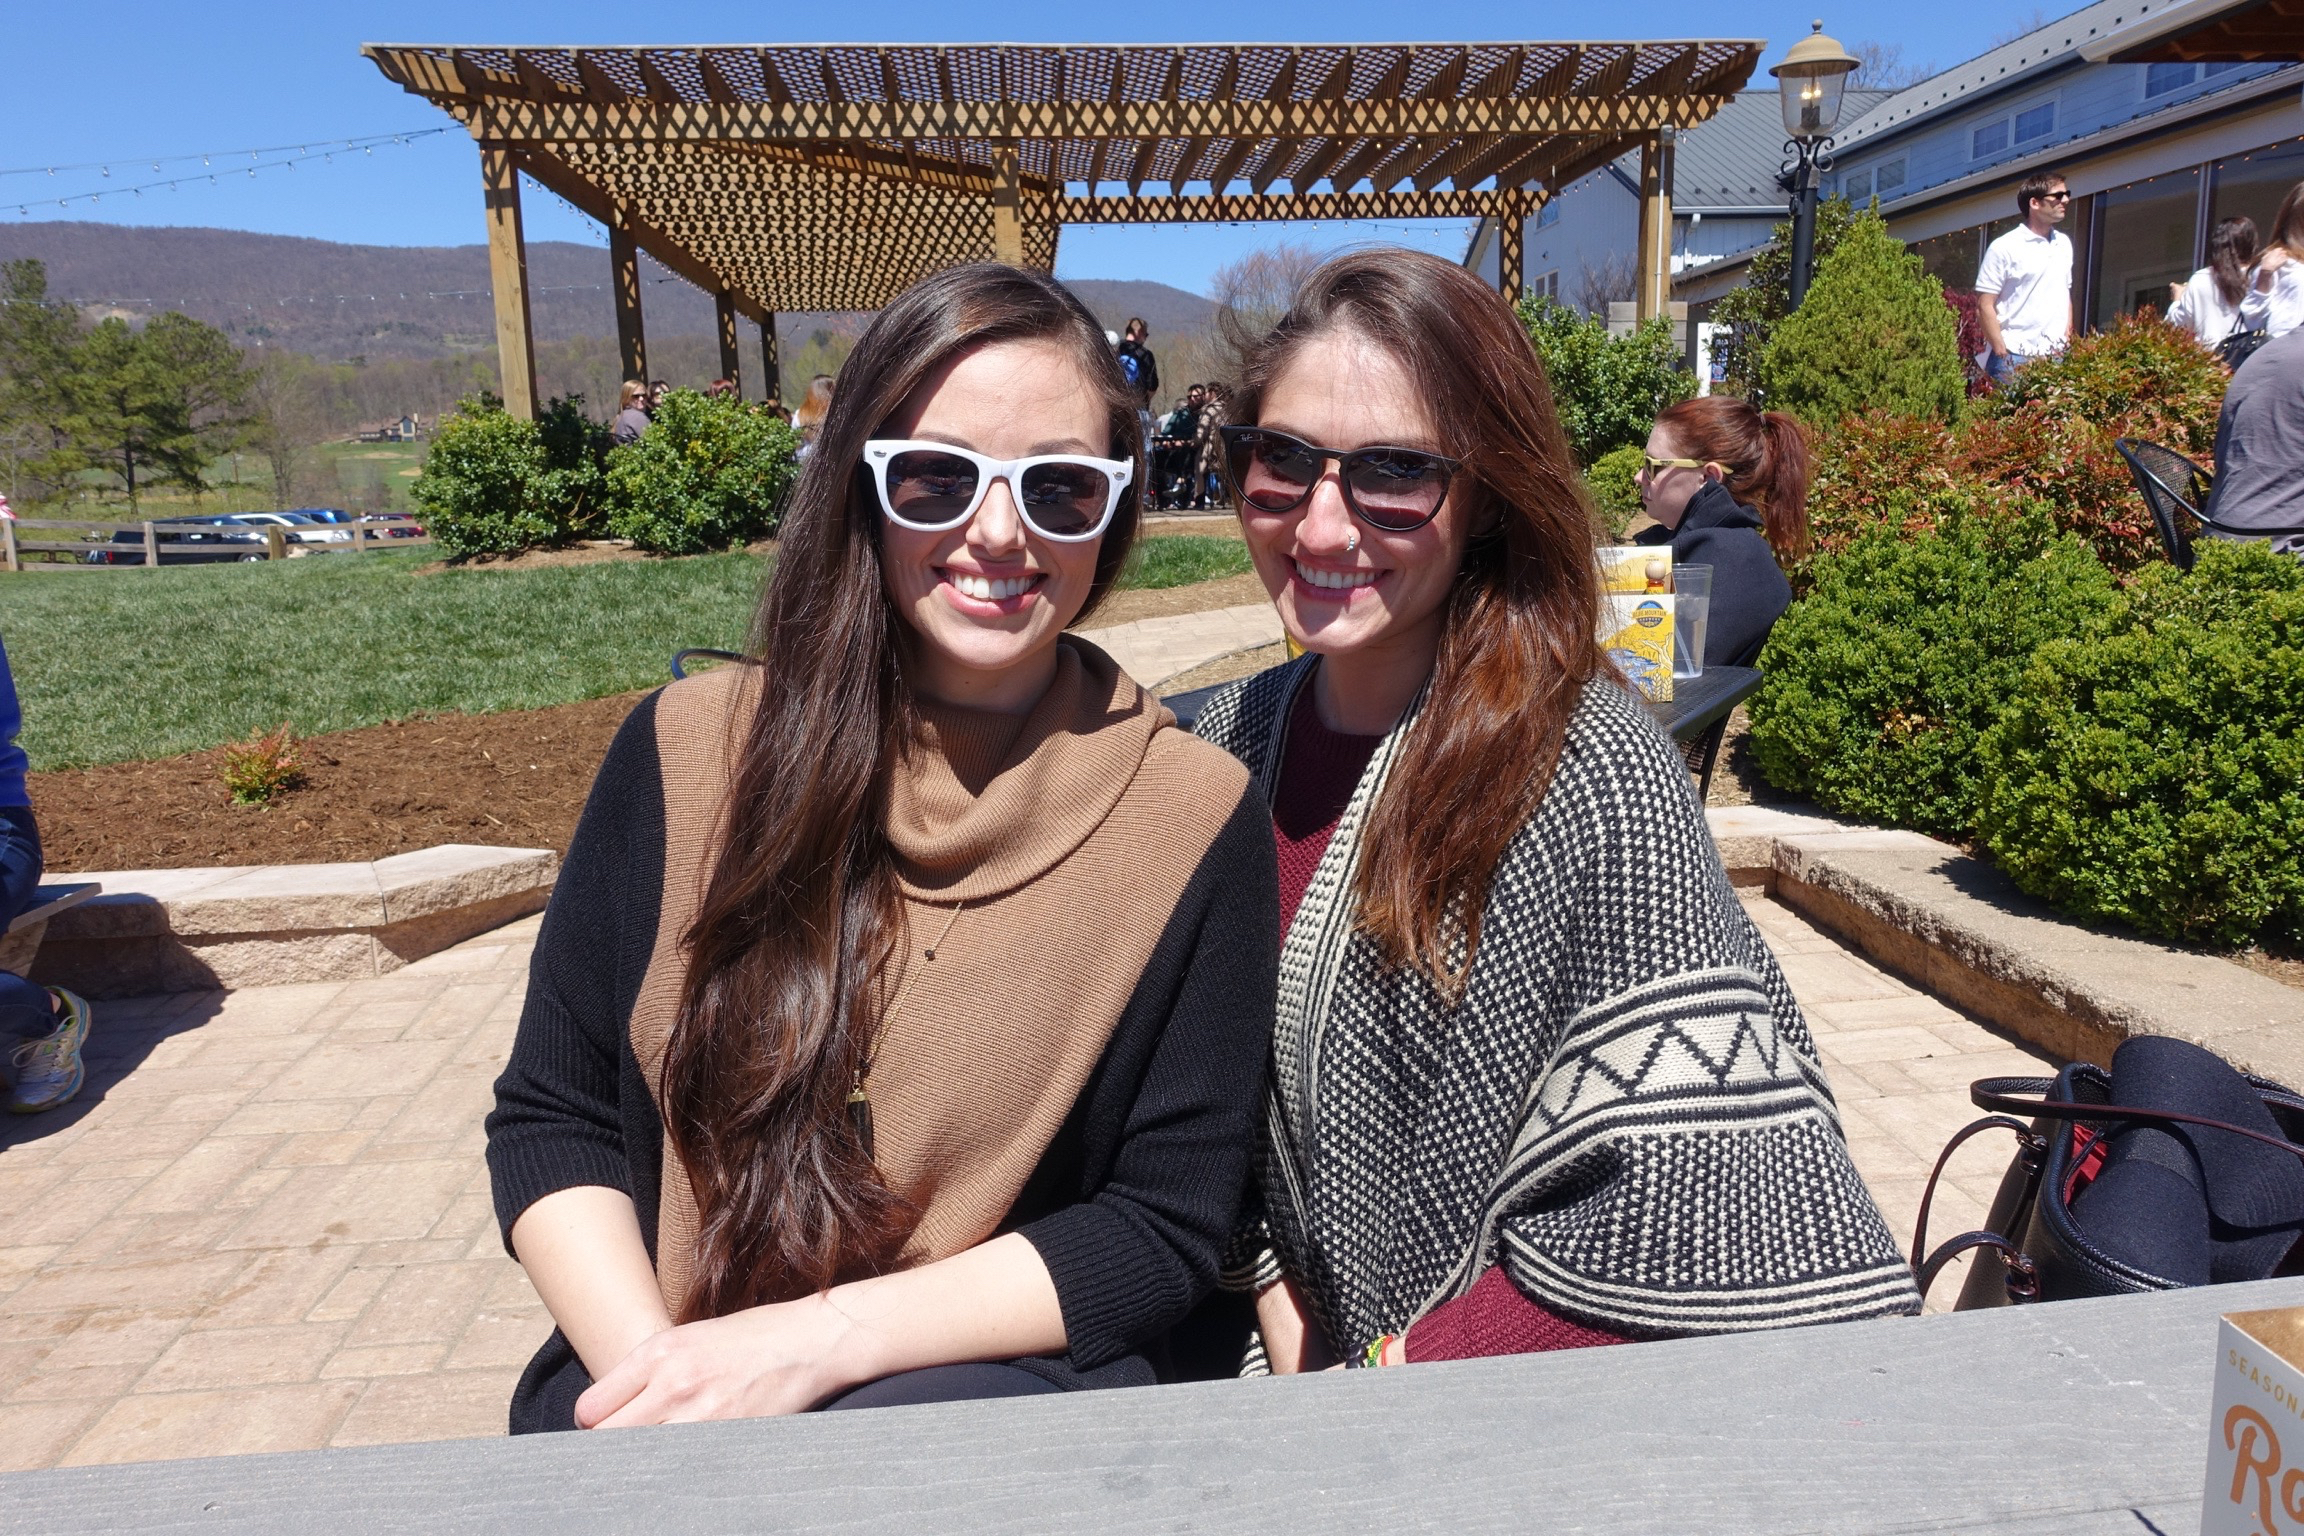
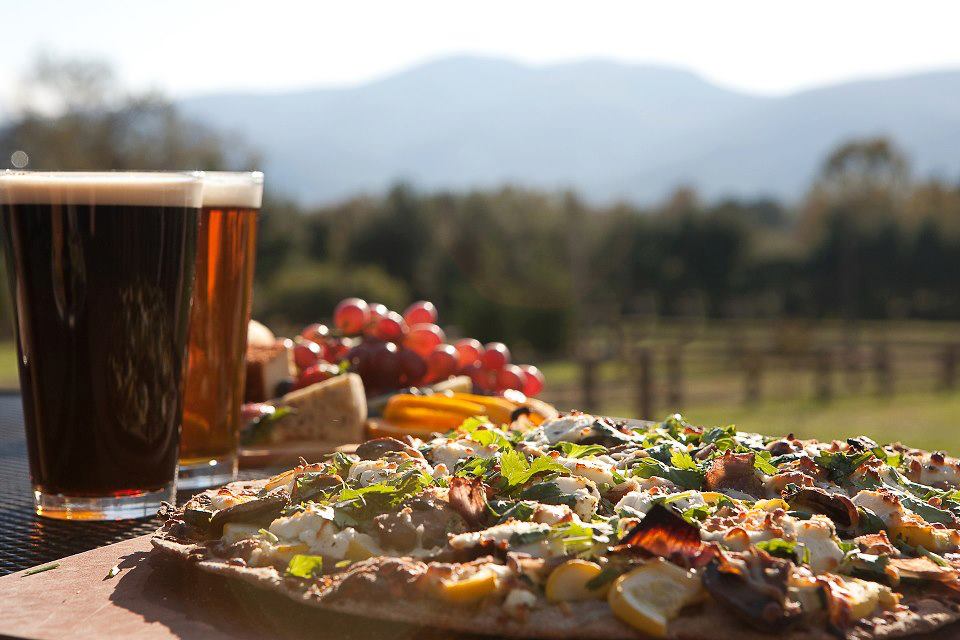
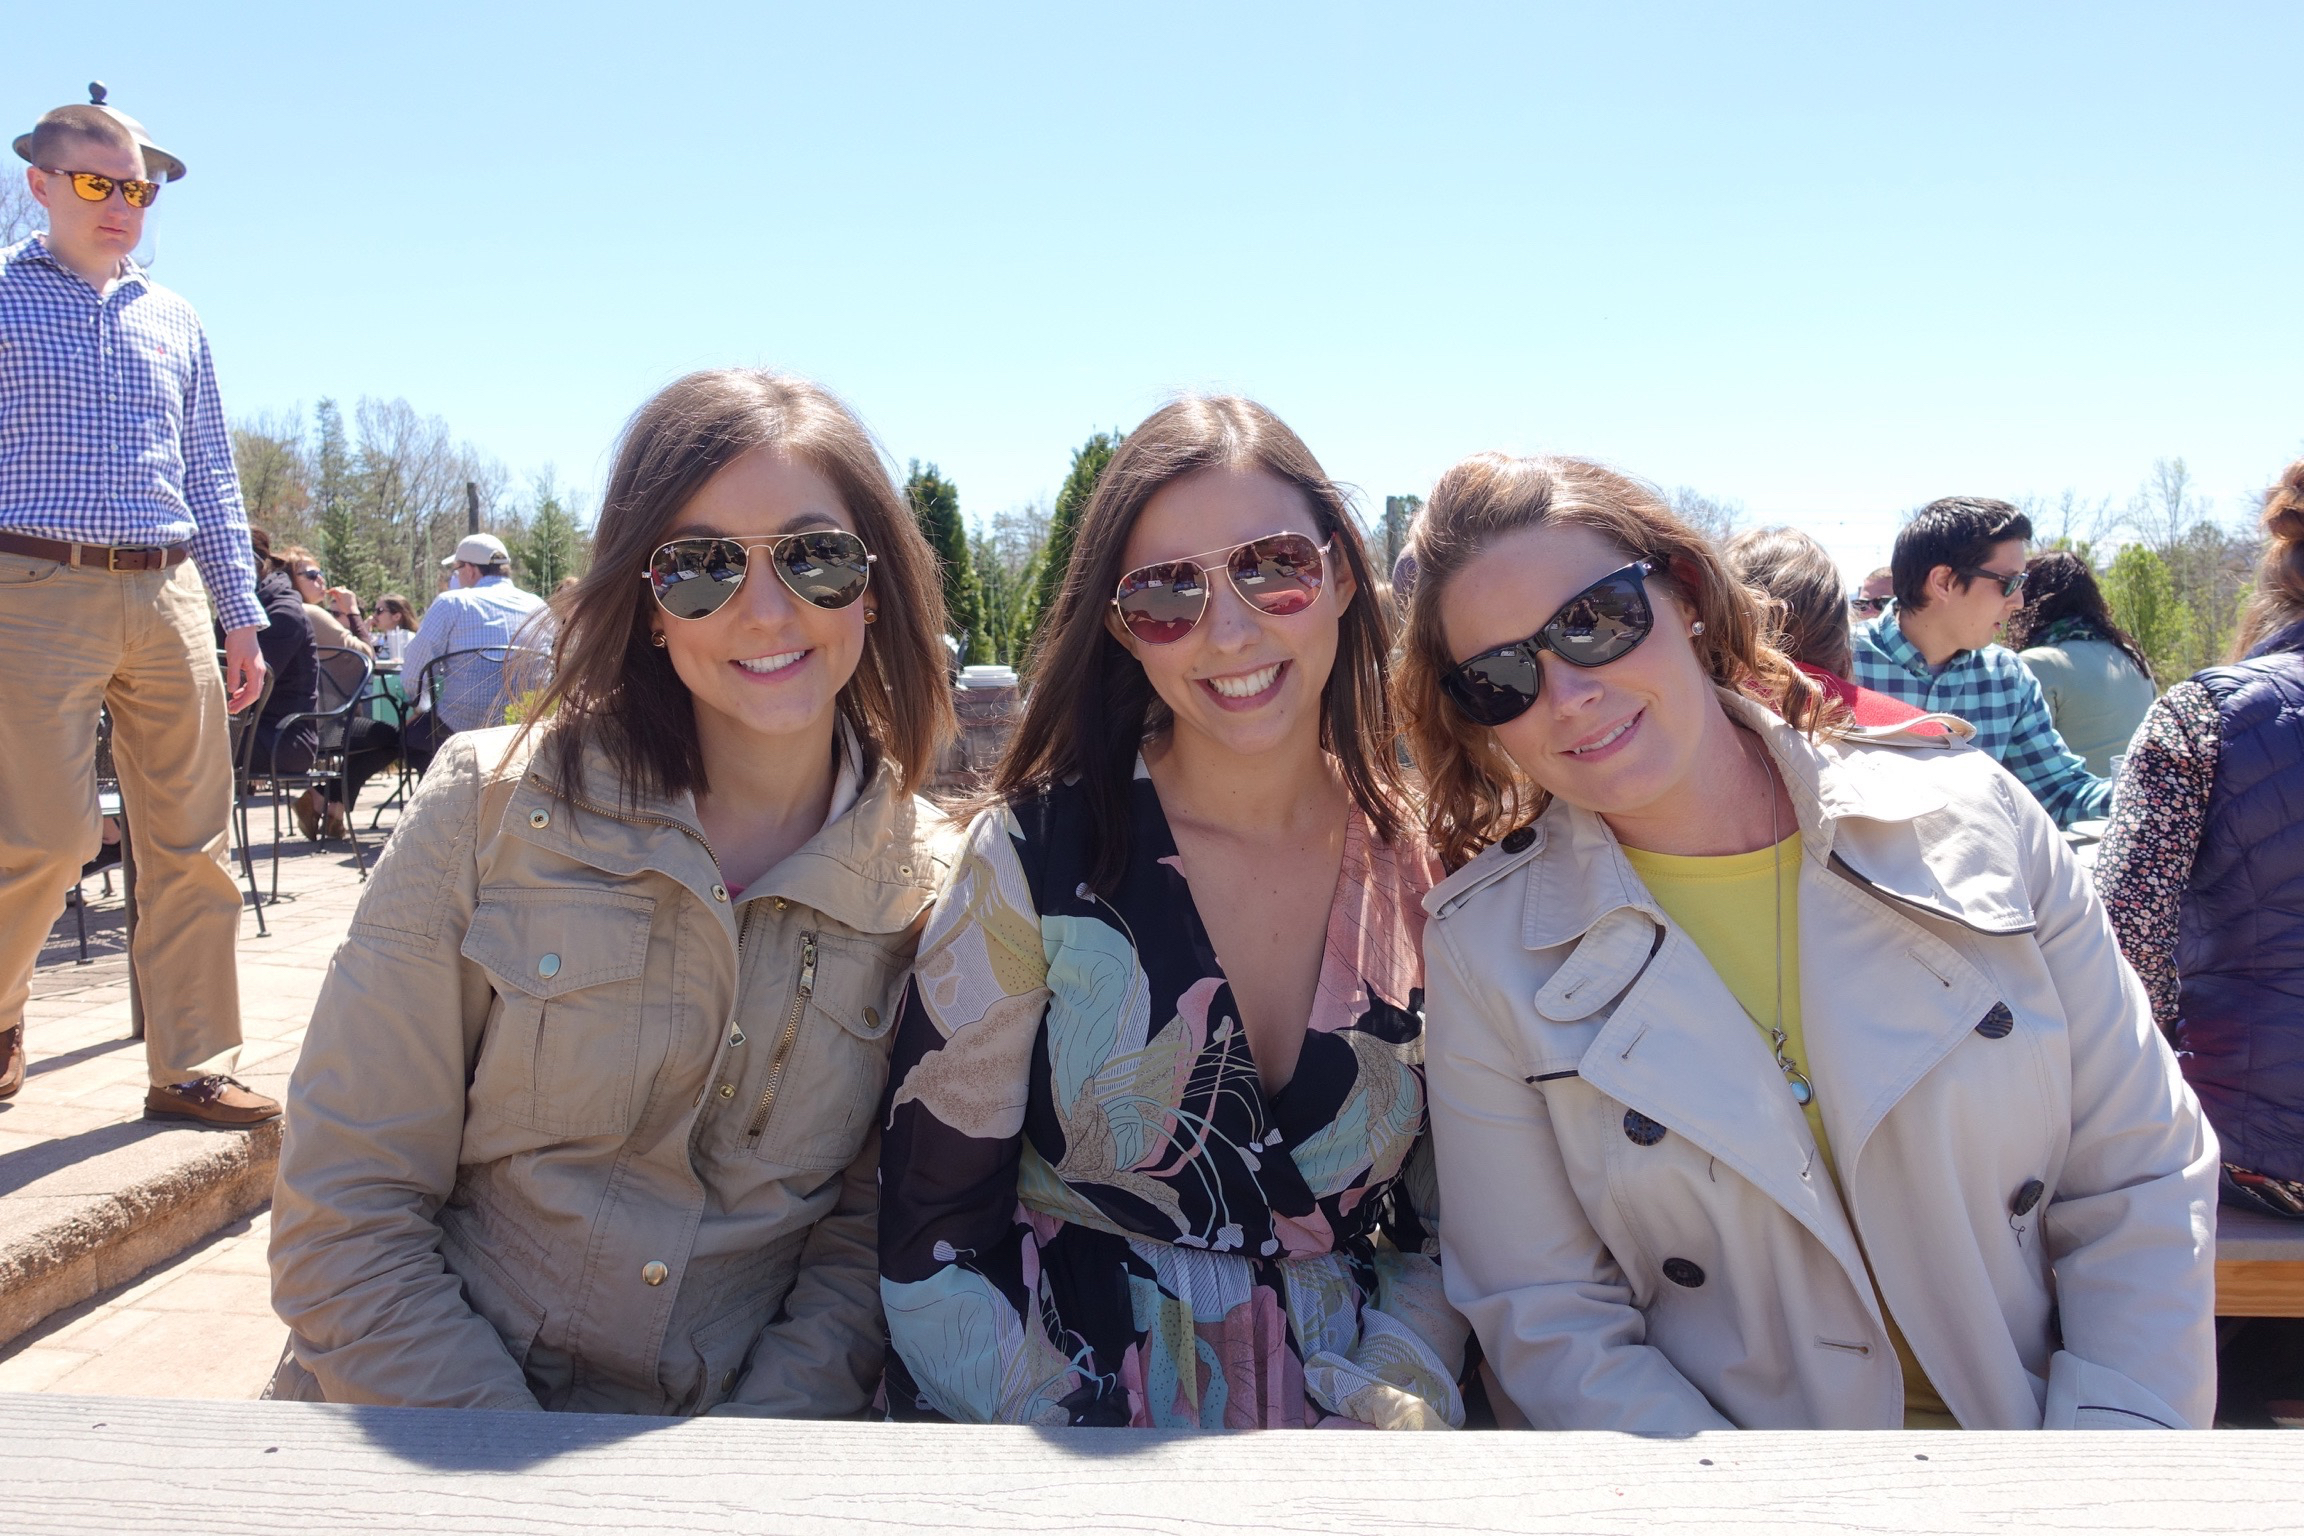
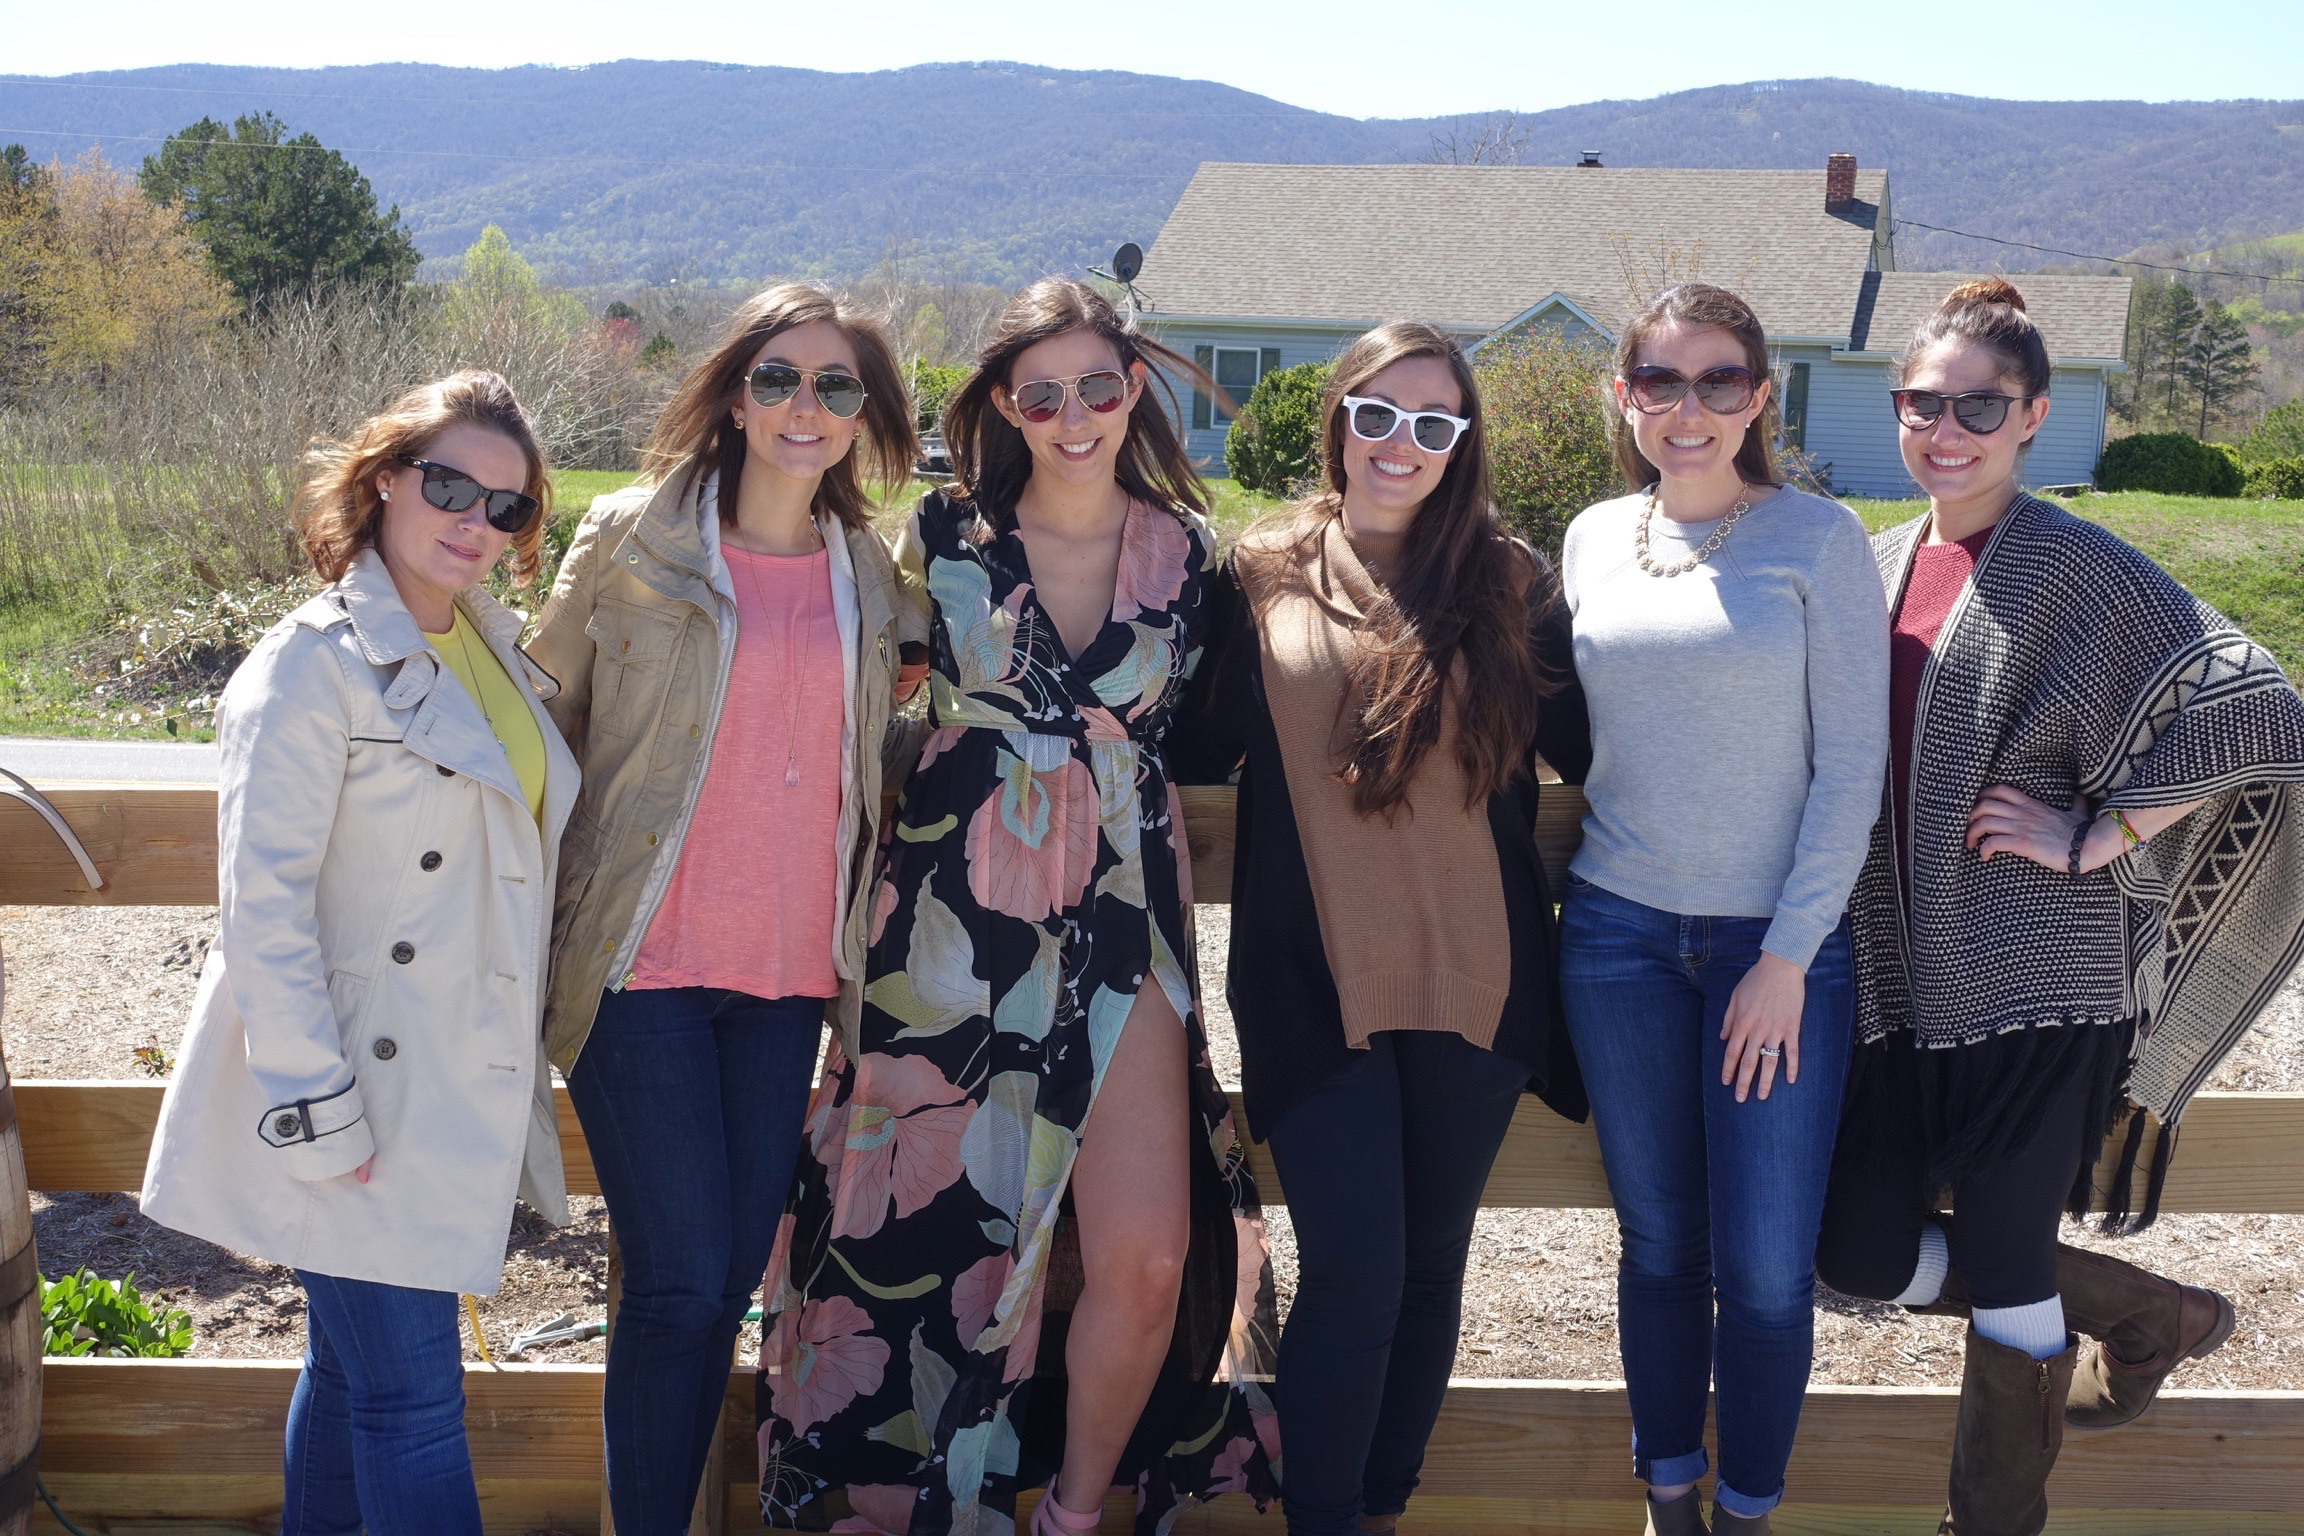
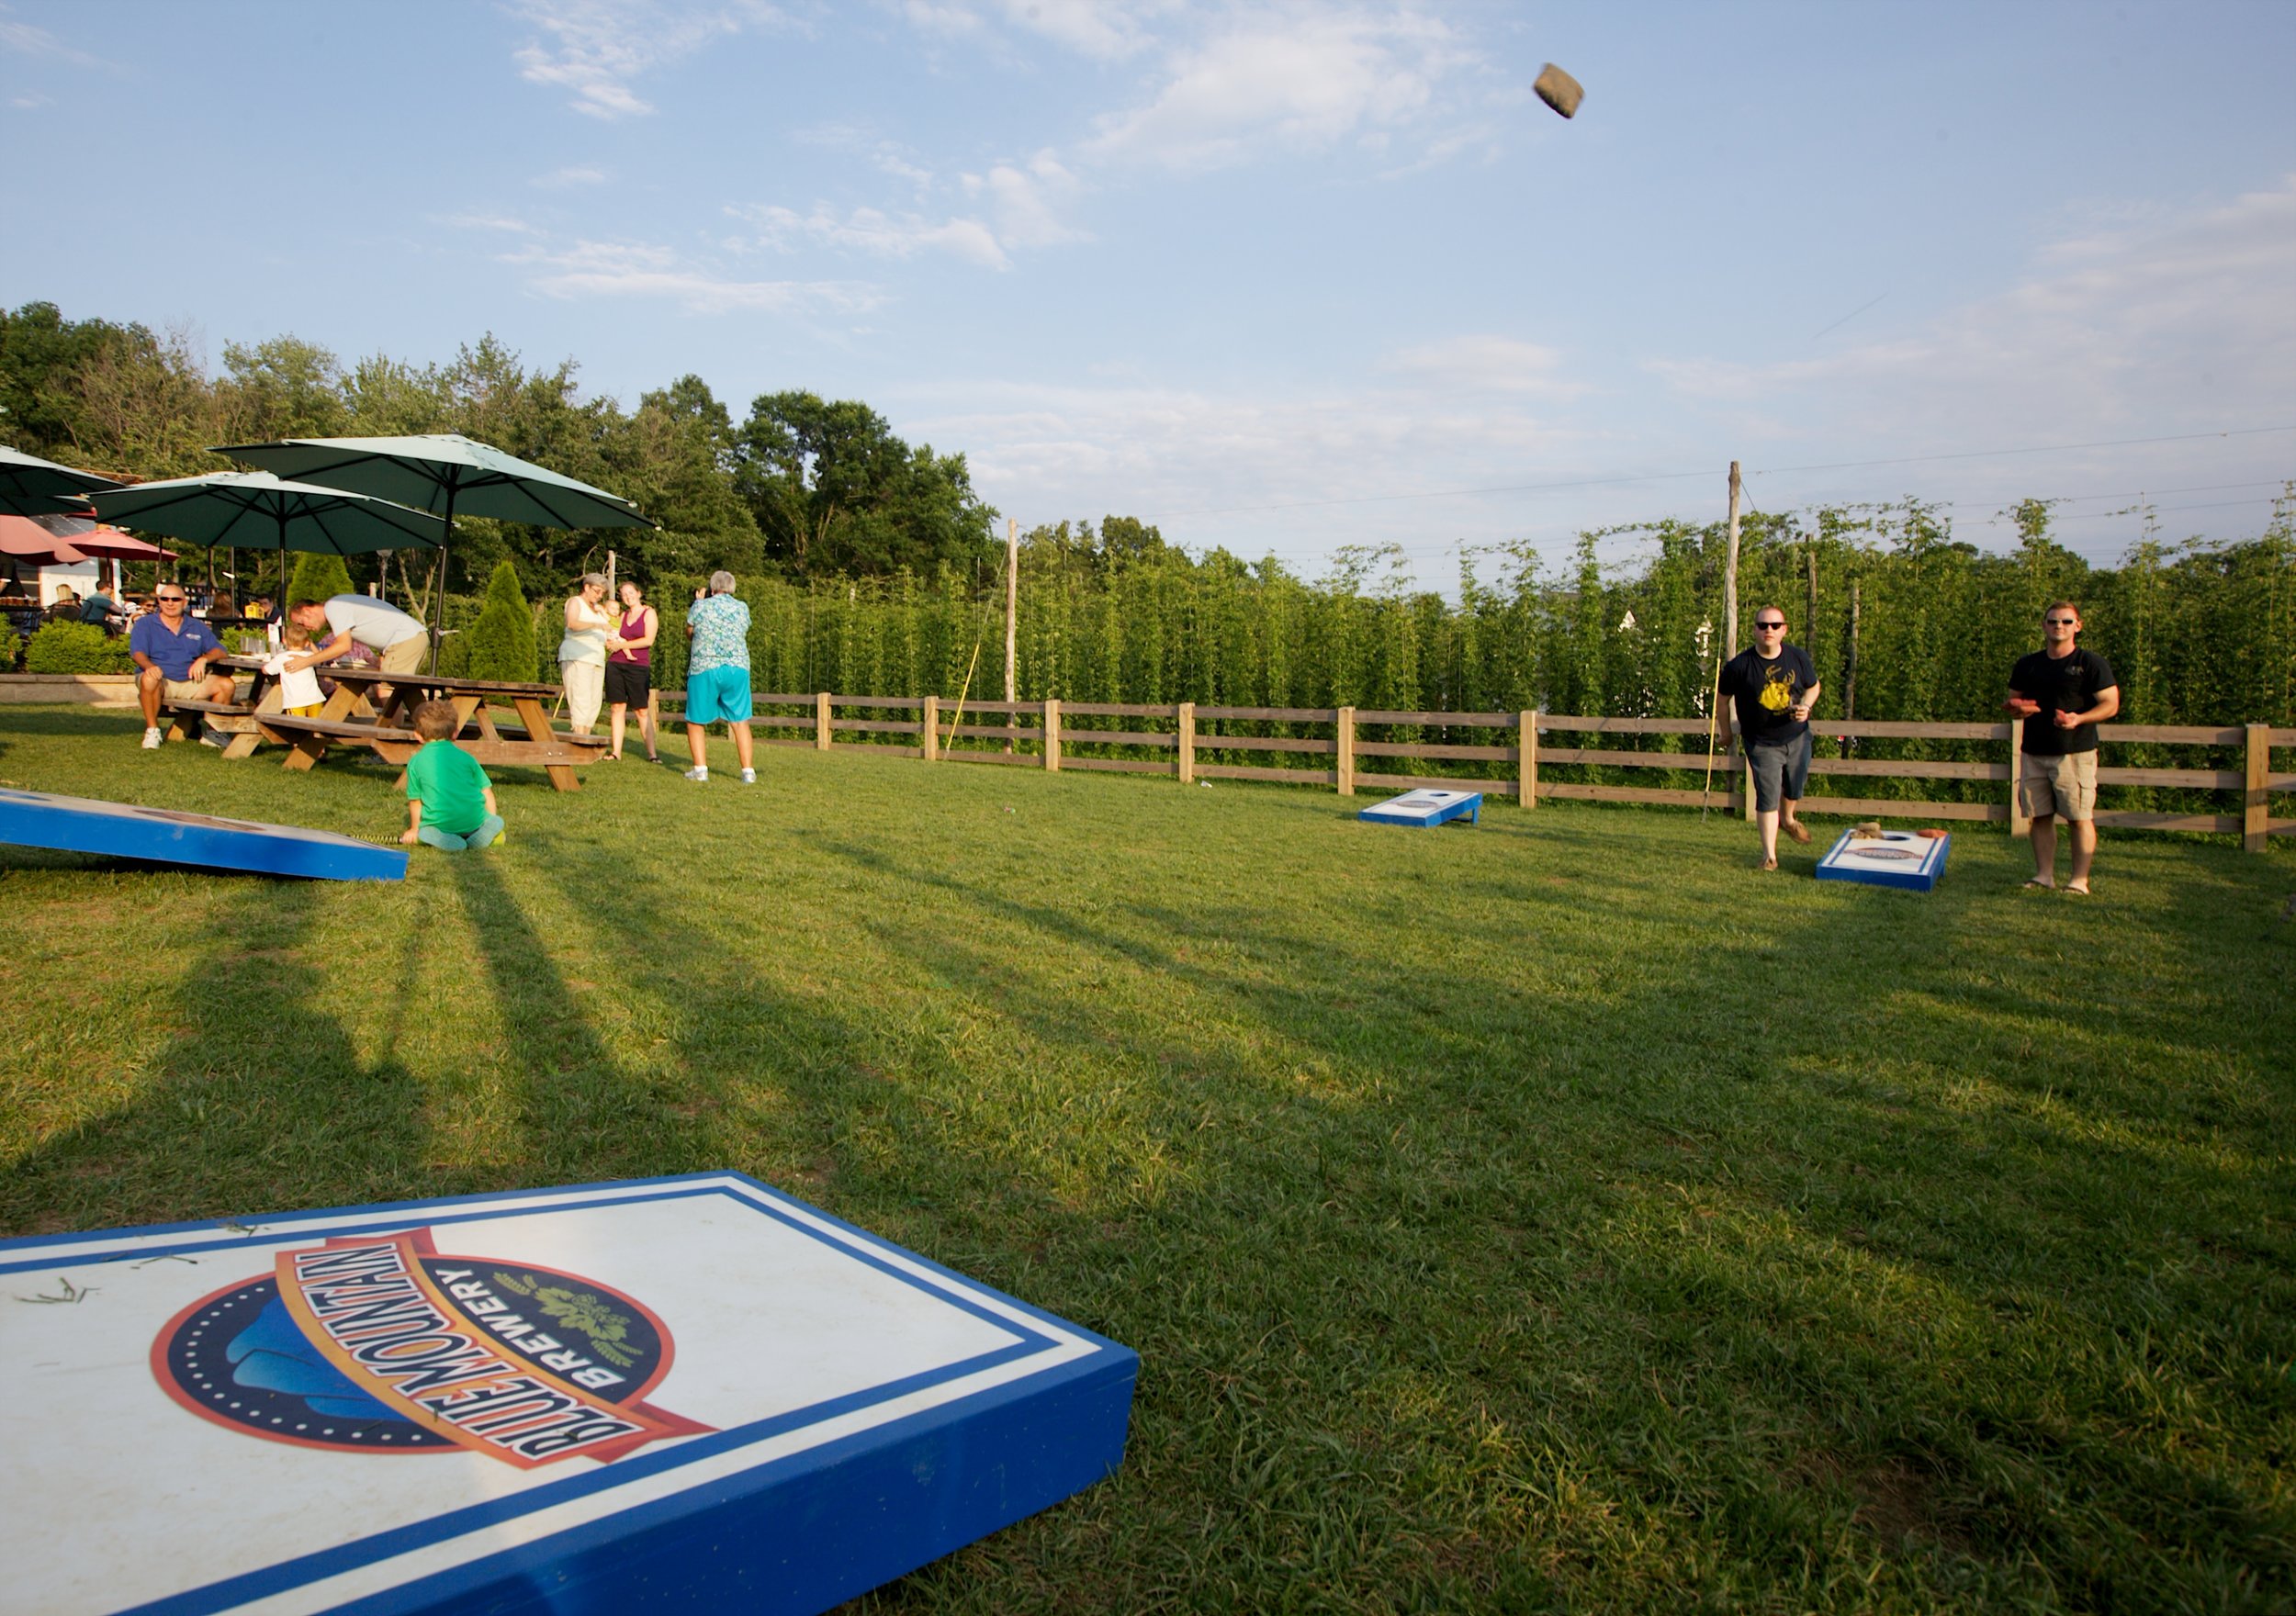
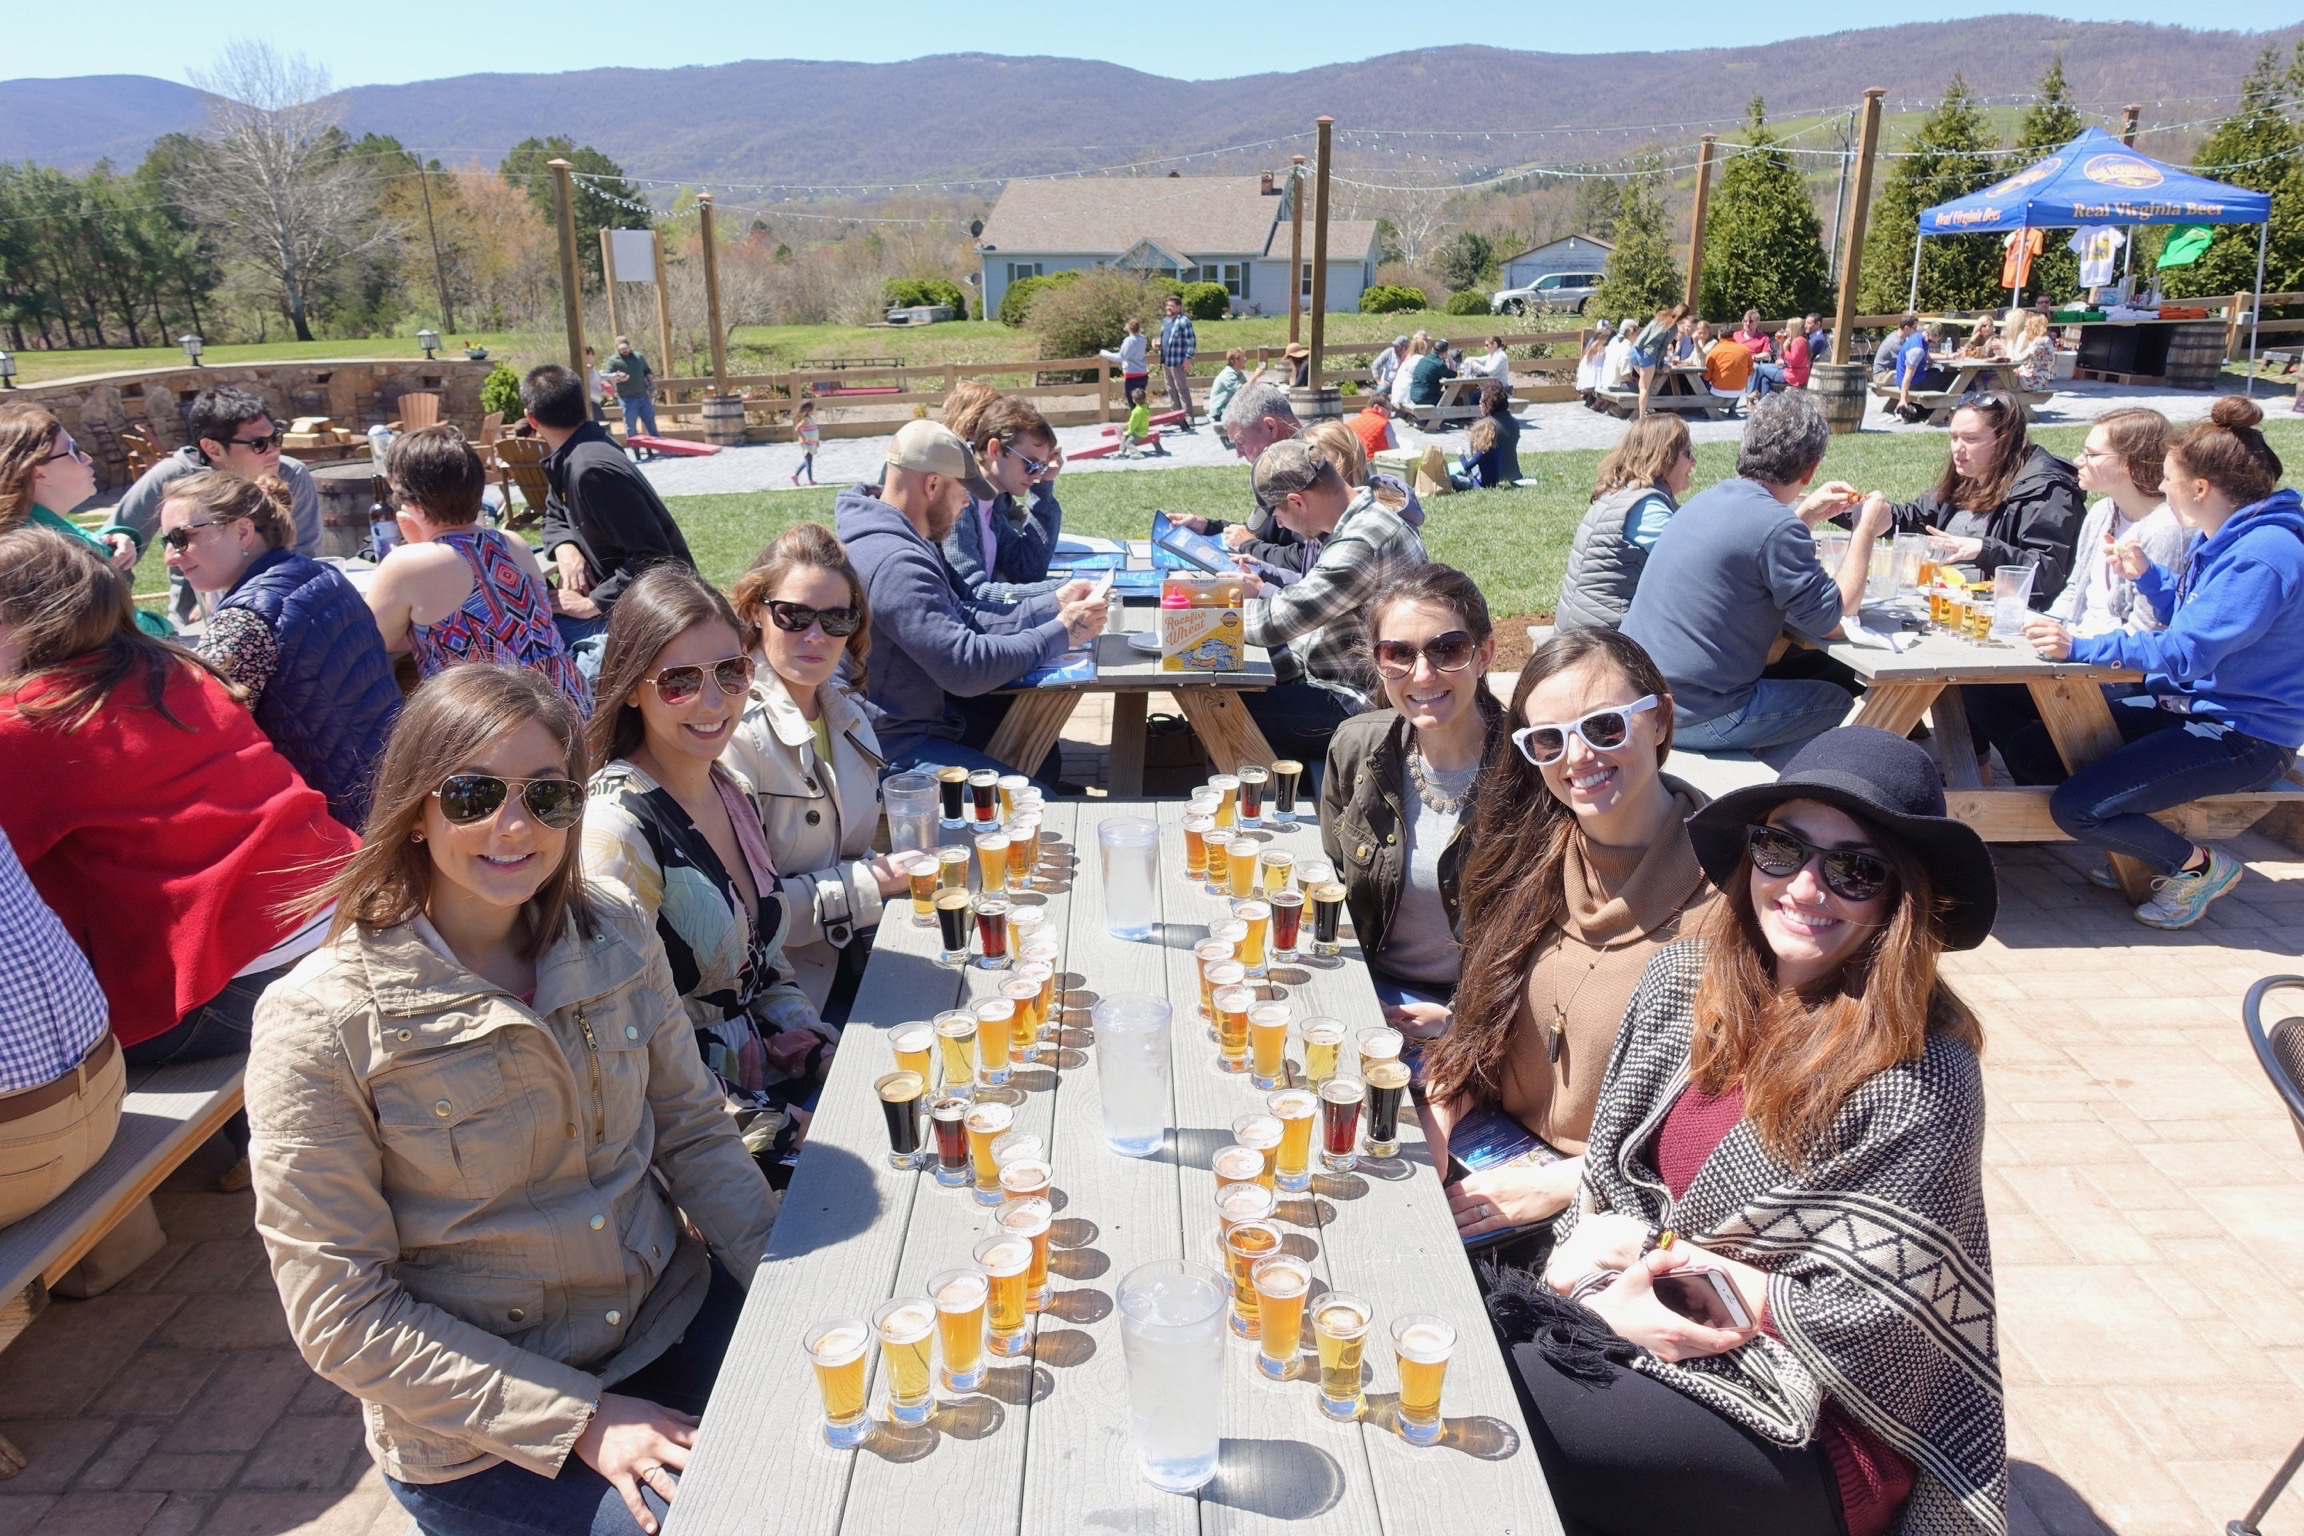
First stop was Blue Mountain Brewery! They have a ton of different beers and delish food options too. They offer tours of the brewing facility for FREE, but we were just as content sitting outside soaking up some vitamin D. We all enjoyed our $7 flight of beer while we ate our lunch al fresco. I still can't decide what I liked more the beer or the food ;) All of the girls loved their meals @bluemountainbrewery and I definitely want to go back and stay longer!
Veritas Vineyard and Winery
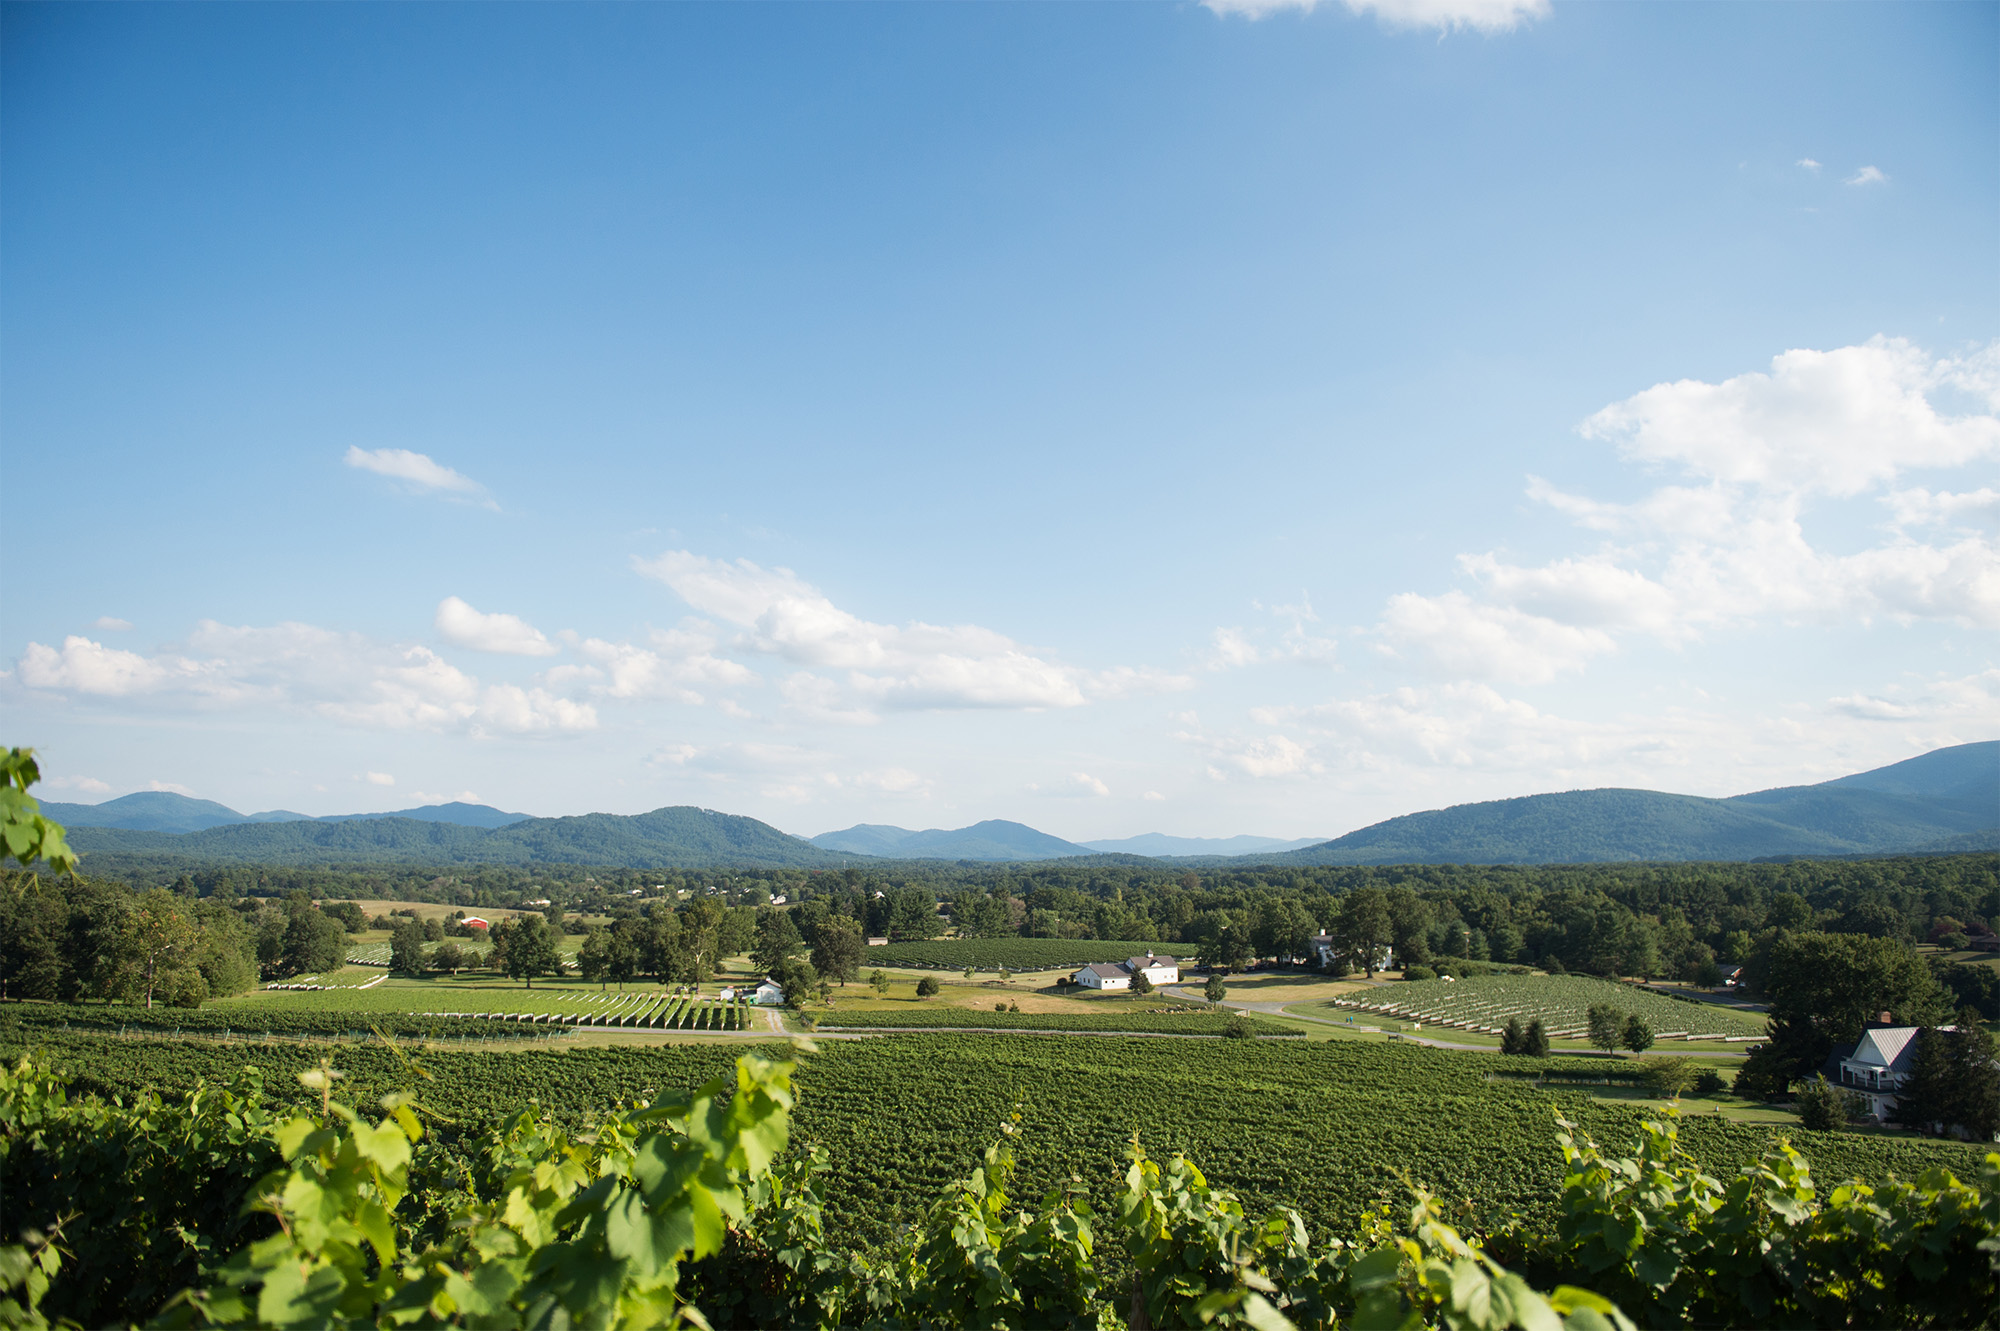
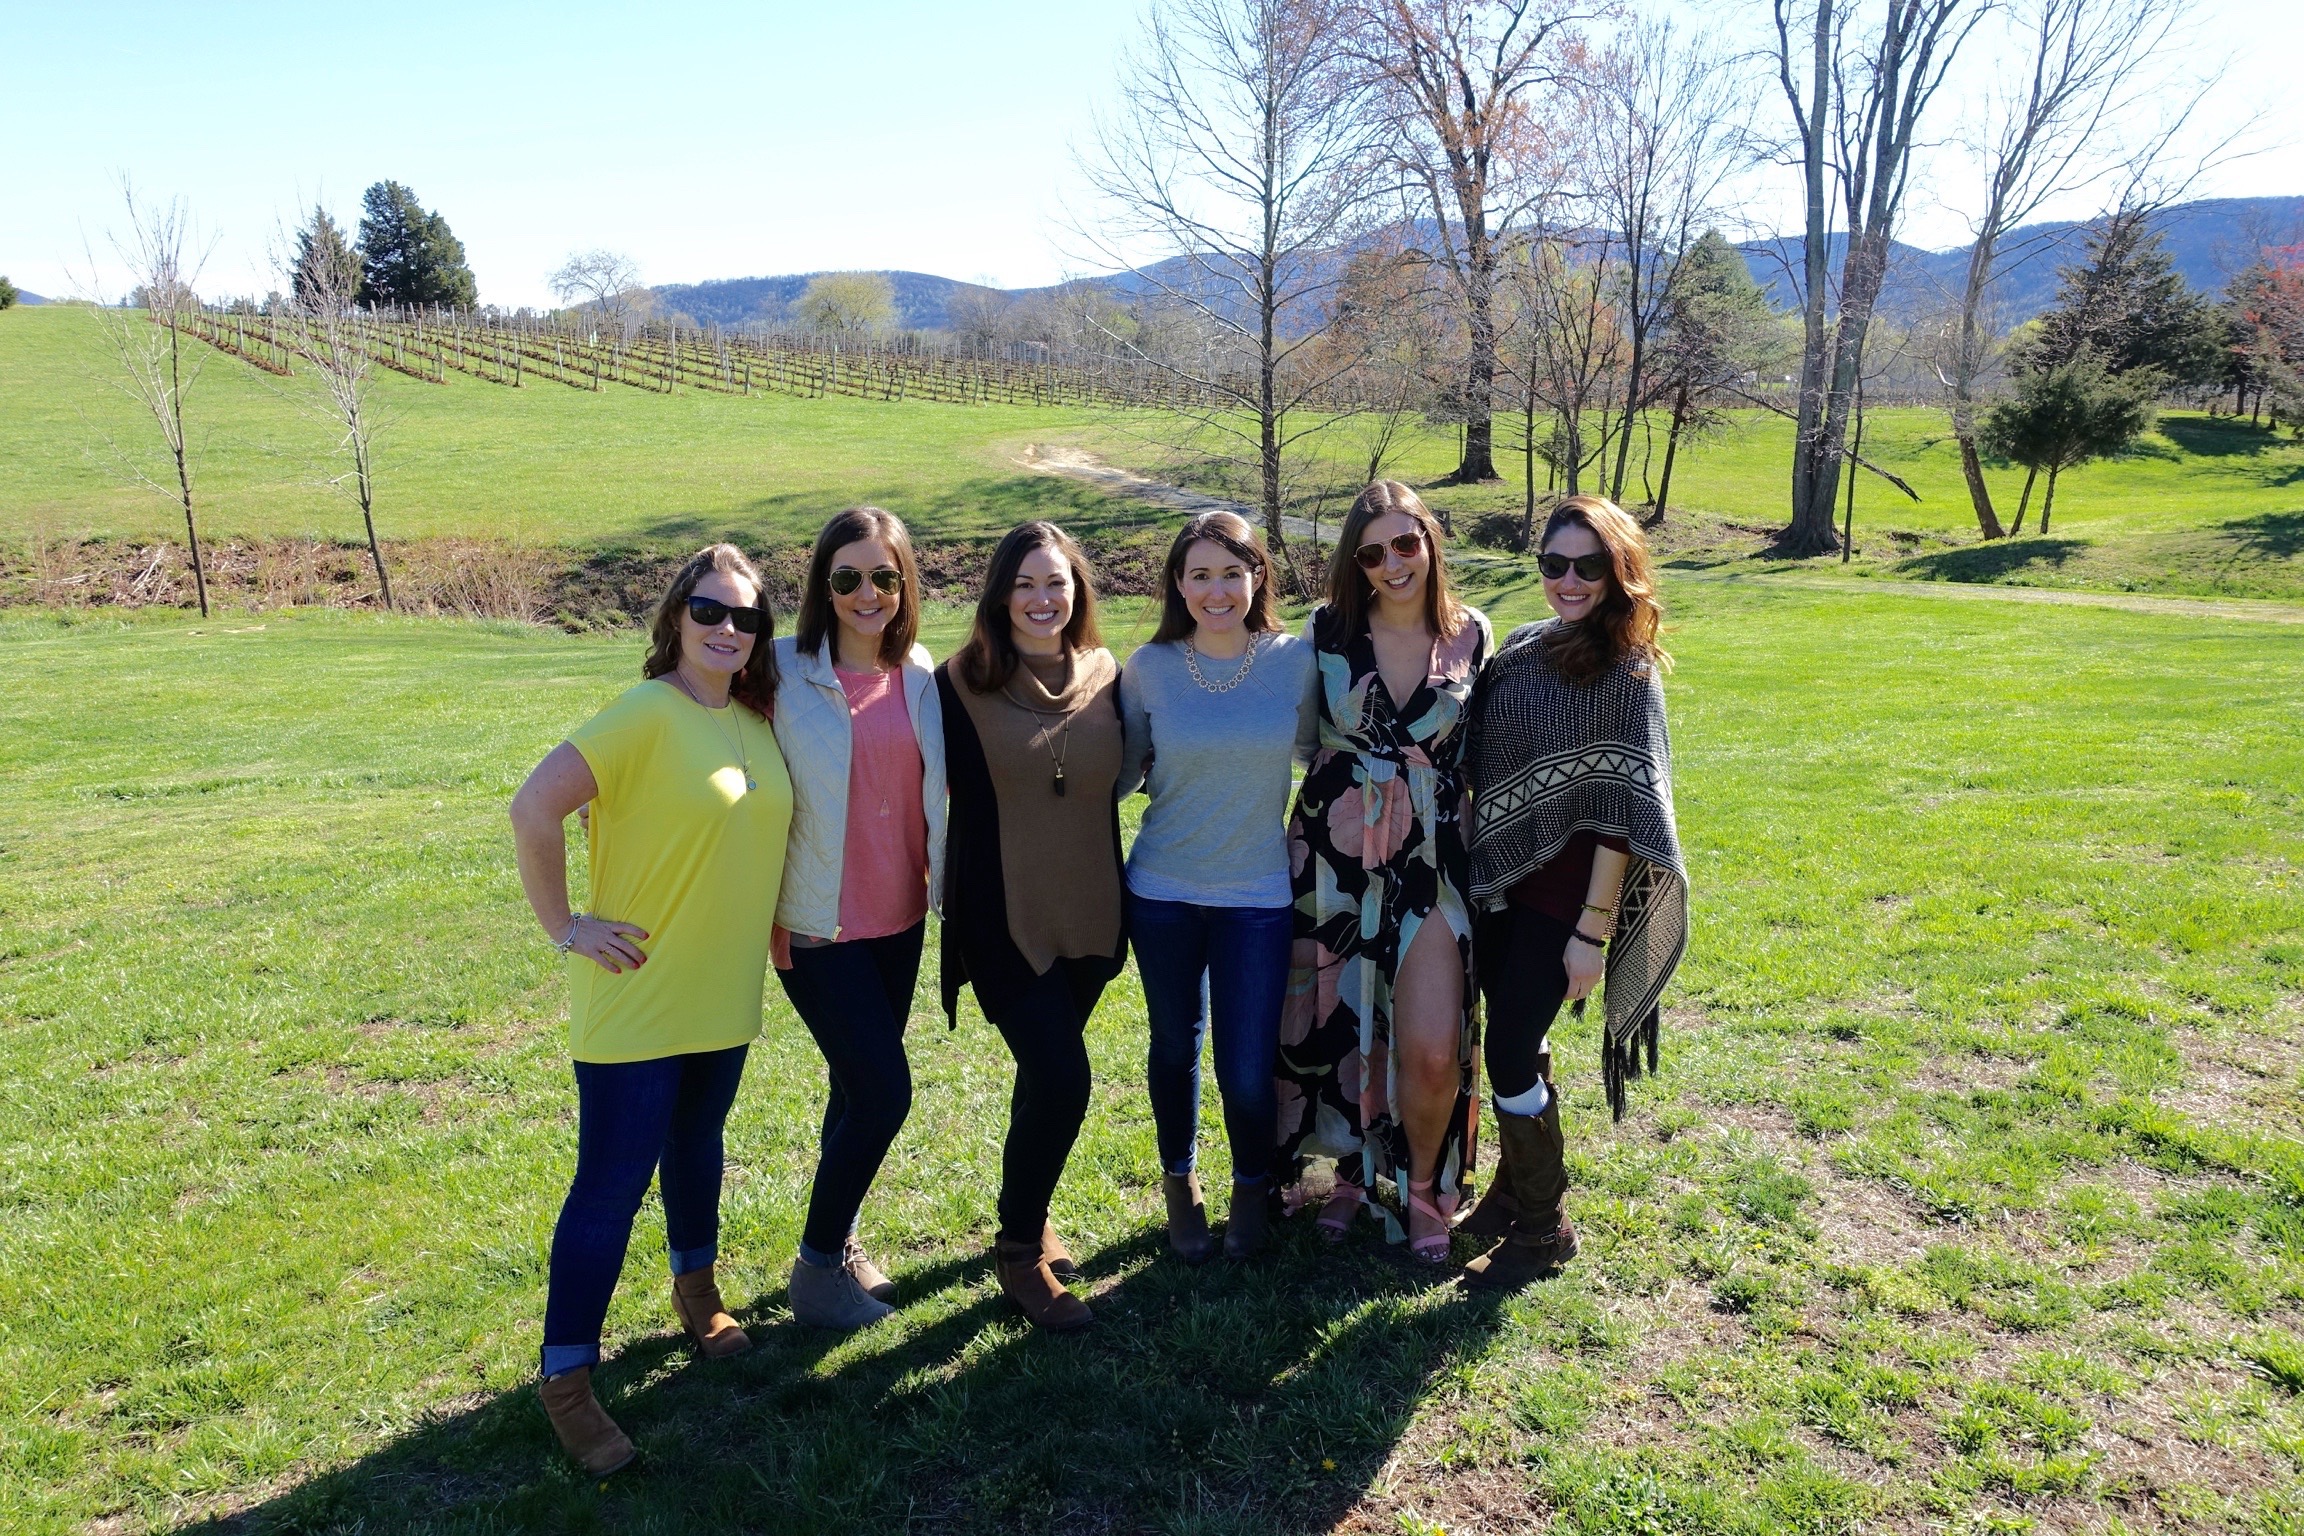
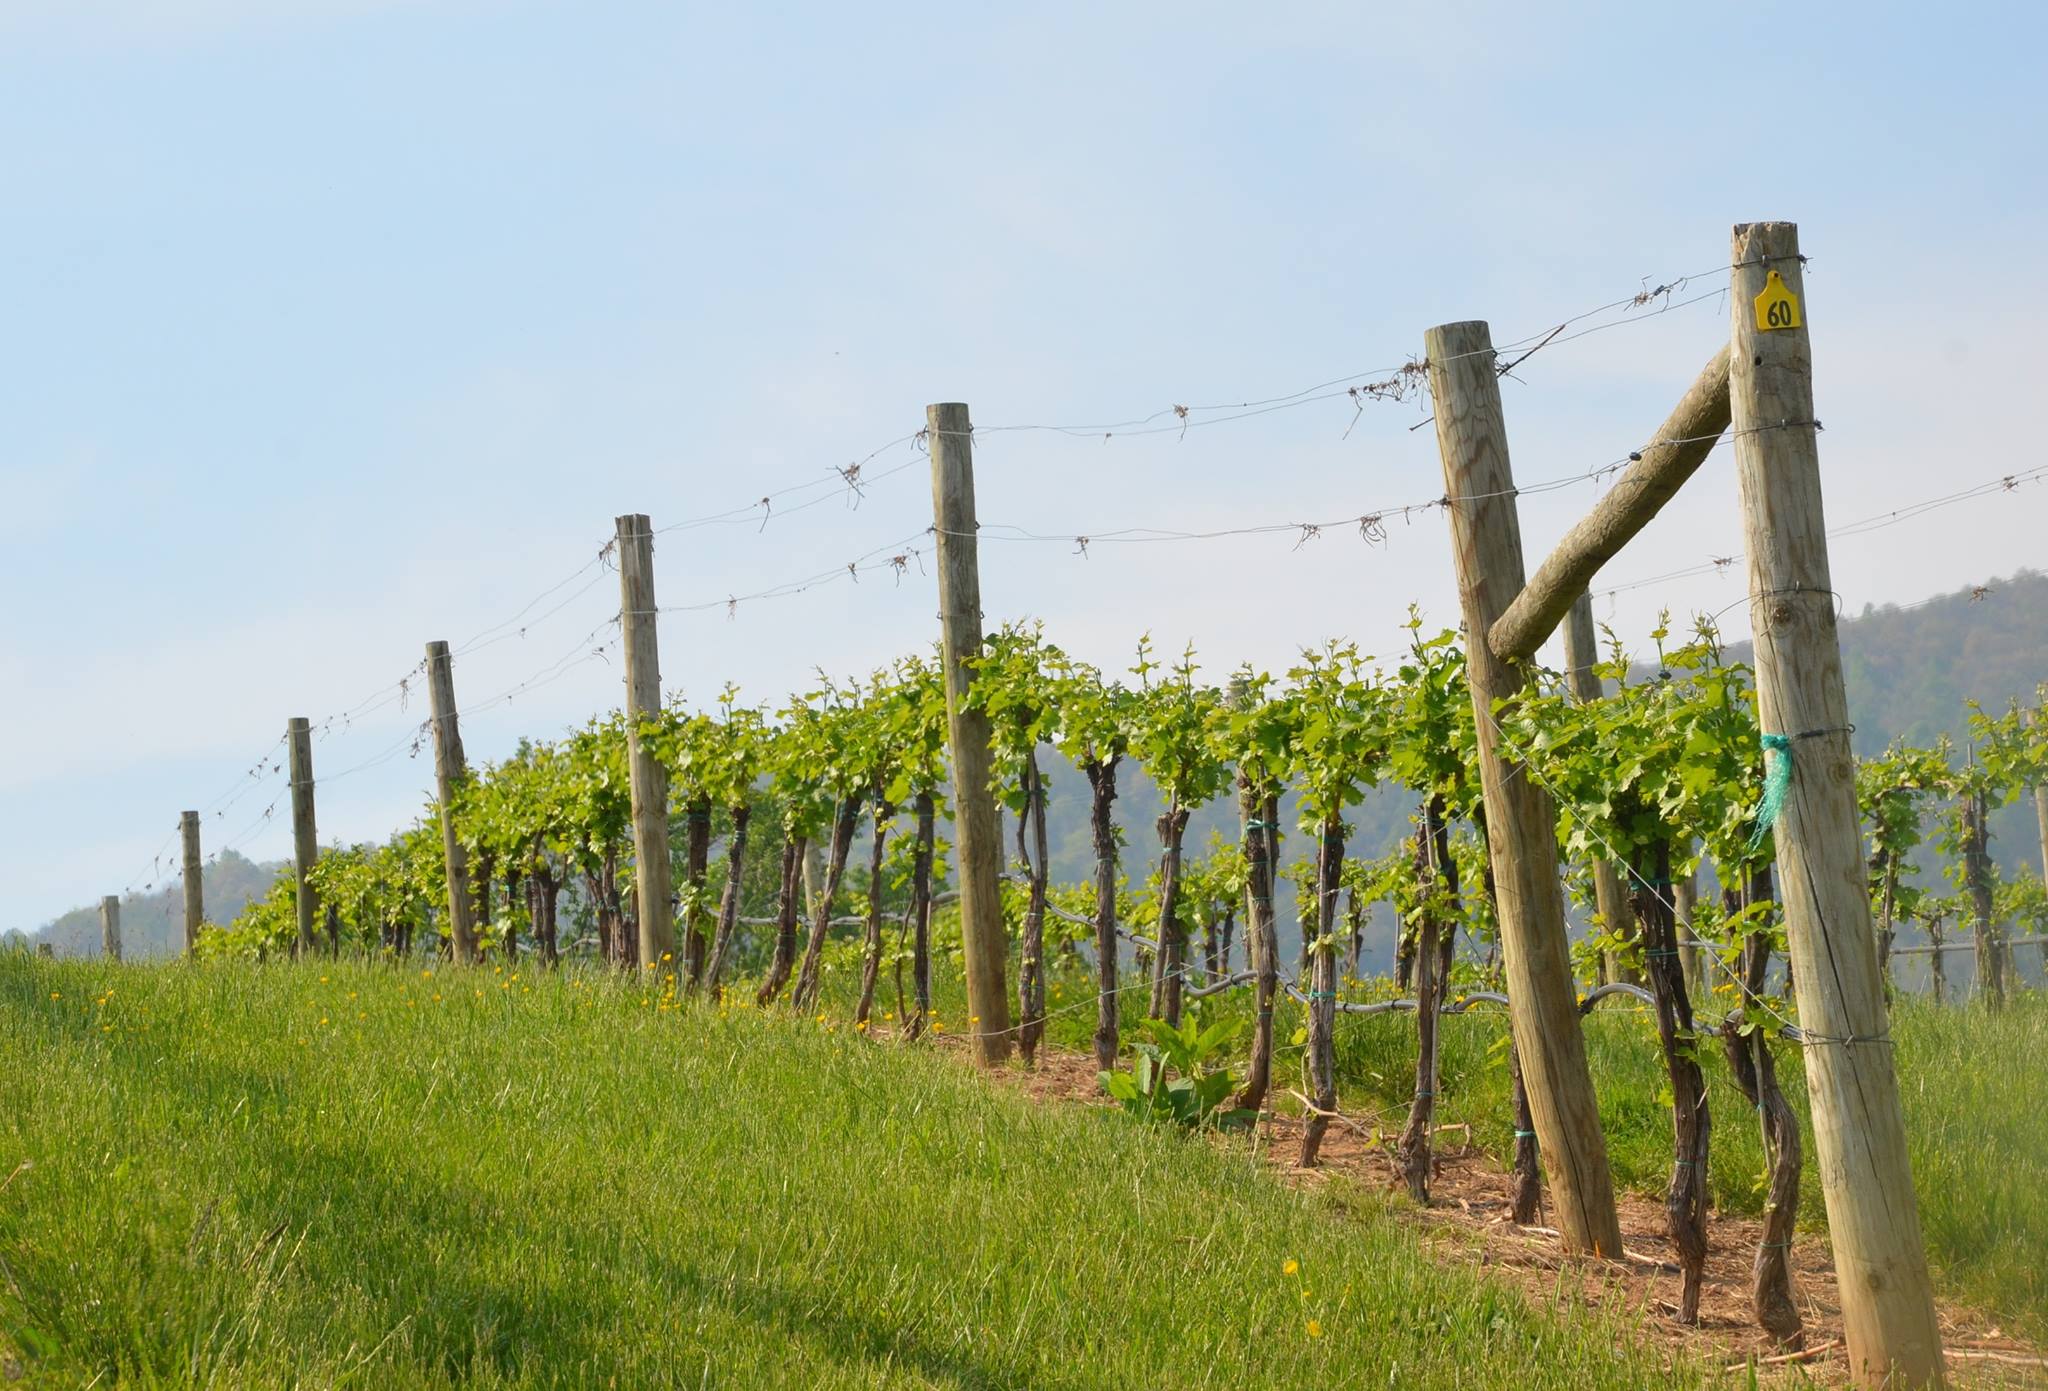
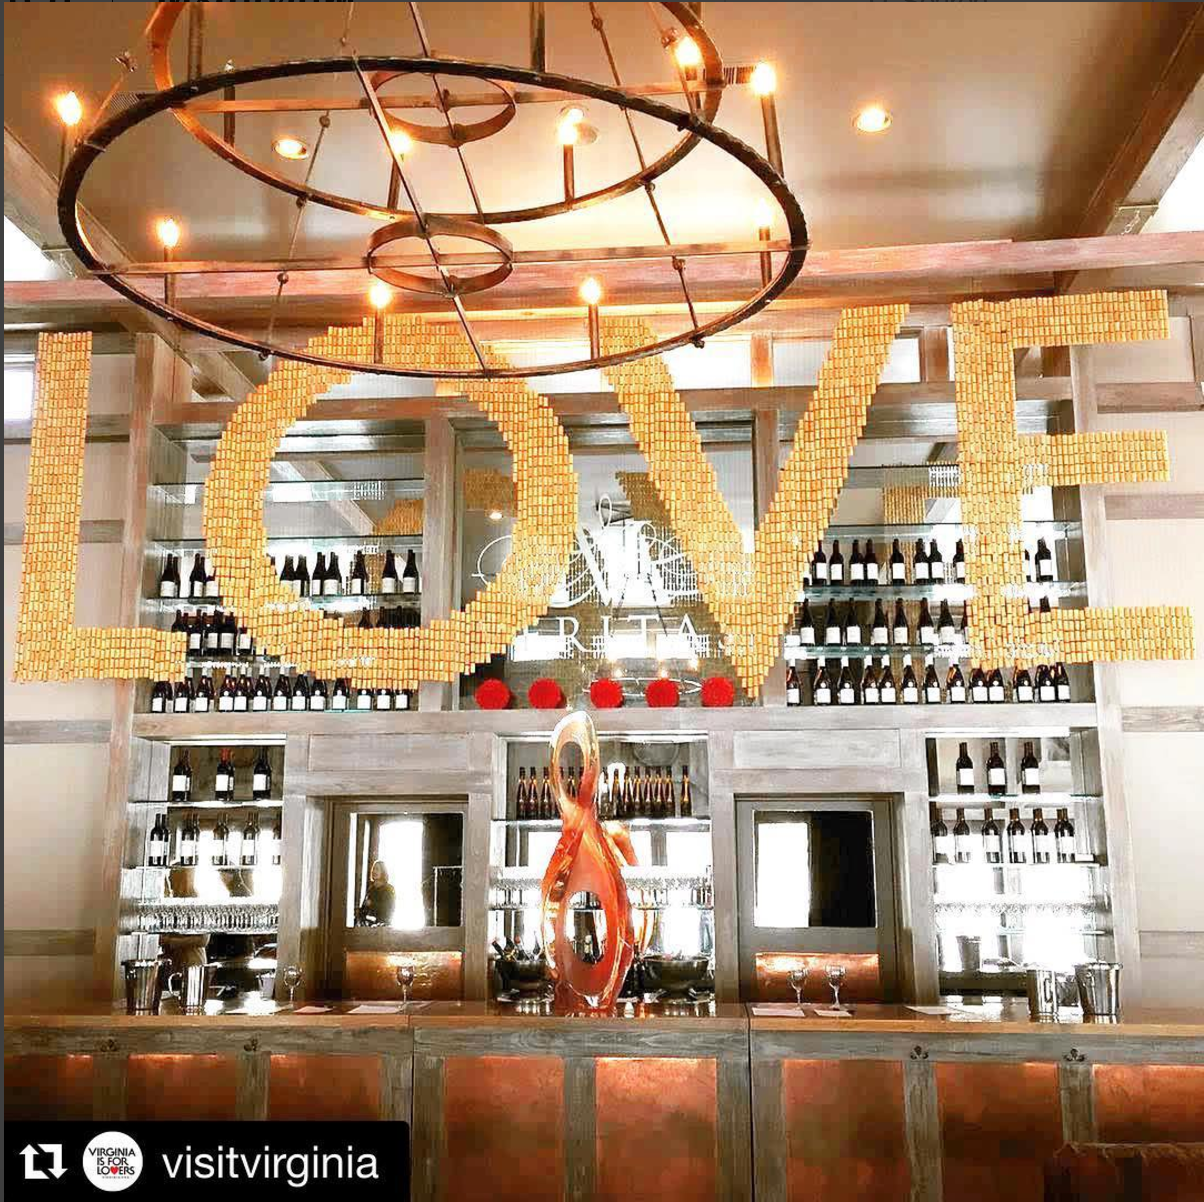
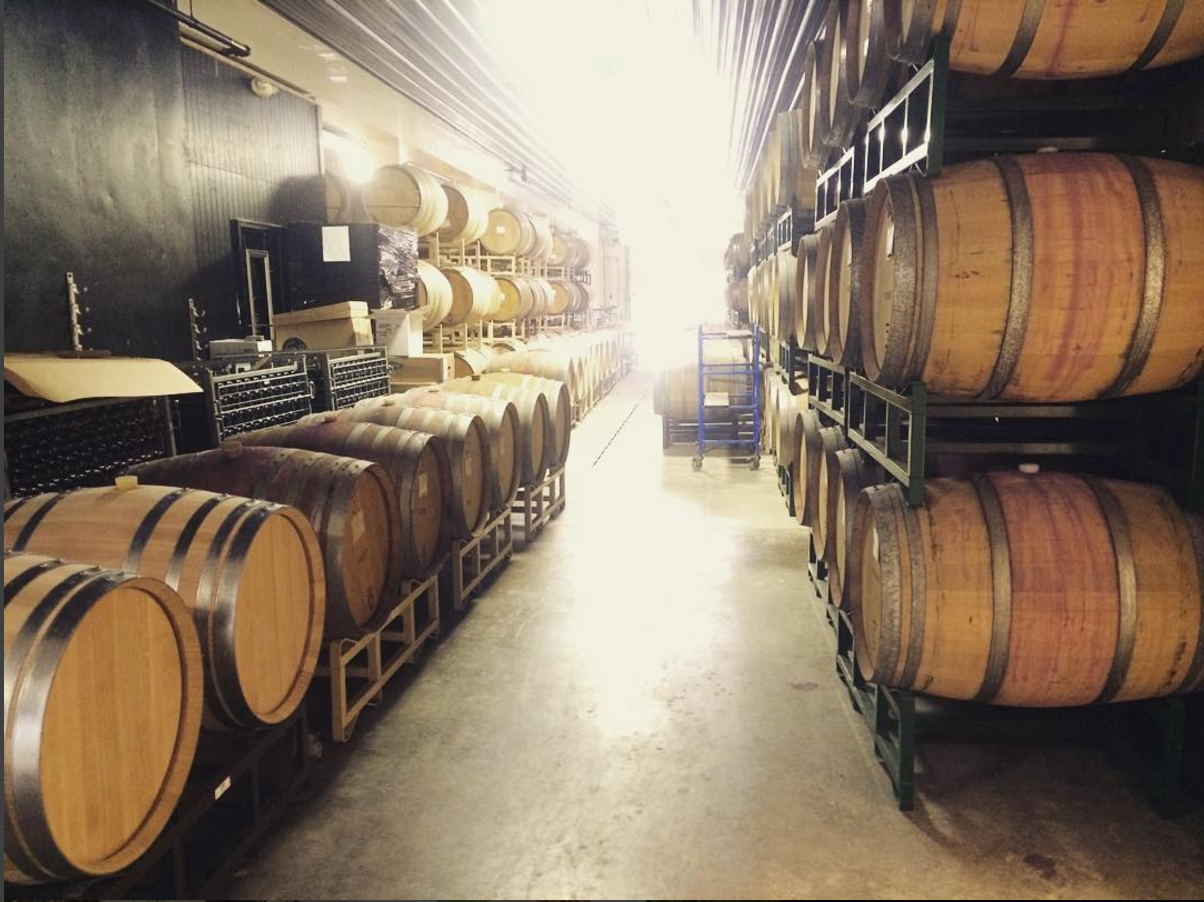
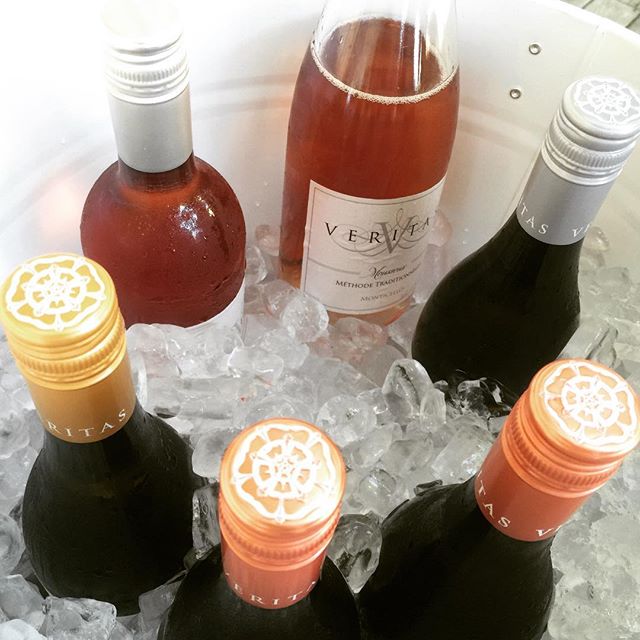
Next up, Veritas Vineyard & Winery! Veritas has a LOVEly (pun intended...they have a L-O-V-E sculpture made out of corks!) tasting room for guests to enjoy many of their best wines. You can also buy open bottles to sit out with on their expansive lawn while you enjoy 360 degree views of gorgeous Virginia countryside. We opted for the private walking tour which lasted about 30-40 minutes. Our tour guide was AMAZING and he kept us laughing the whole time! We learned about the history of Veritas, and saw how they ferment and barrel age some of their wines all while getting to sample the vino! And of course you get to keep your tasting glass. This winemakers showcase cellar tour and tasting will run $20 per person and was well worth it! This place was so beautiful that the Bride wanted to switch up her venue and get married @veritaswinery! We wanted to stay for longer but it was off to our next stop...
King Family Vineyards
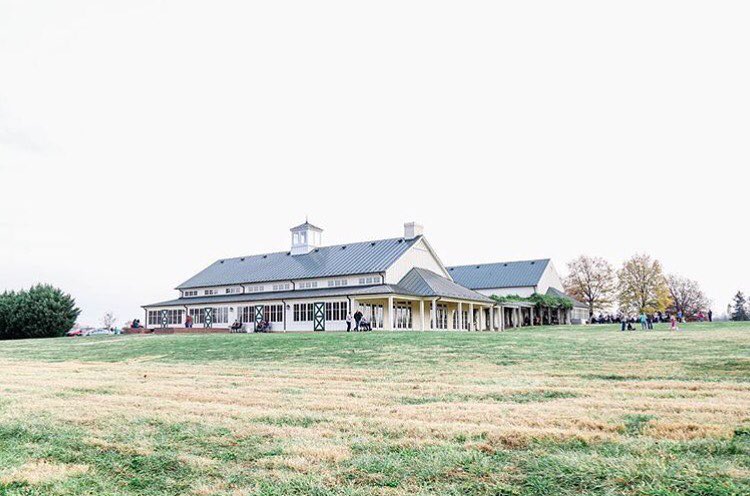
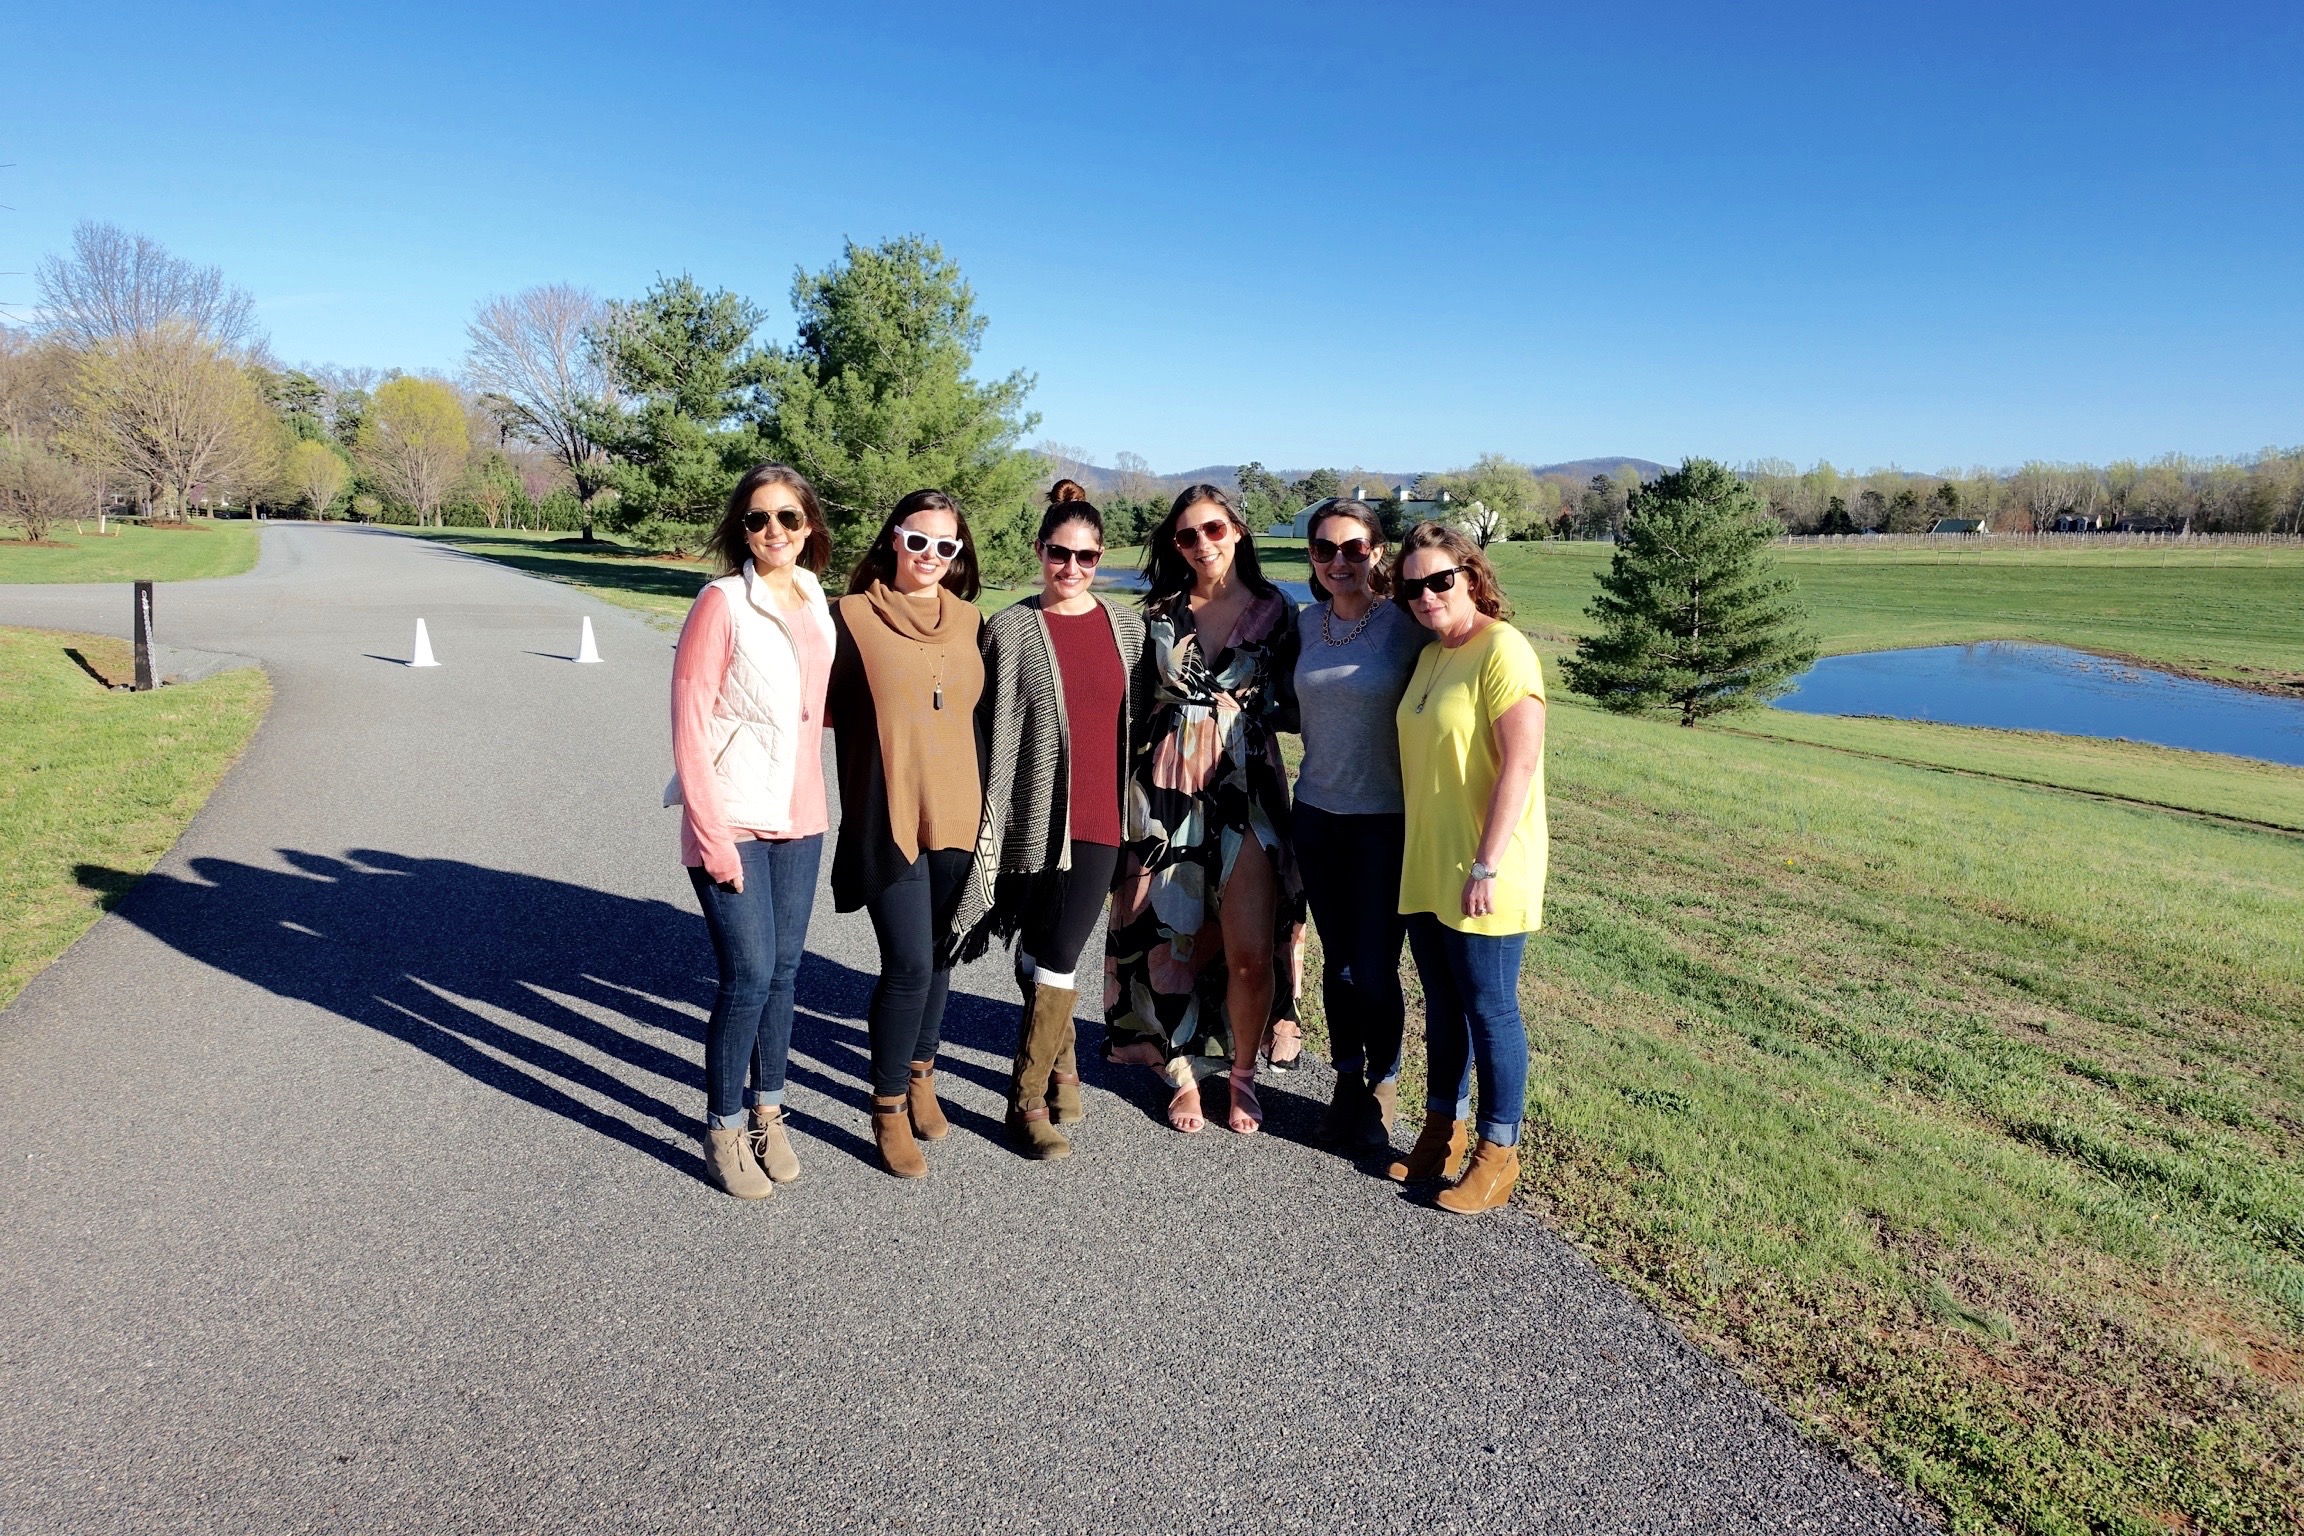
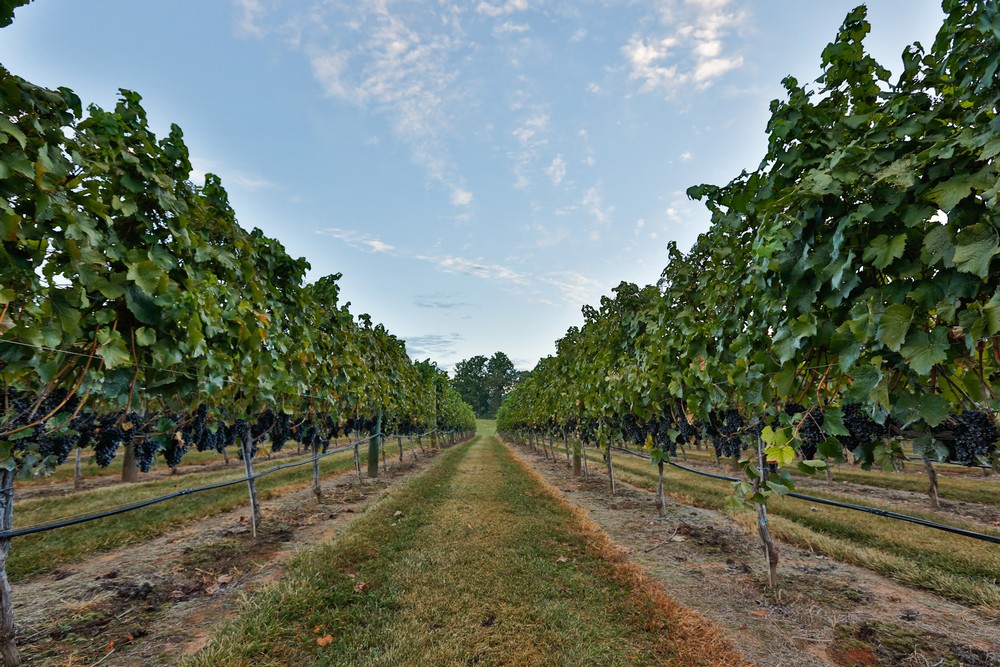
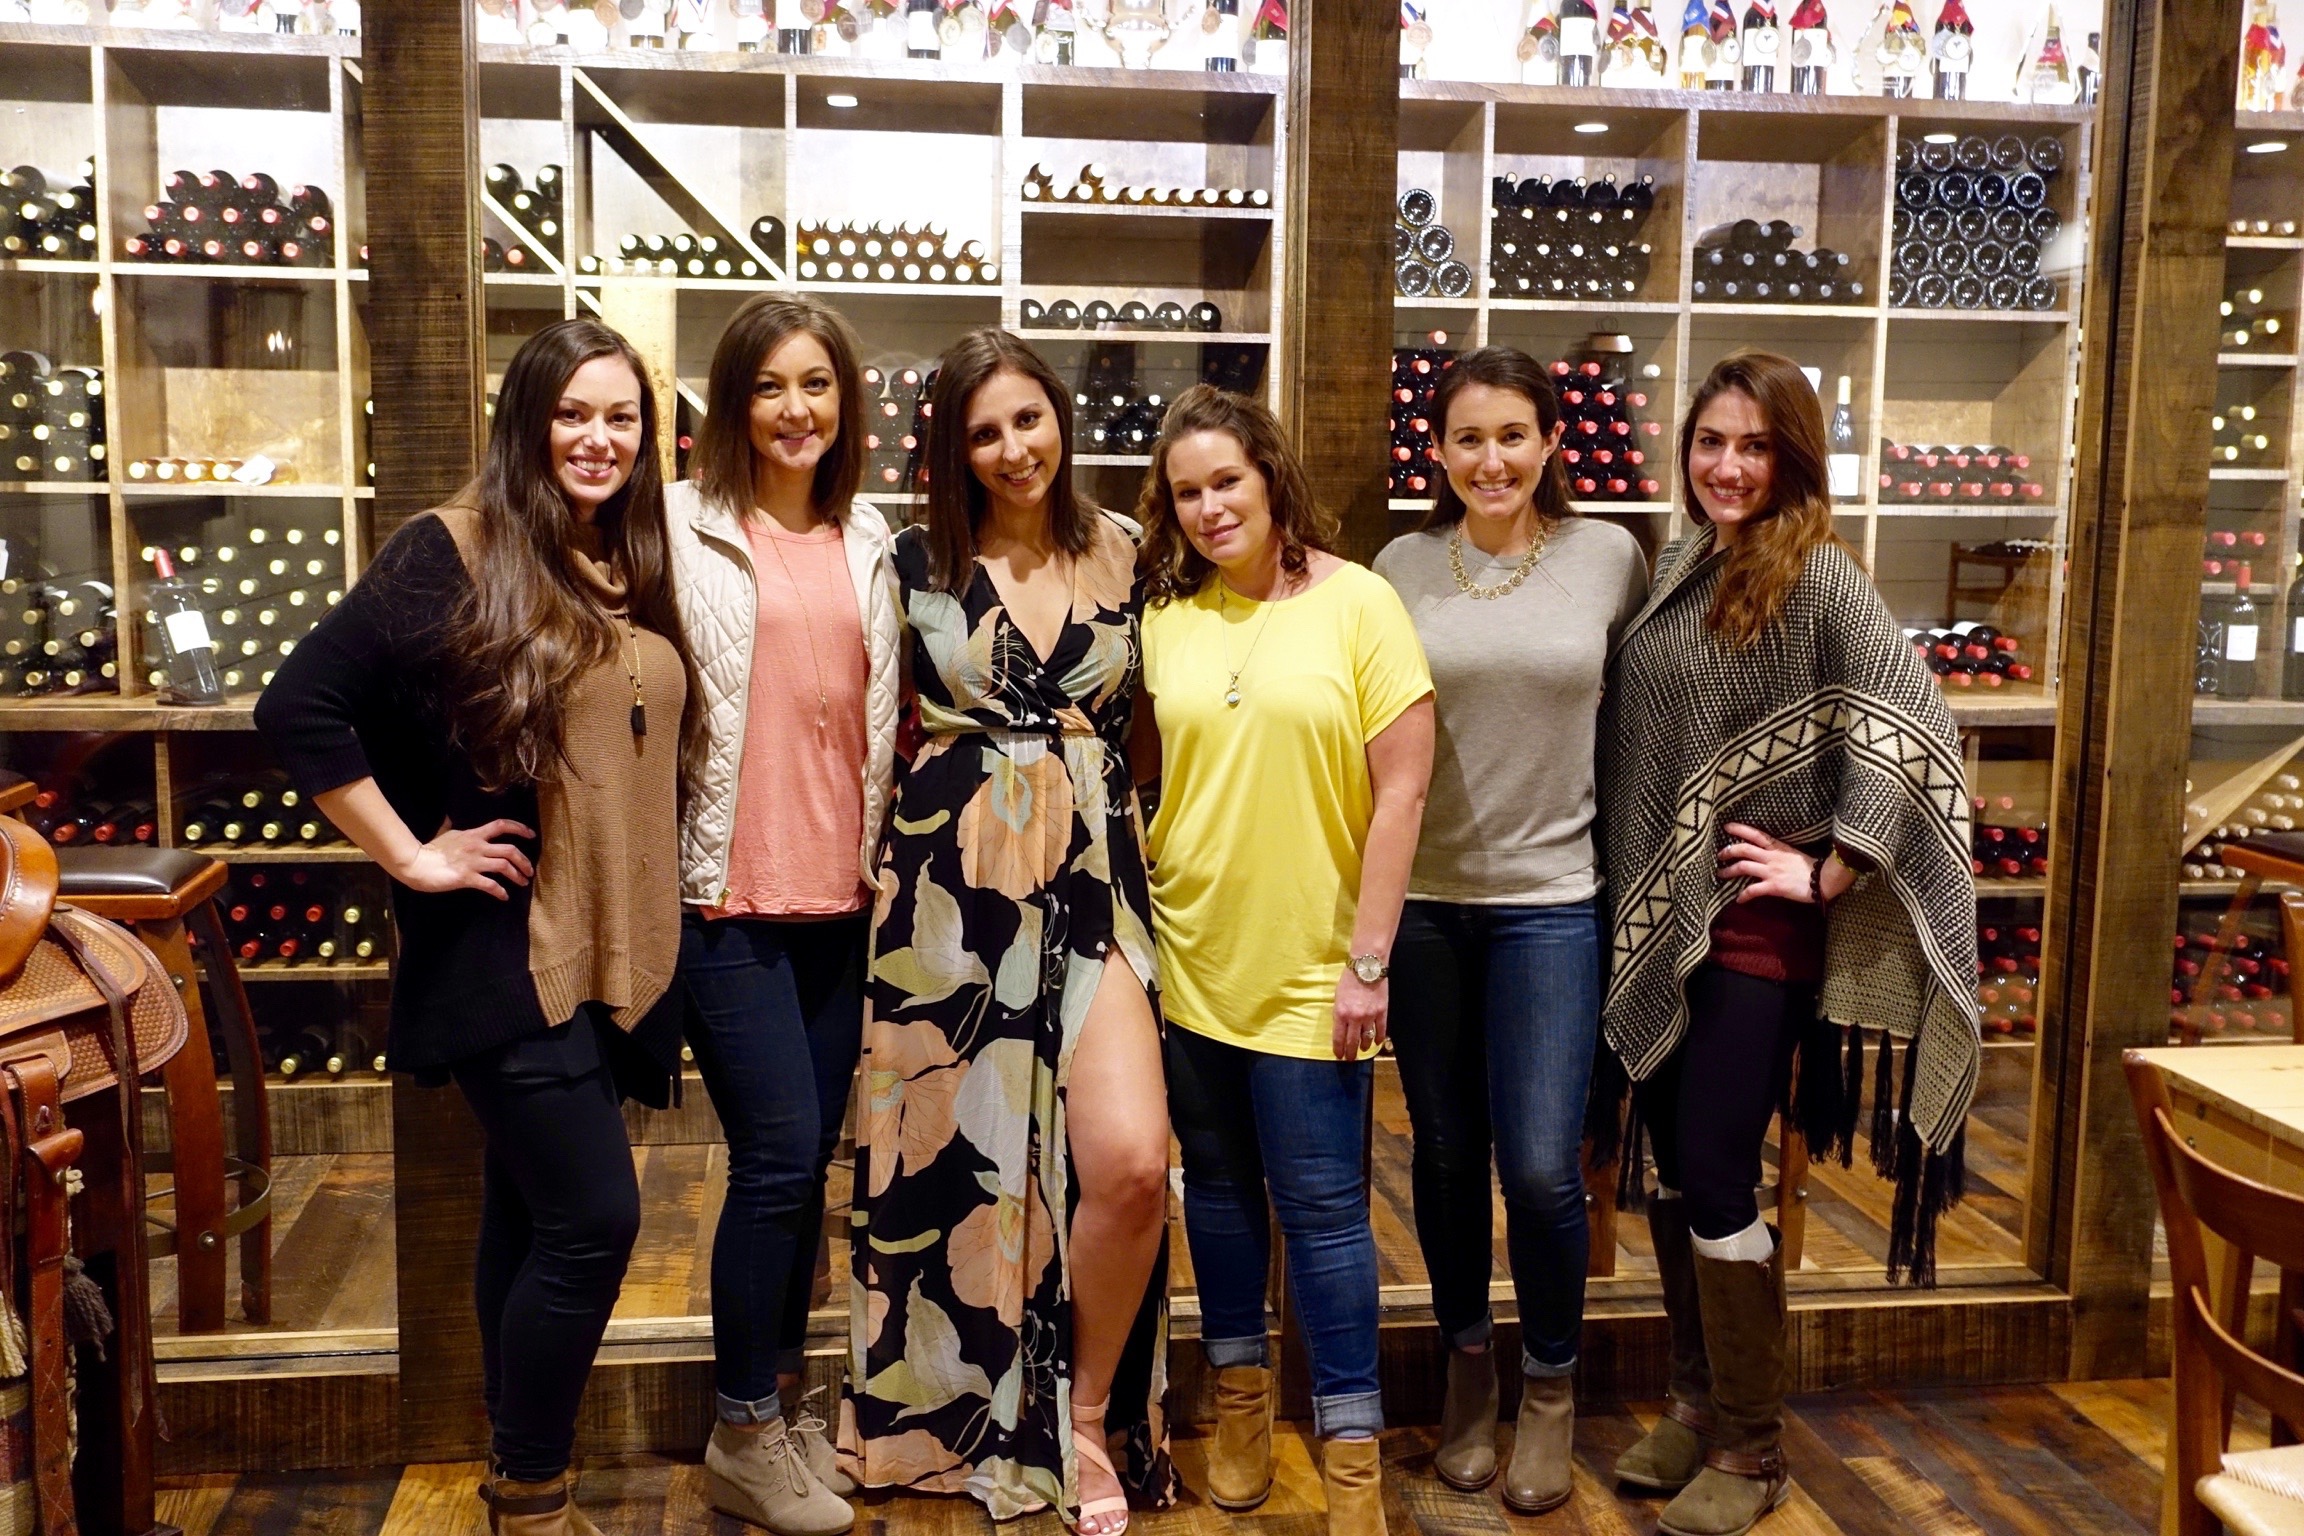
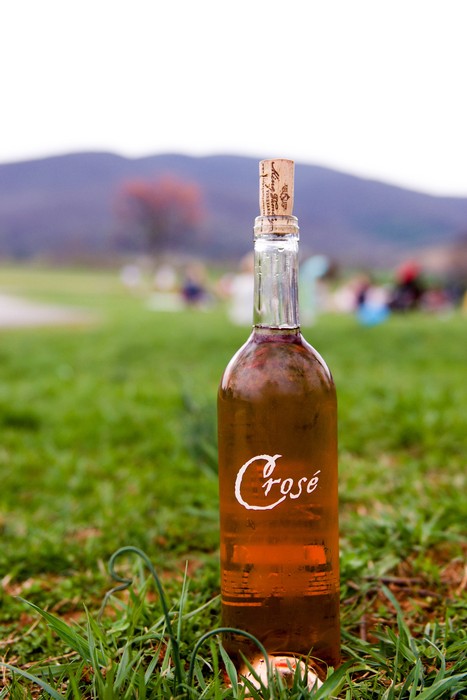
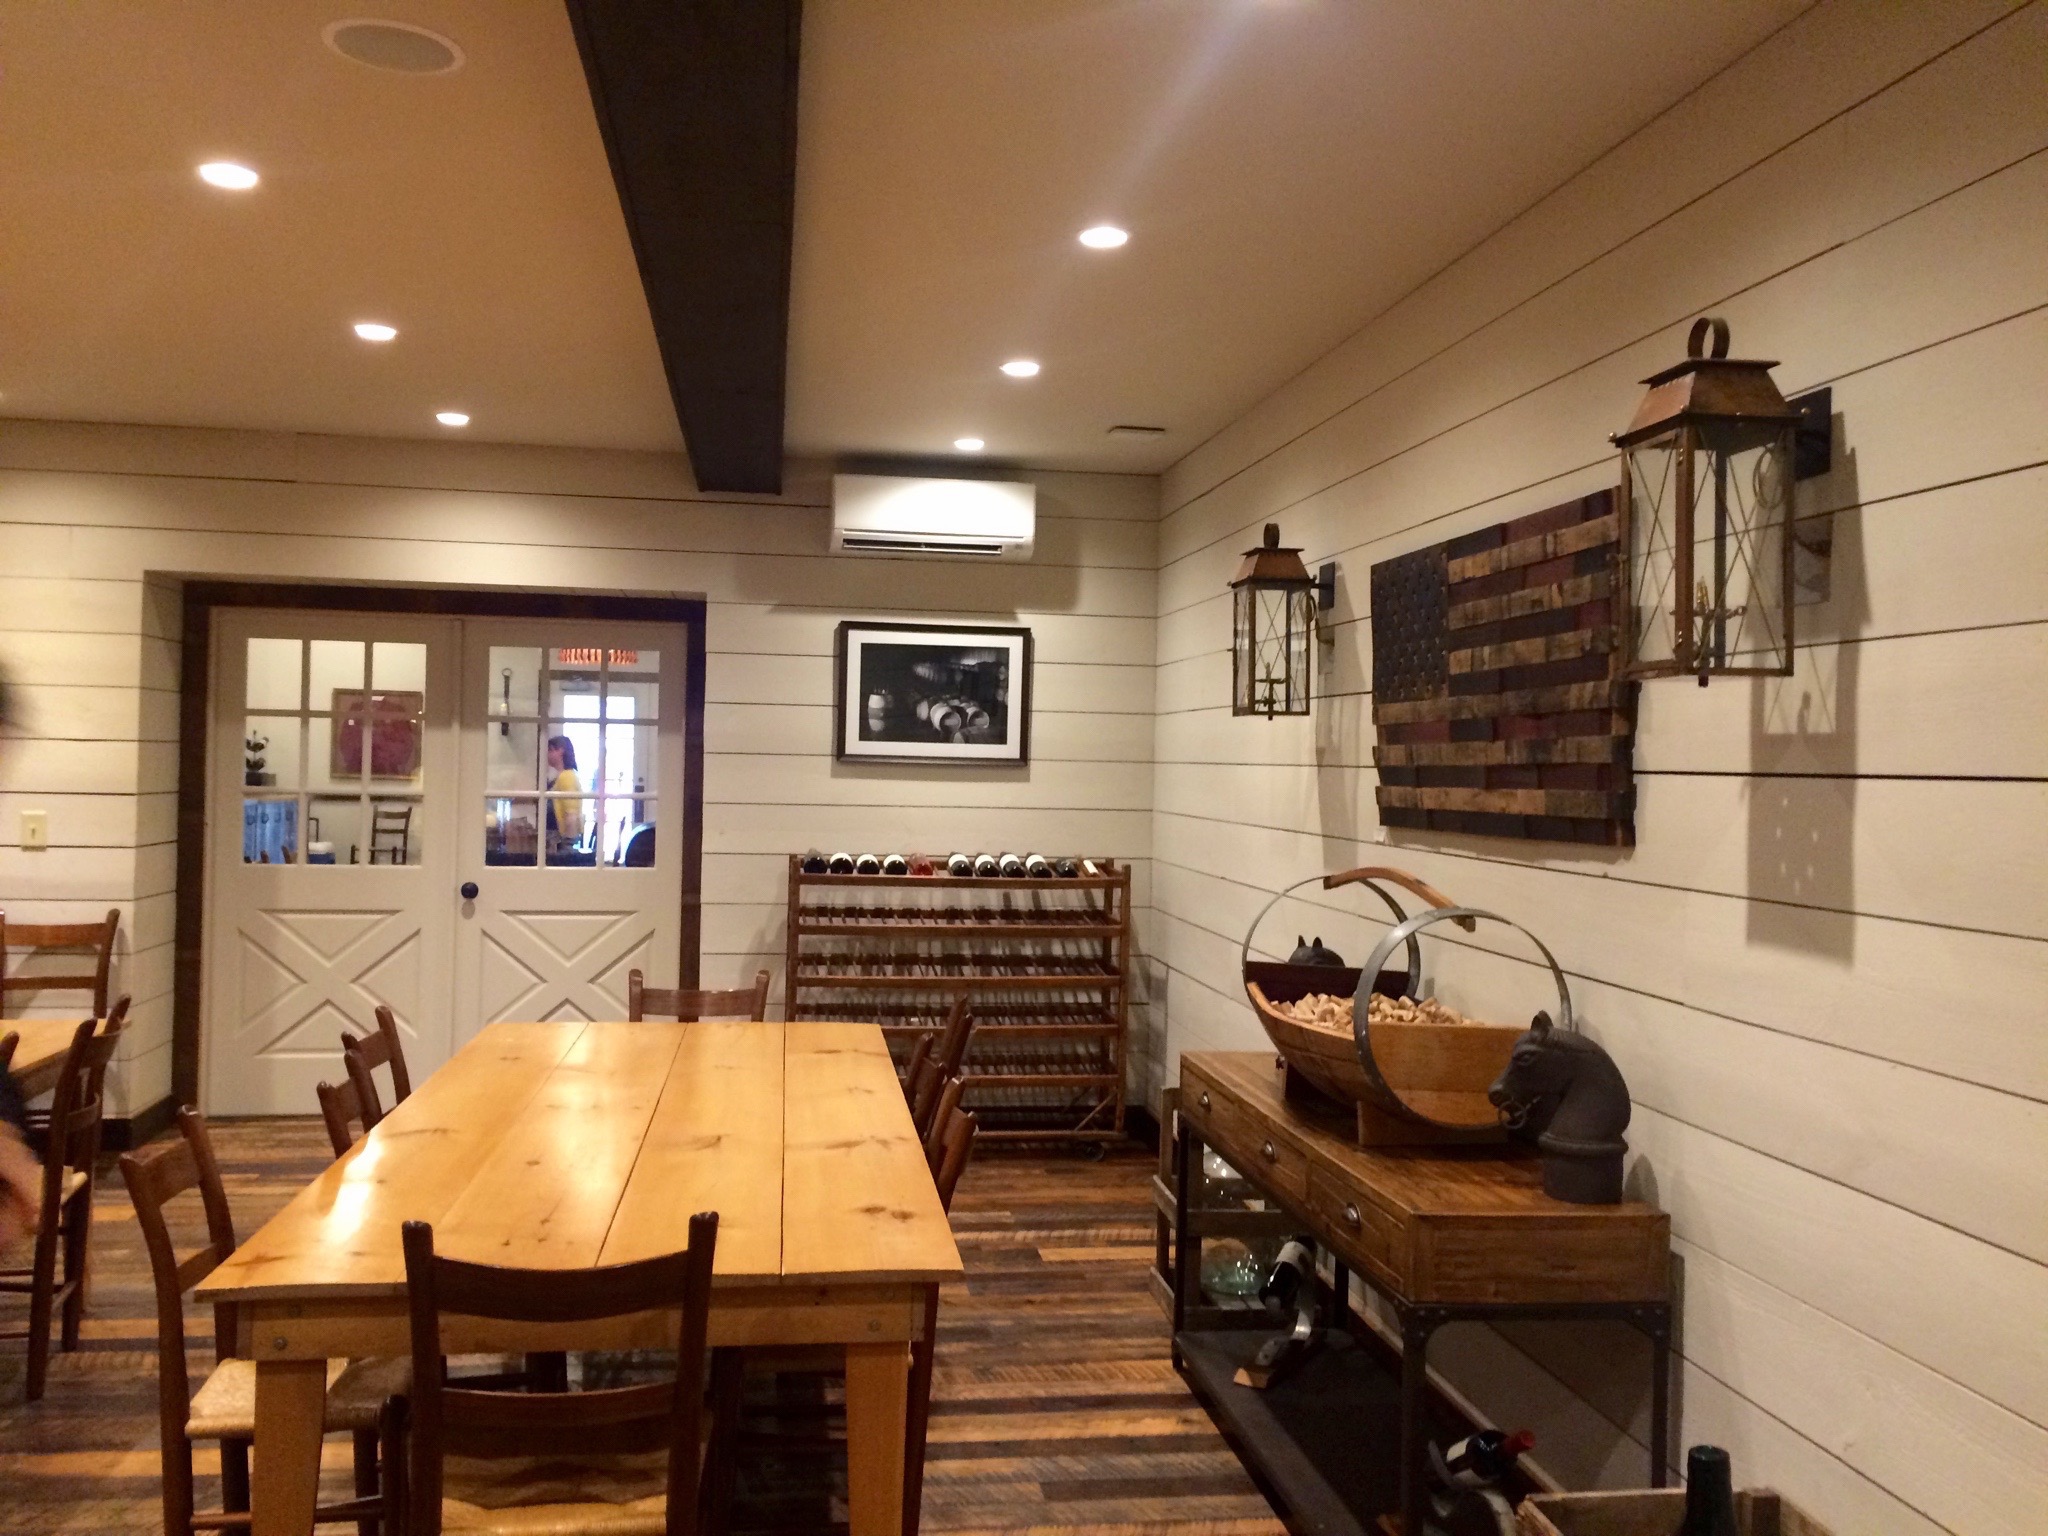
Last, but certainly not least was King Family Vineyards. These folks were so accommodating. At this point in the day, frankly, we were running behind, mostly due to our late driver, but King Family Vineyards held out and waited for us to arrive! The grounds were so amazing, there was actually a wedding about to happen that evening. For $15 per person, we enjoyed a private tasting in their gorgeous wine library room. The hostess was so nice, she was also a PA so we enjoyed talking (or commiserating) about our years of schooling. The wine was spectacular, the Crosé and Viognier were our favorites! And of course, we racked up another wine glass to take home. I was so impressed with the service @kingfamilyvineyards!!
Step 3: Decor, Decor, Decor!
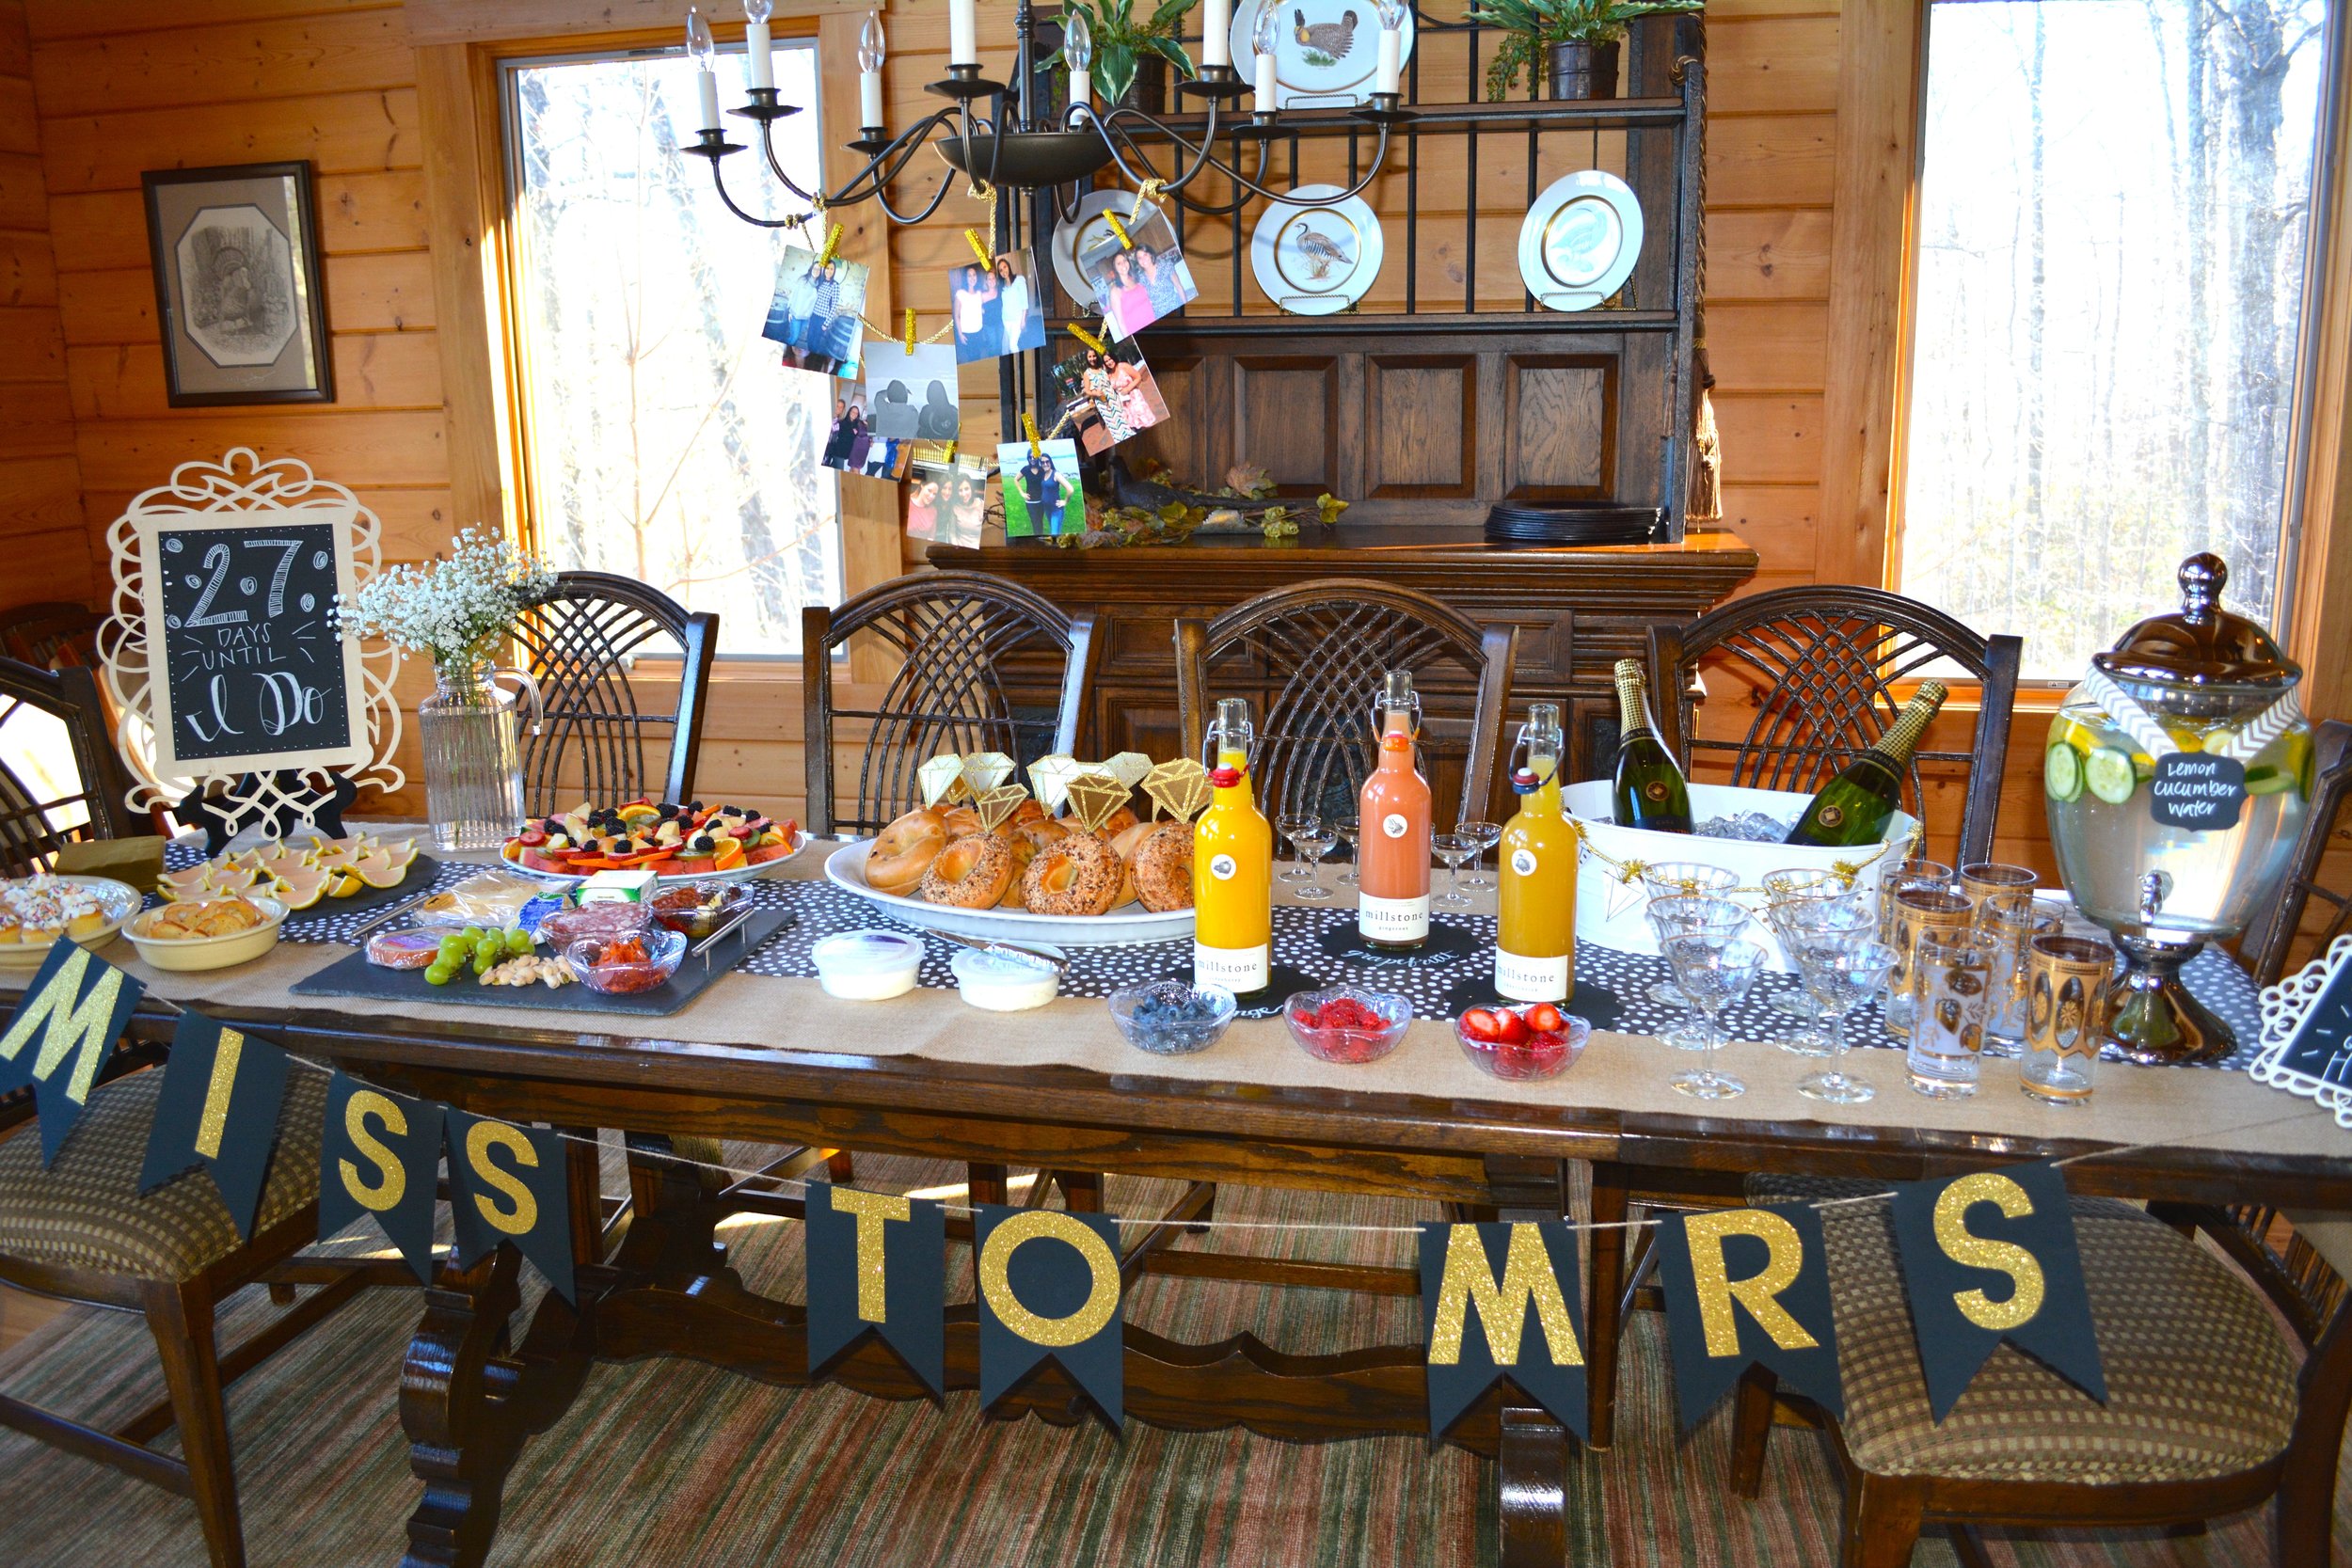
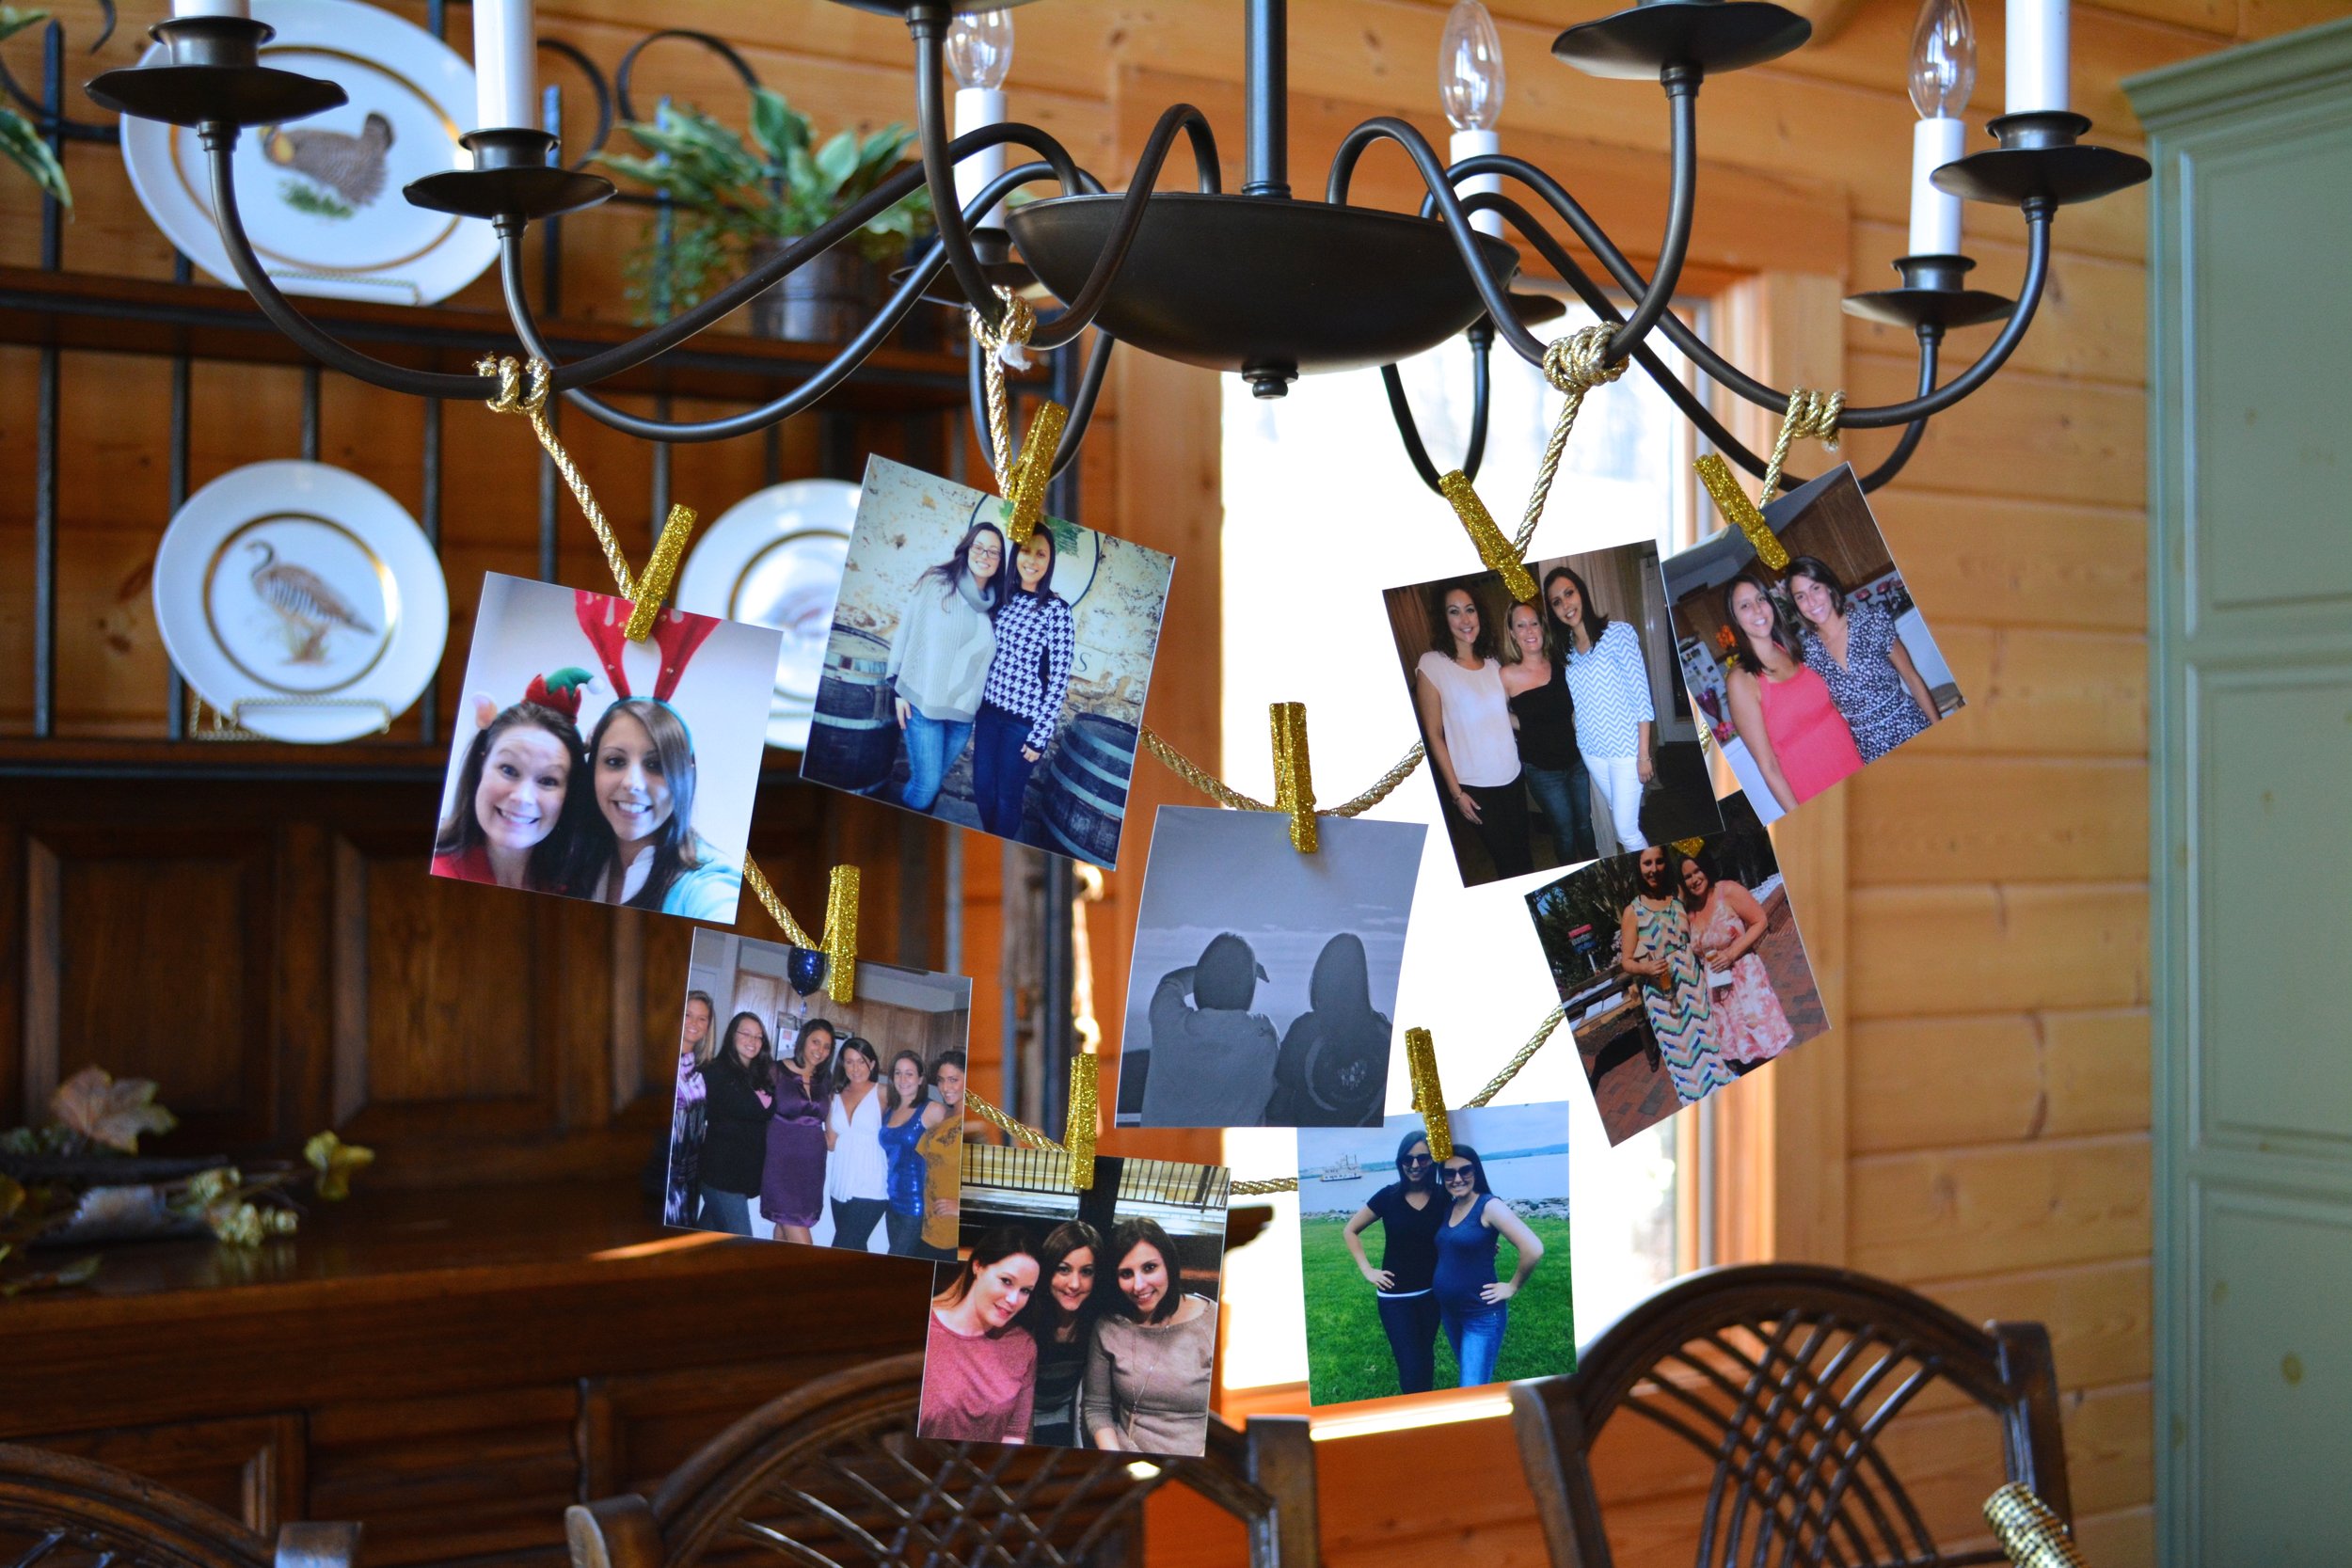
This is what will really set your party apart. And that doesn't mean that you have to spend a lot of money either! I did most of my shopping at The Dollar Tree and Michaels for some simple DIY projects. To get an idea of what I would need, I looked at pictures of the living spaces on Crimora Mine Retreat's website, since I had never been there before. I knew that I wanted to host the party in the main living area and utilize the dining table and fireplace seating area as focal points. A fireplace looks great with some swag...literally a banner is perfect and very easy to hang. It doesn't take much to make this grand fireplace pop since it already holds so much visual weight in the space. I made this tassel garland using an awesome tutorial by @pennies_for_a_fortune which can be found here if you are interested in some DIY. If that is not something you're up for you can buy some from probably most any party supply store, here is some from Michael's for {{$3.99}} or this pom pom garland would be cute {{$1 from Dollar Tree}}. I printed several 4x4 photos (that I stalked Insta and Facebook to acquire) from Mpix and clipped them to the tassel garland with glittery clothespins {{$9.20 from Walmart, or you can totally DIY these too}}. For the Feyonce banner, I just cut out the pennant shape from black paper {{$2.50 from Michaels}}, applied these huge glittered letter stickers {{$7.99 from Michaels}} and strung them together with twine. Baby's breath is a cheaper flower and really livens up the place. The chalk board sign is a finishing touch. I love having my chalkboard signs so that I can just erase them and reuse them! More on these later..
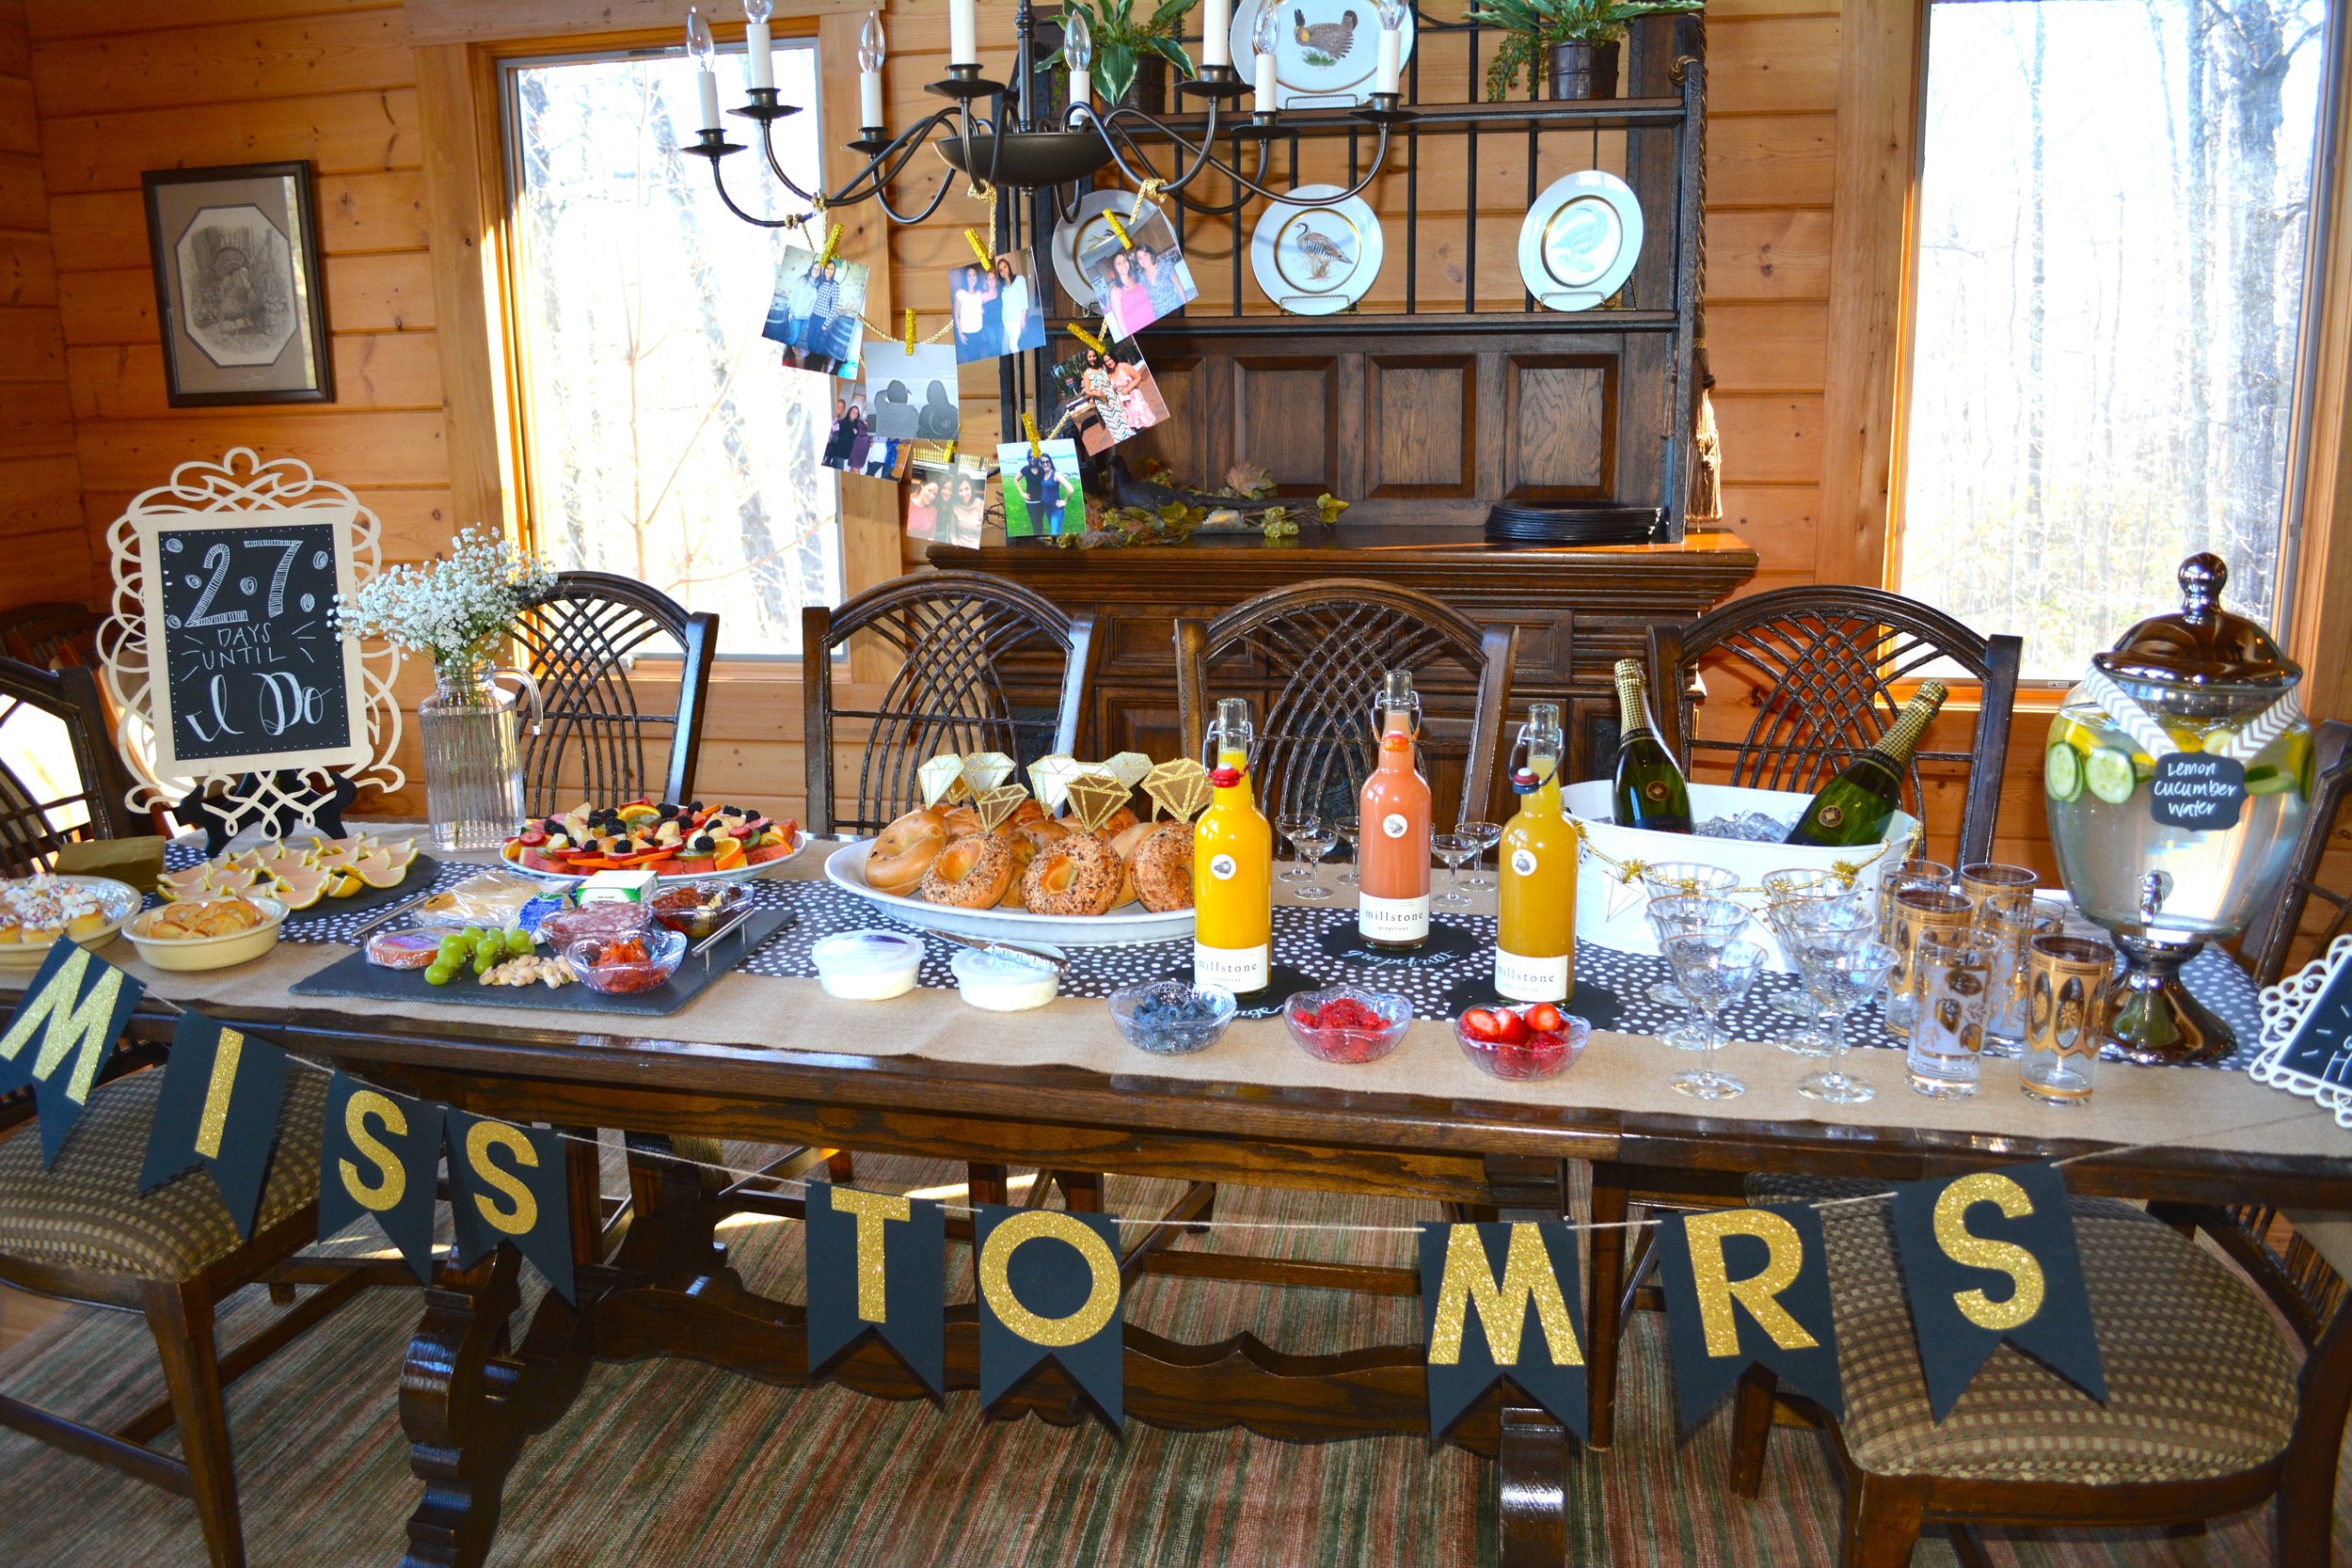
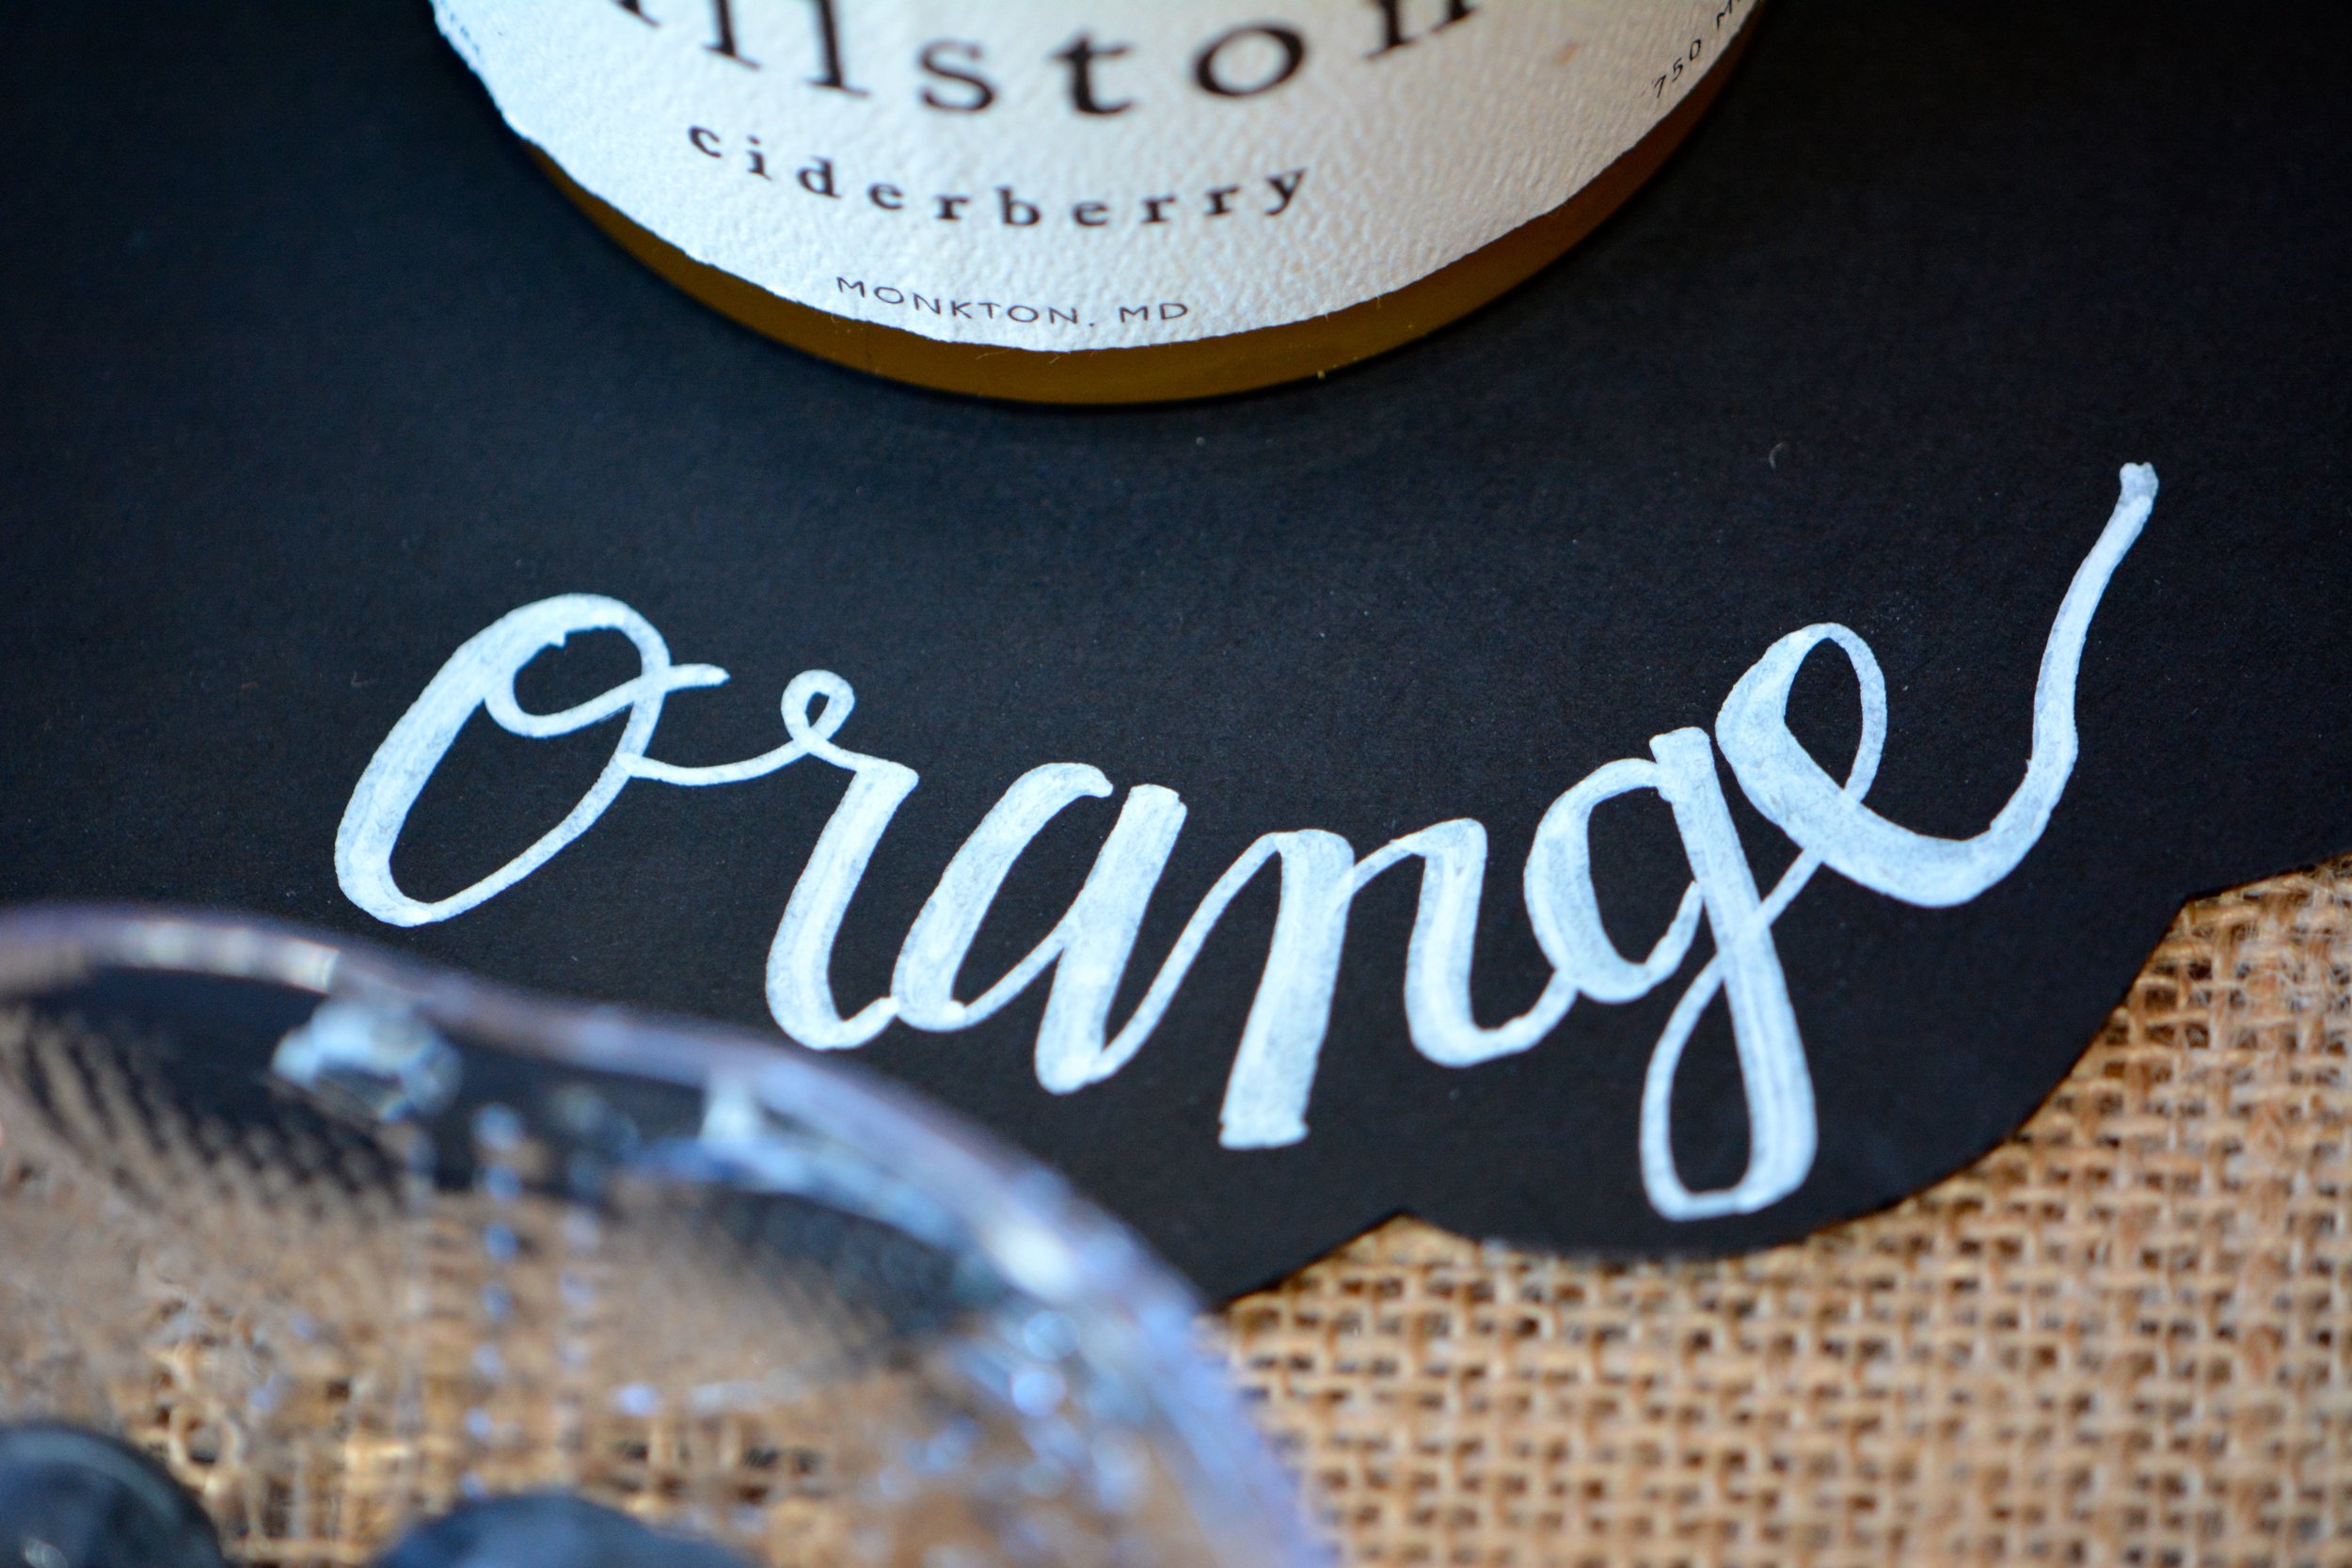
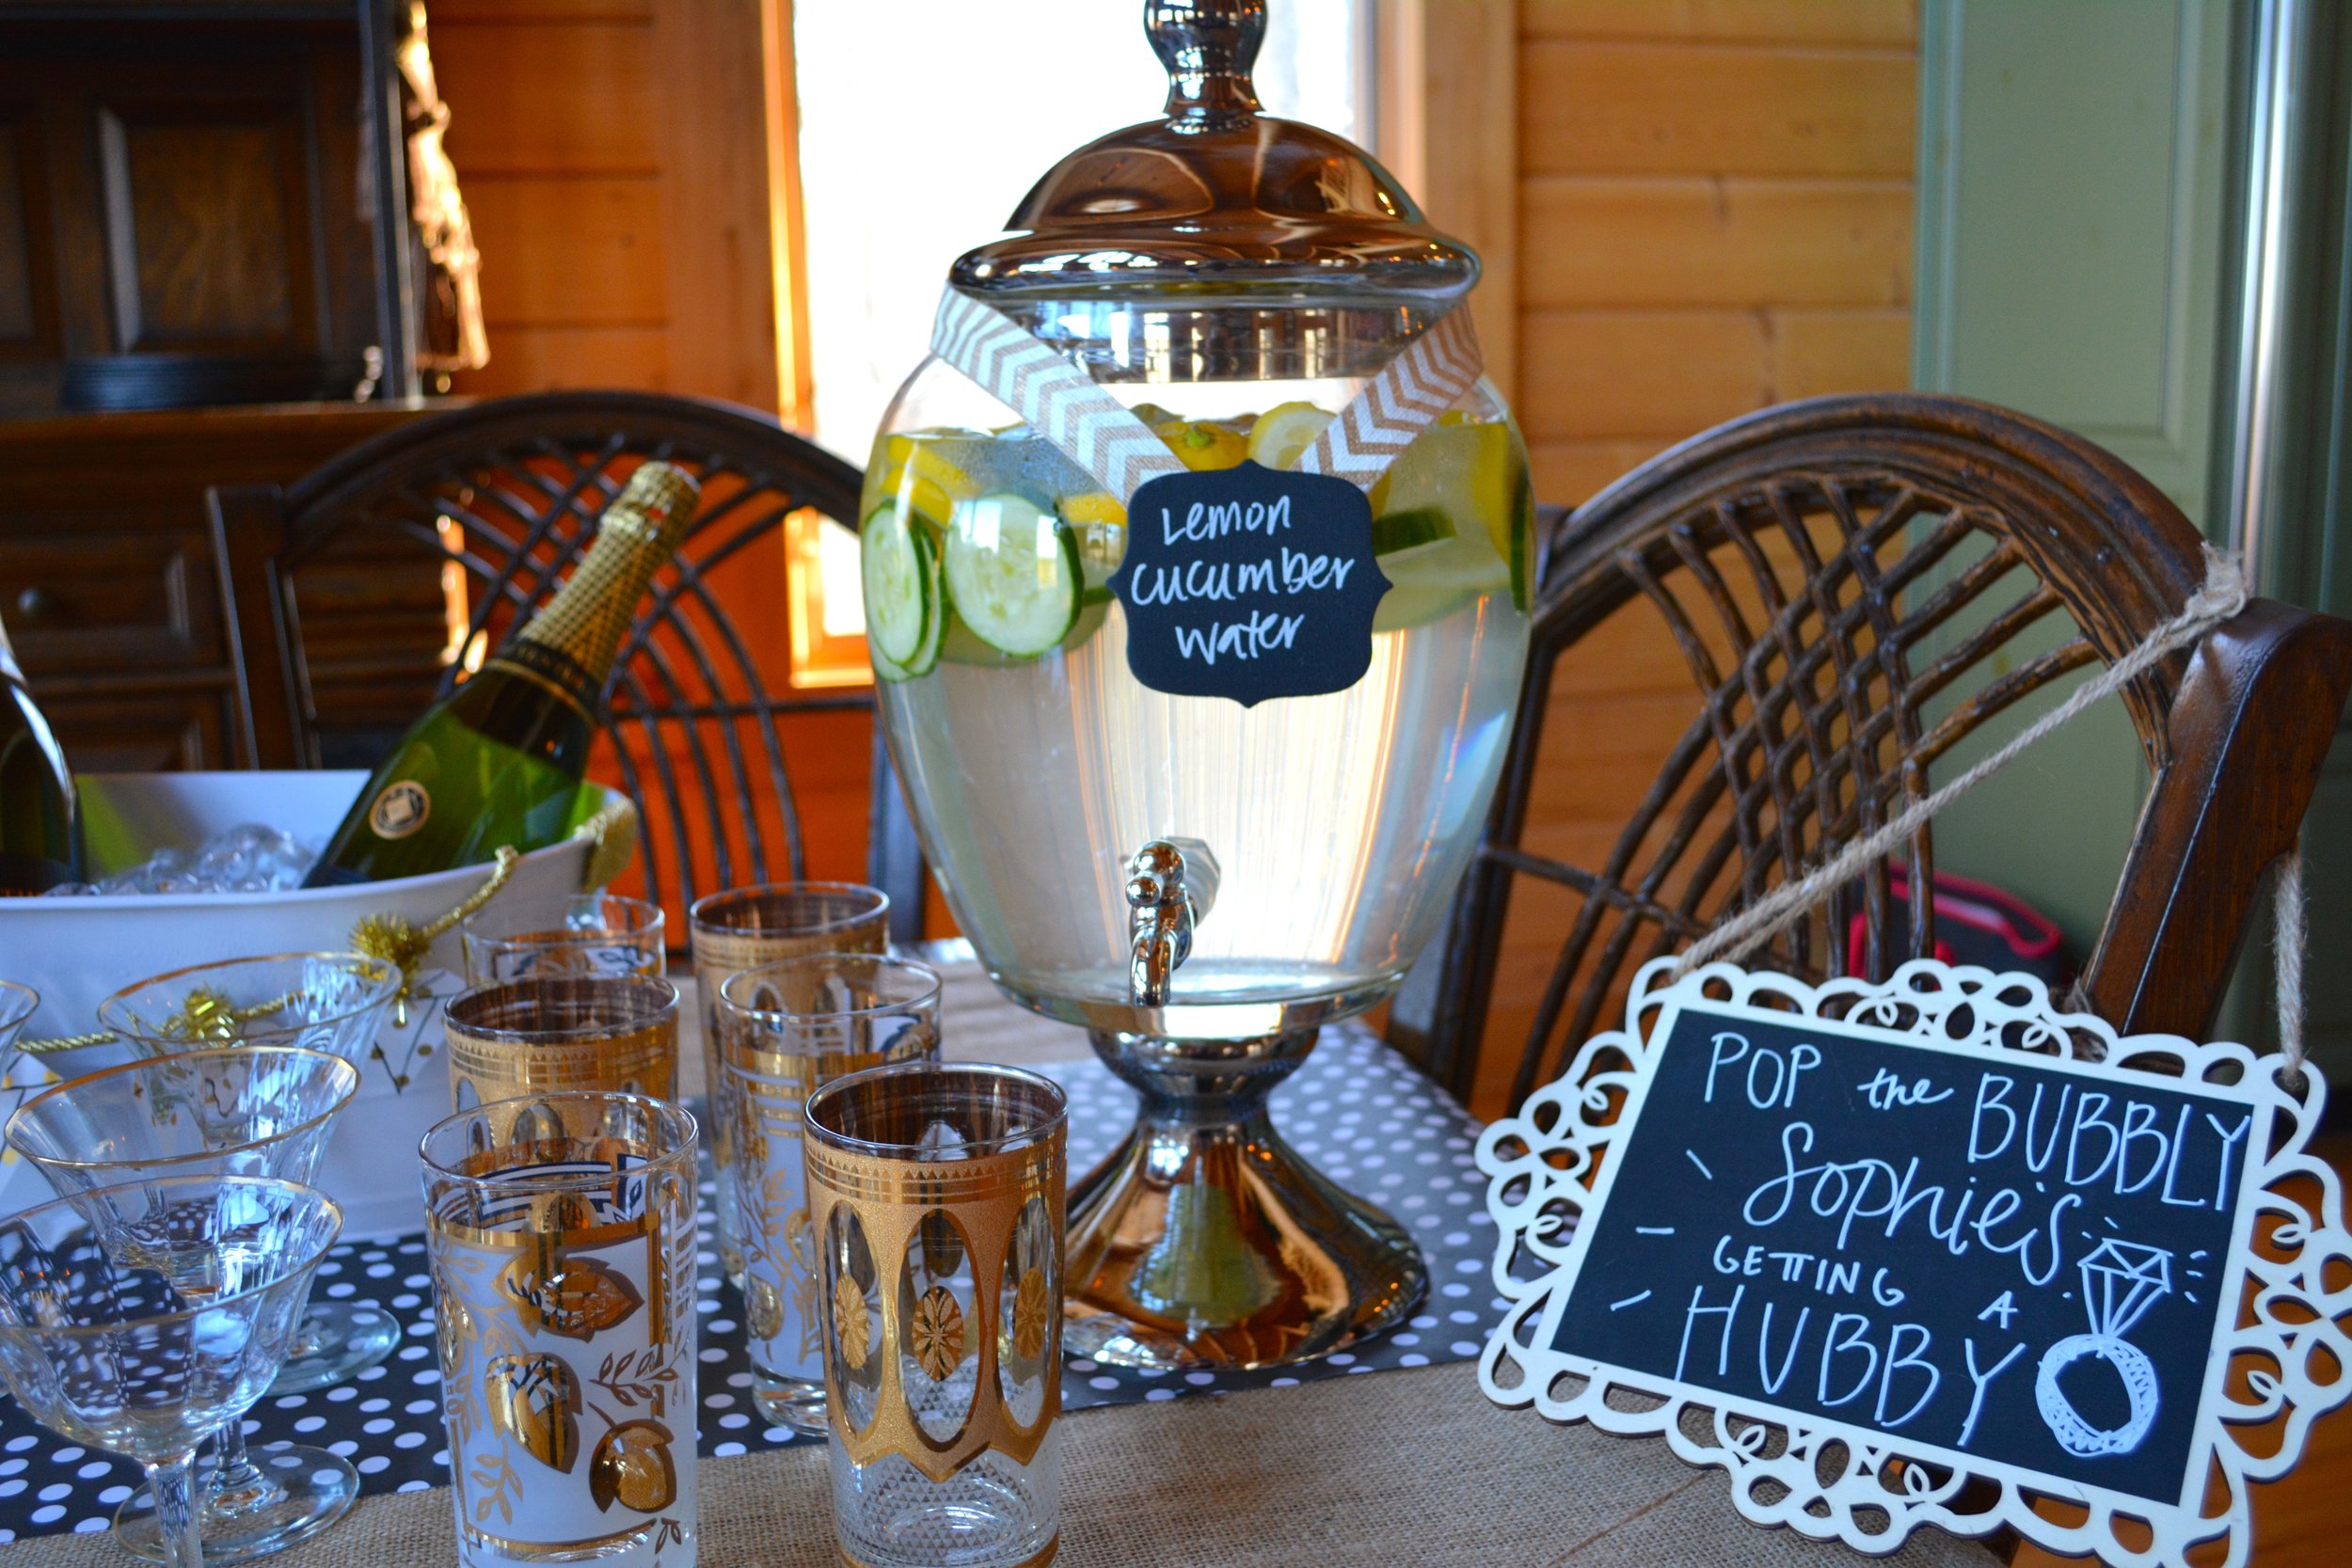
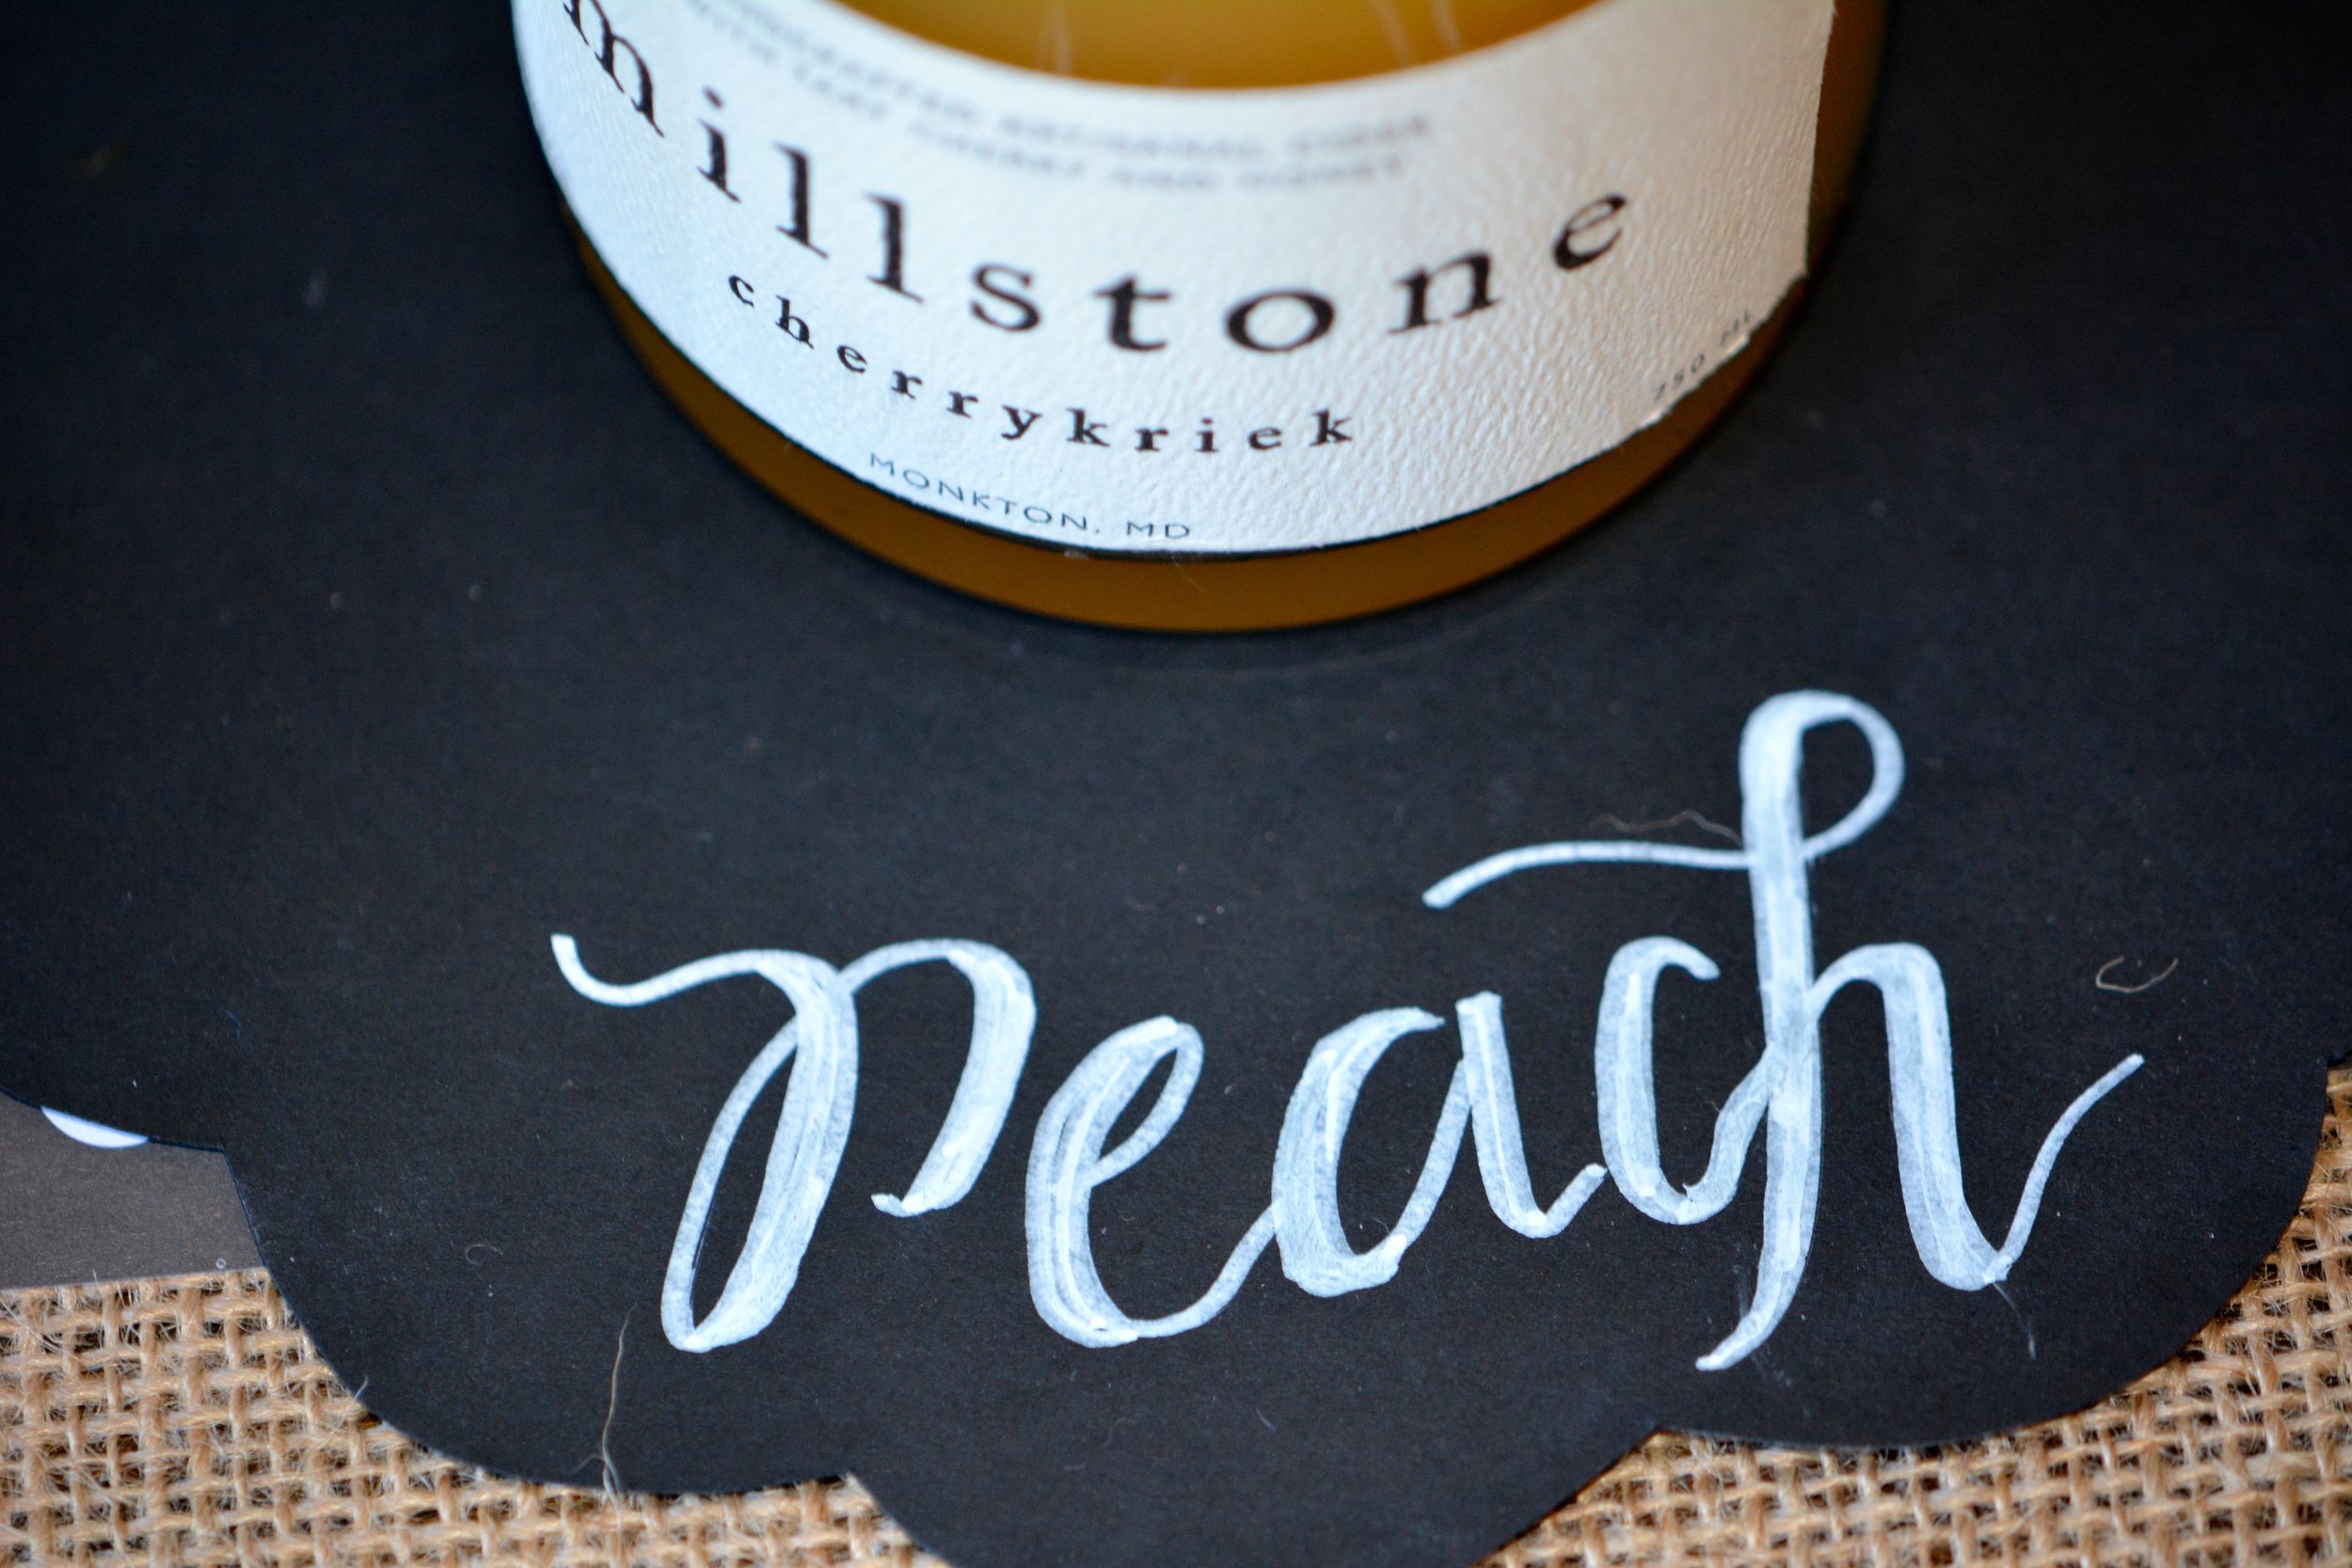
Putting a little thought (or just being addicted to Pinterest) into your table scape really makes a big impact. Start from the bottom and work your way up; lay a base. Burlap is great as a runner and super cheap. I bought a bolt for my wedding 3 years ago and am still using it! Then I laid a black and white polka dot runner for some interest {{$1.99 from Michaels}}. I used some of the same black paper that I used for the banners to make scalloped coasters for the mimosa bar which I lettered with a chalk pen. The chalk board signs are leftovers from my wedding. I would recommend taking the time to make a few different chalk board signs that you can reuse to suit all of your hostess needs. If you want to step up your chalk board game, chalk pens are a must. They just tend to be a little harder to wipe off easily, I have no issues when I use a magic eraser though. Oh..how could I forget about these art deco glasses?! Sorry girls, these were inherited from my husband's grandmother...but any glassware will work ;) For a little more personalization I used some wired rope ribbon to string up some pictures of the Bride with all of her friends (stolen off the internet).
Step 4: Gifts for the Girls
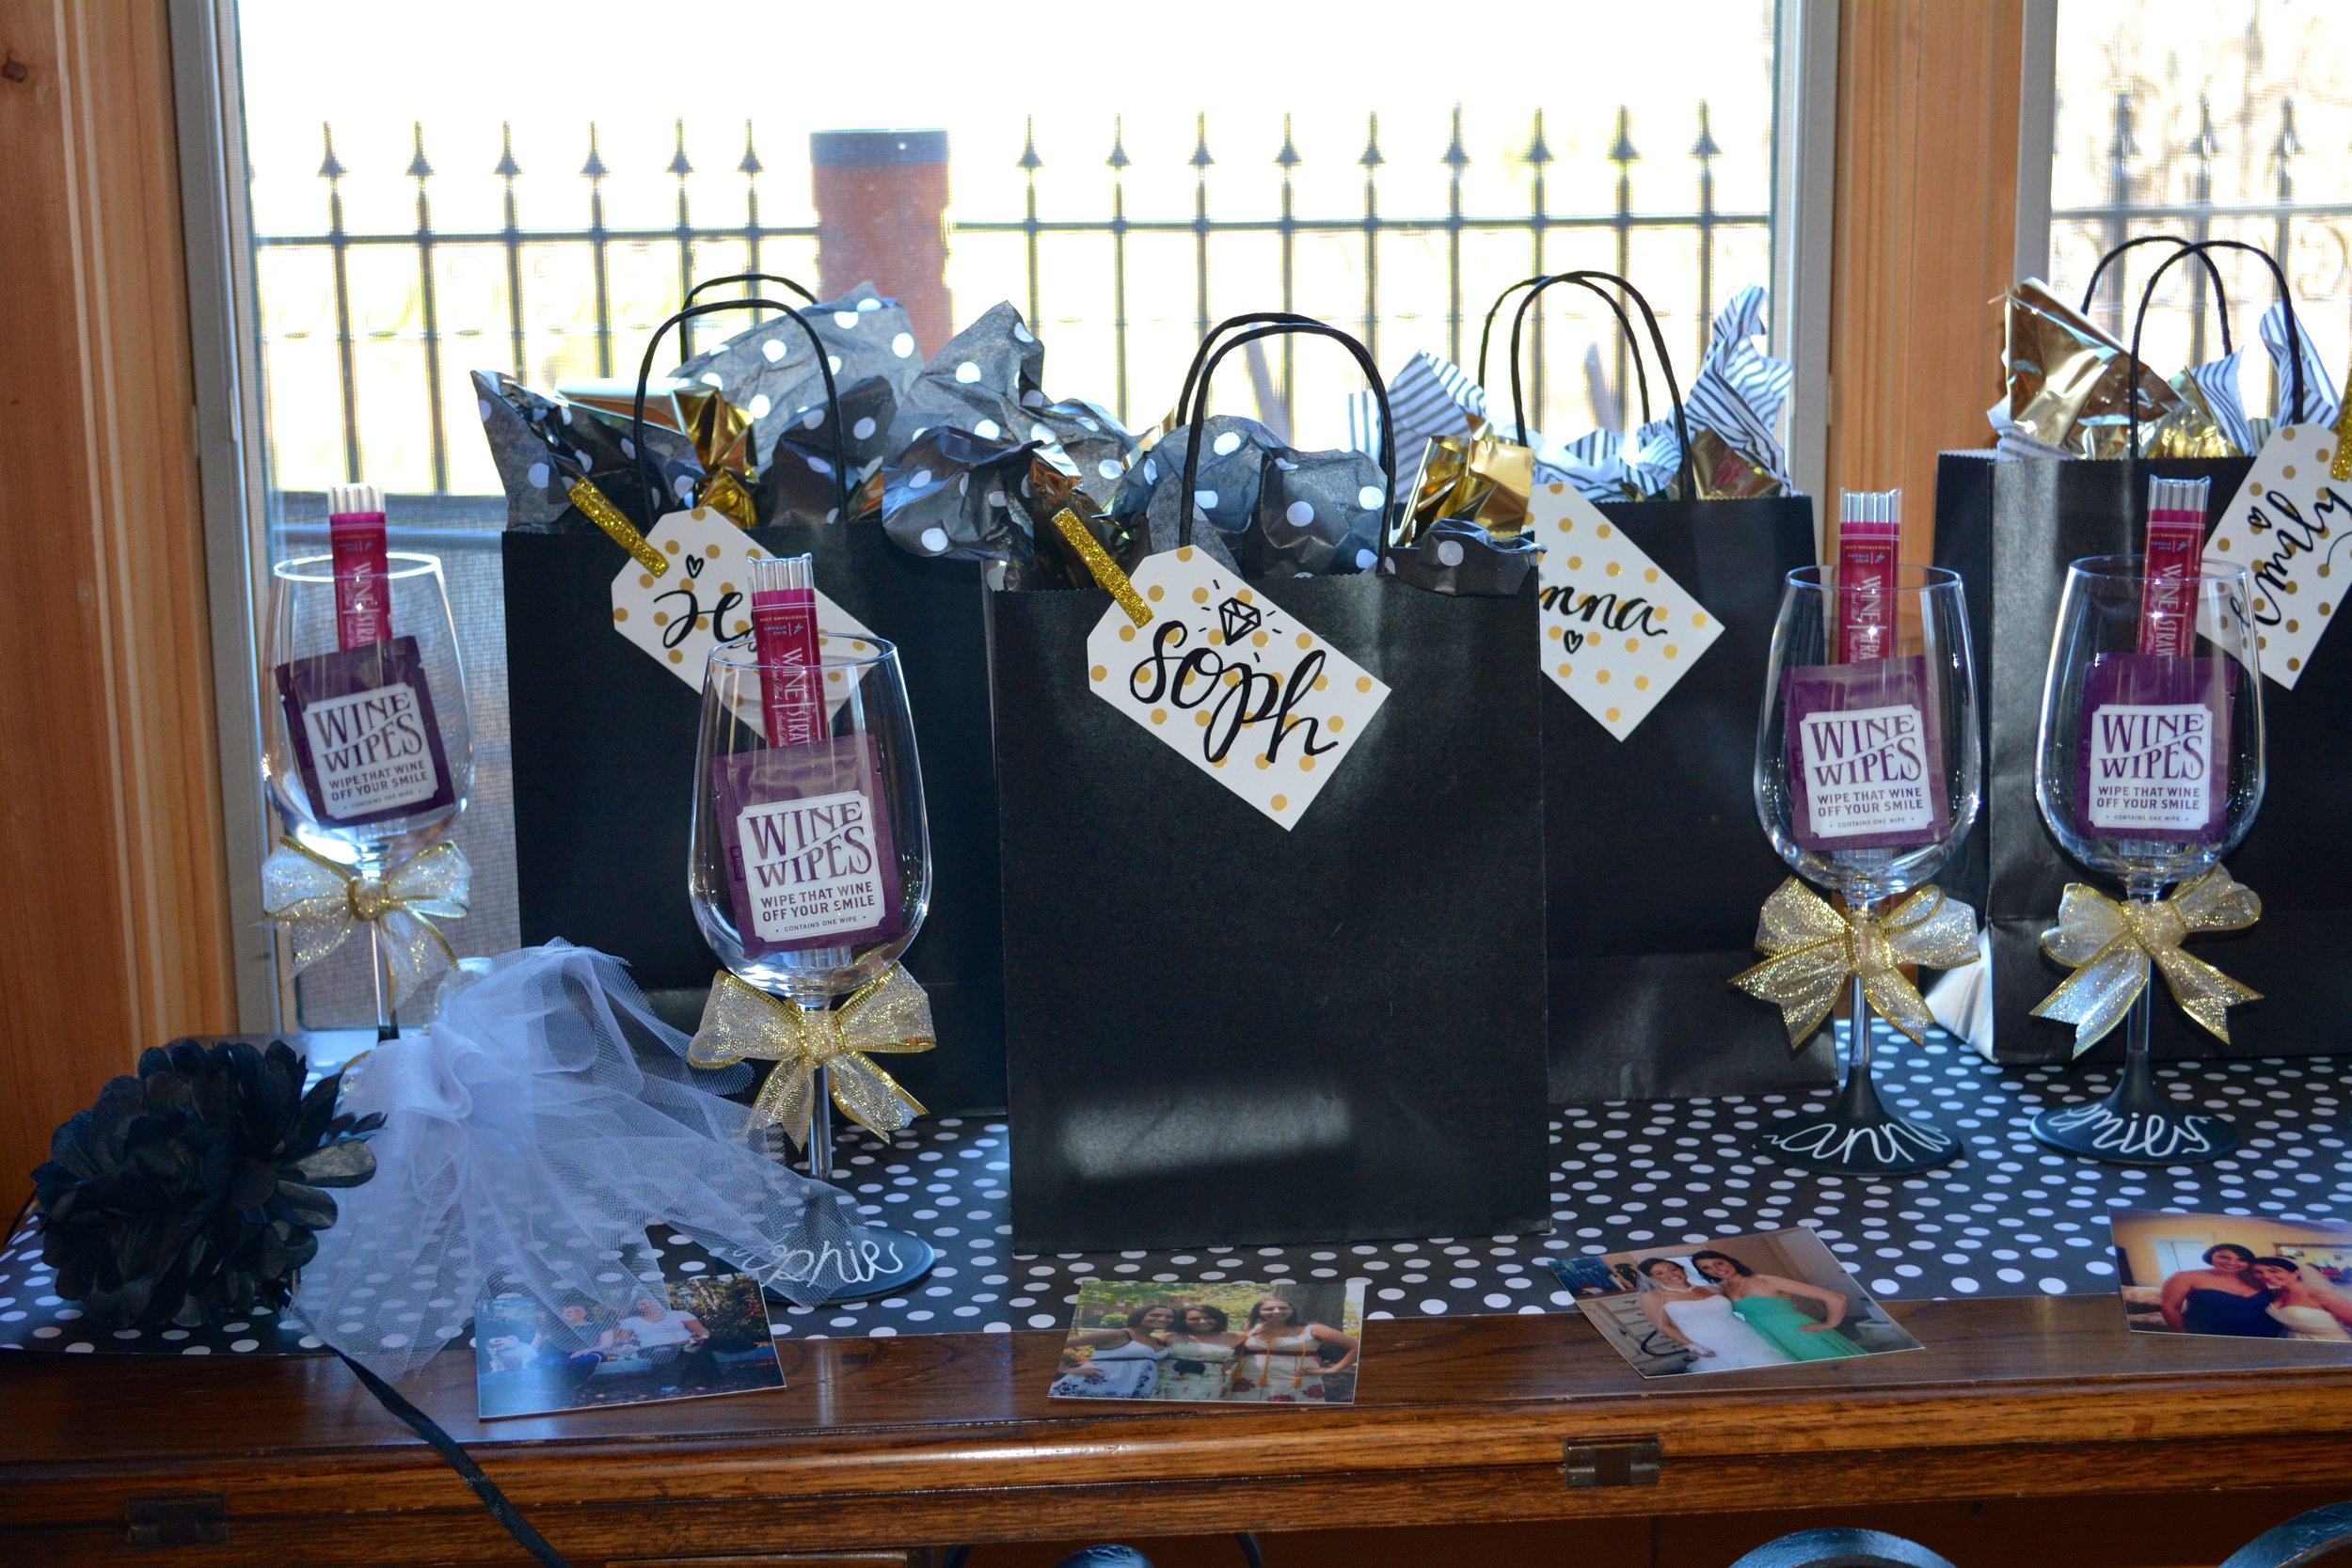
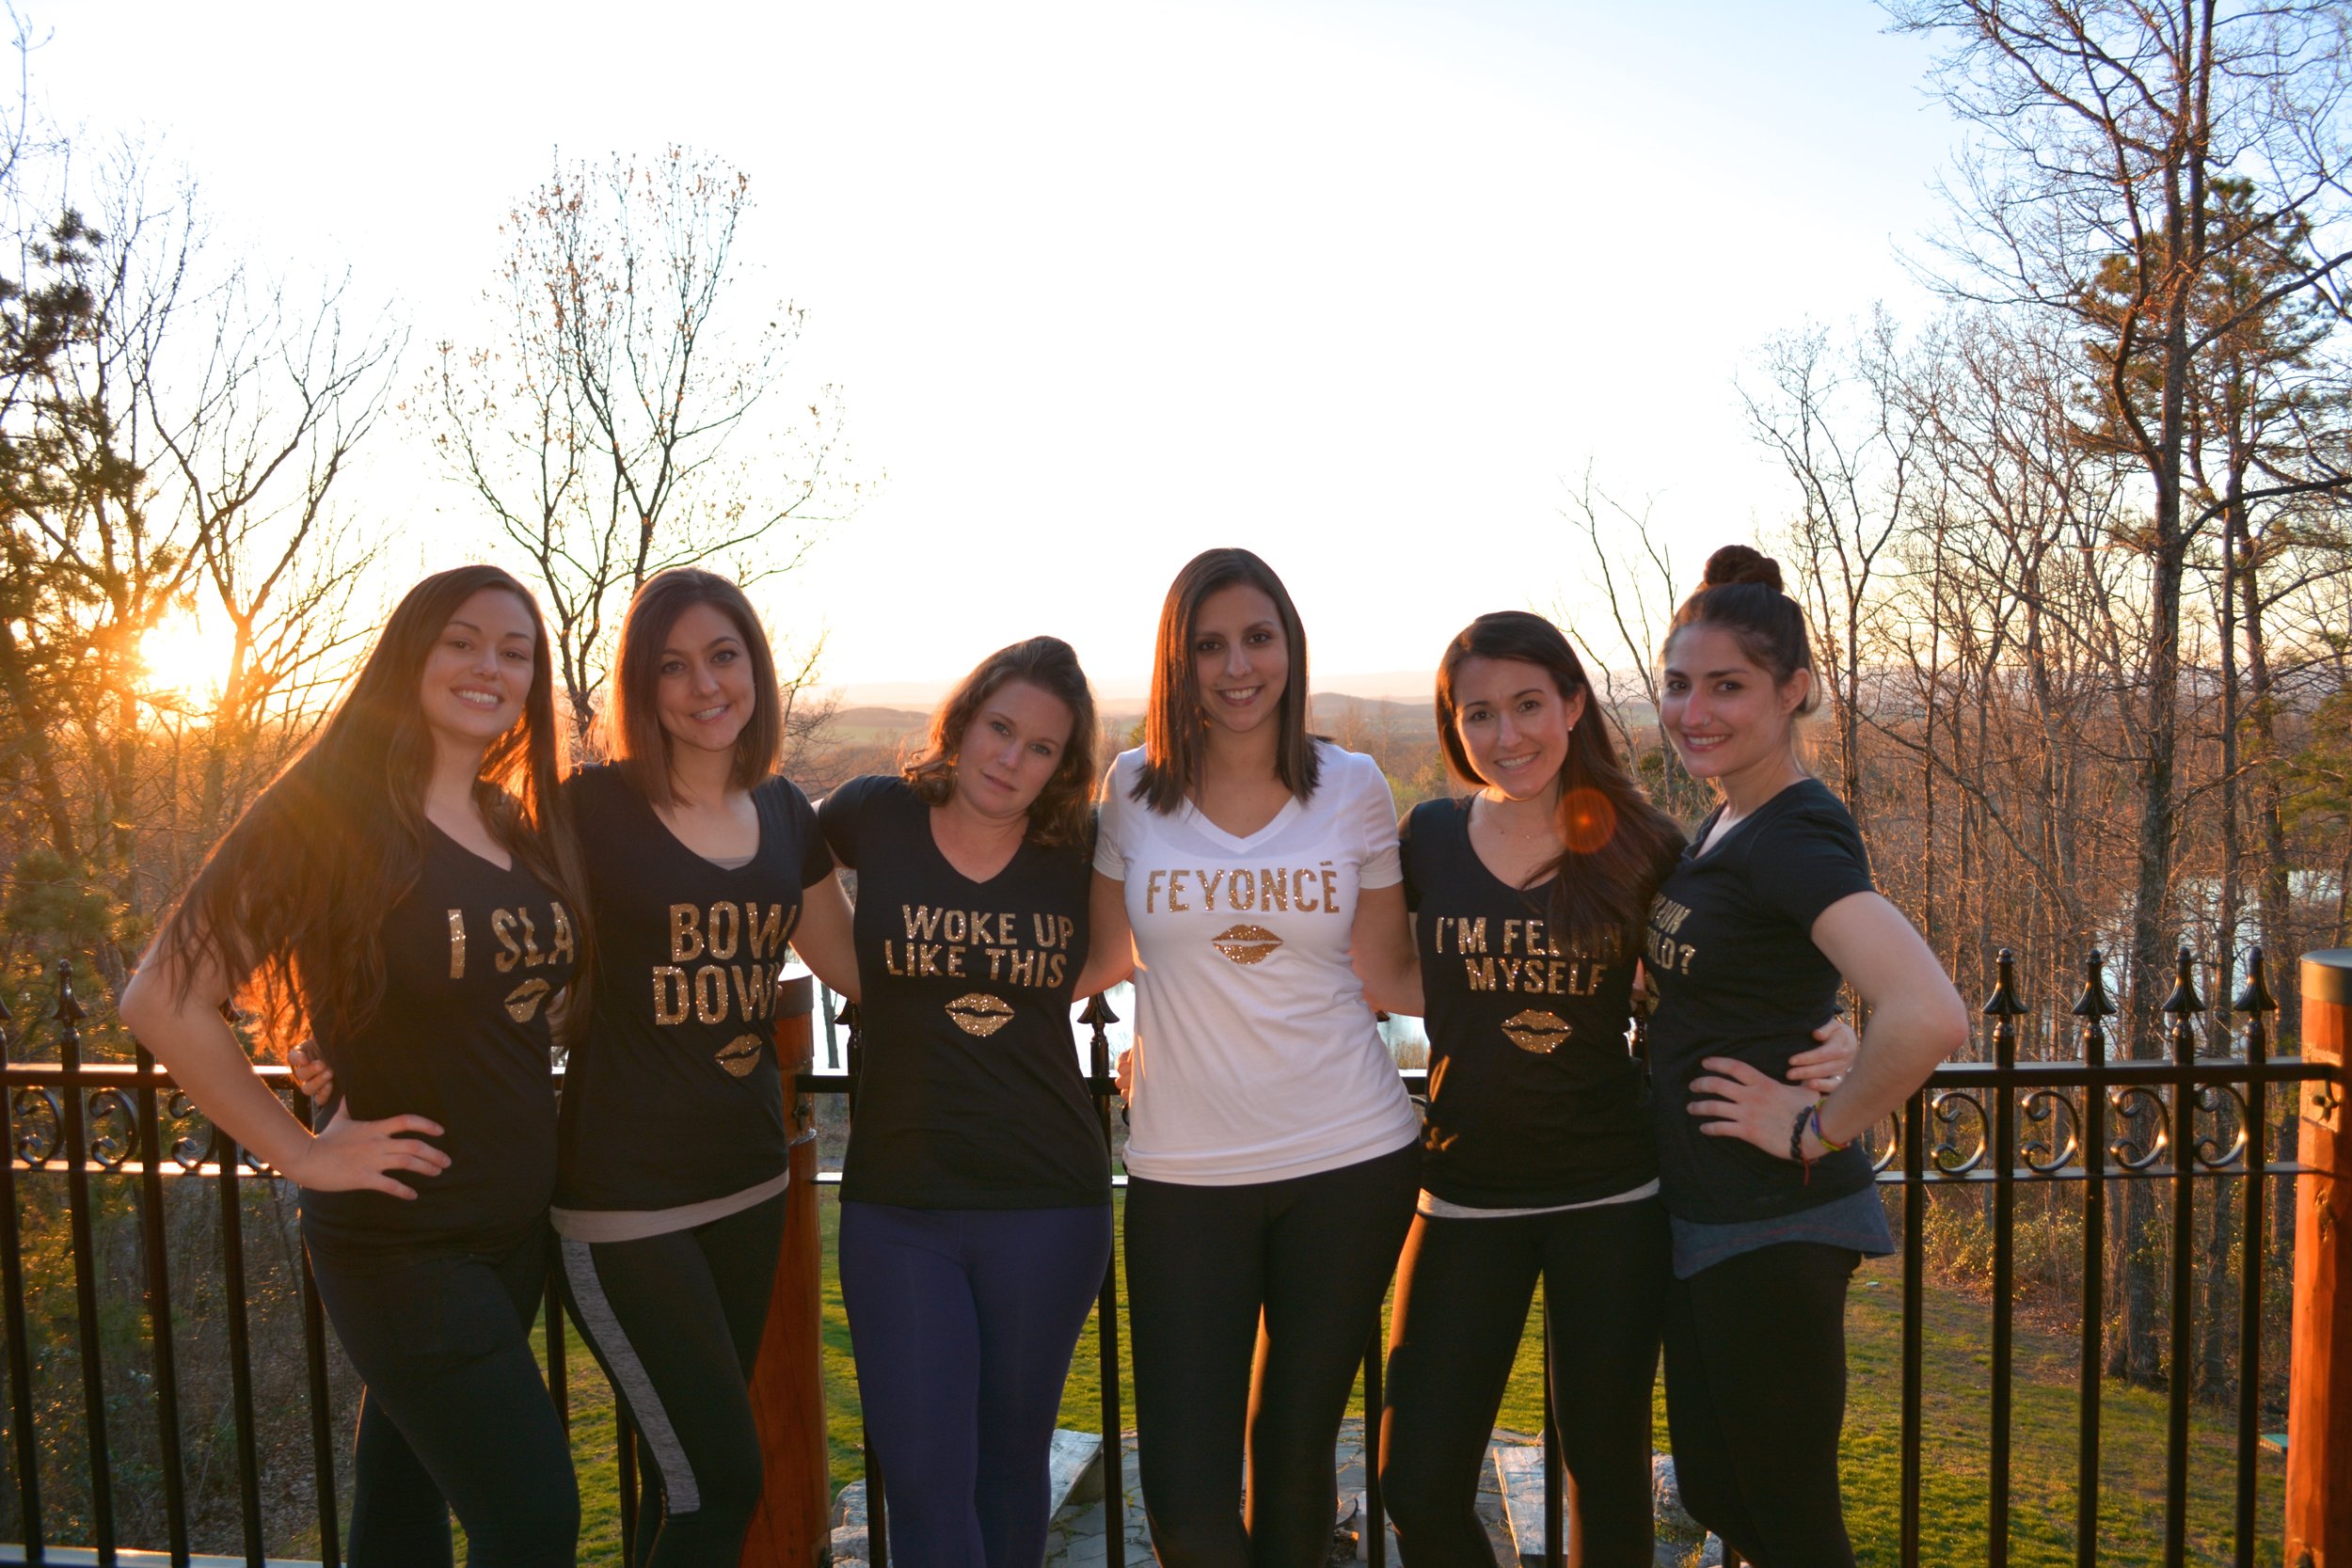
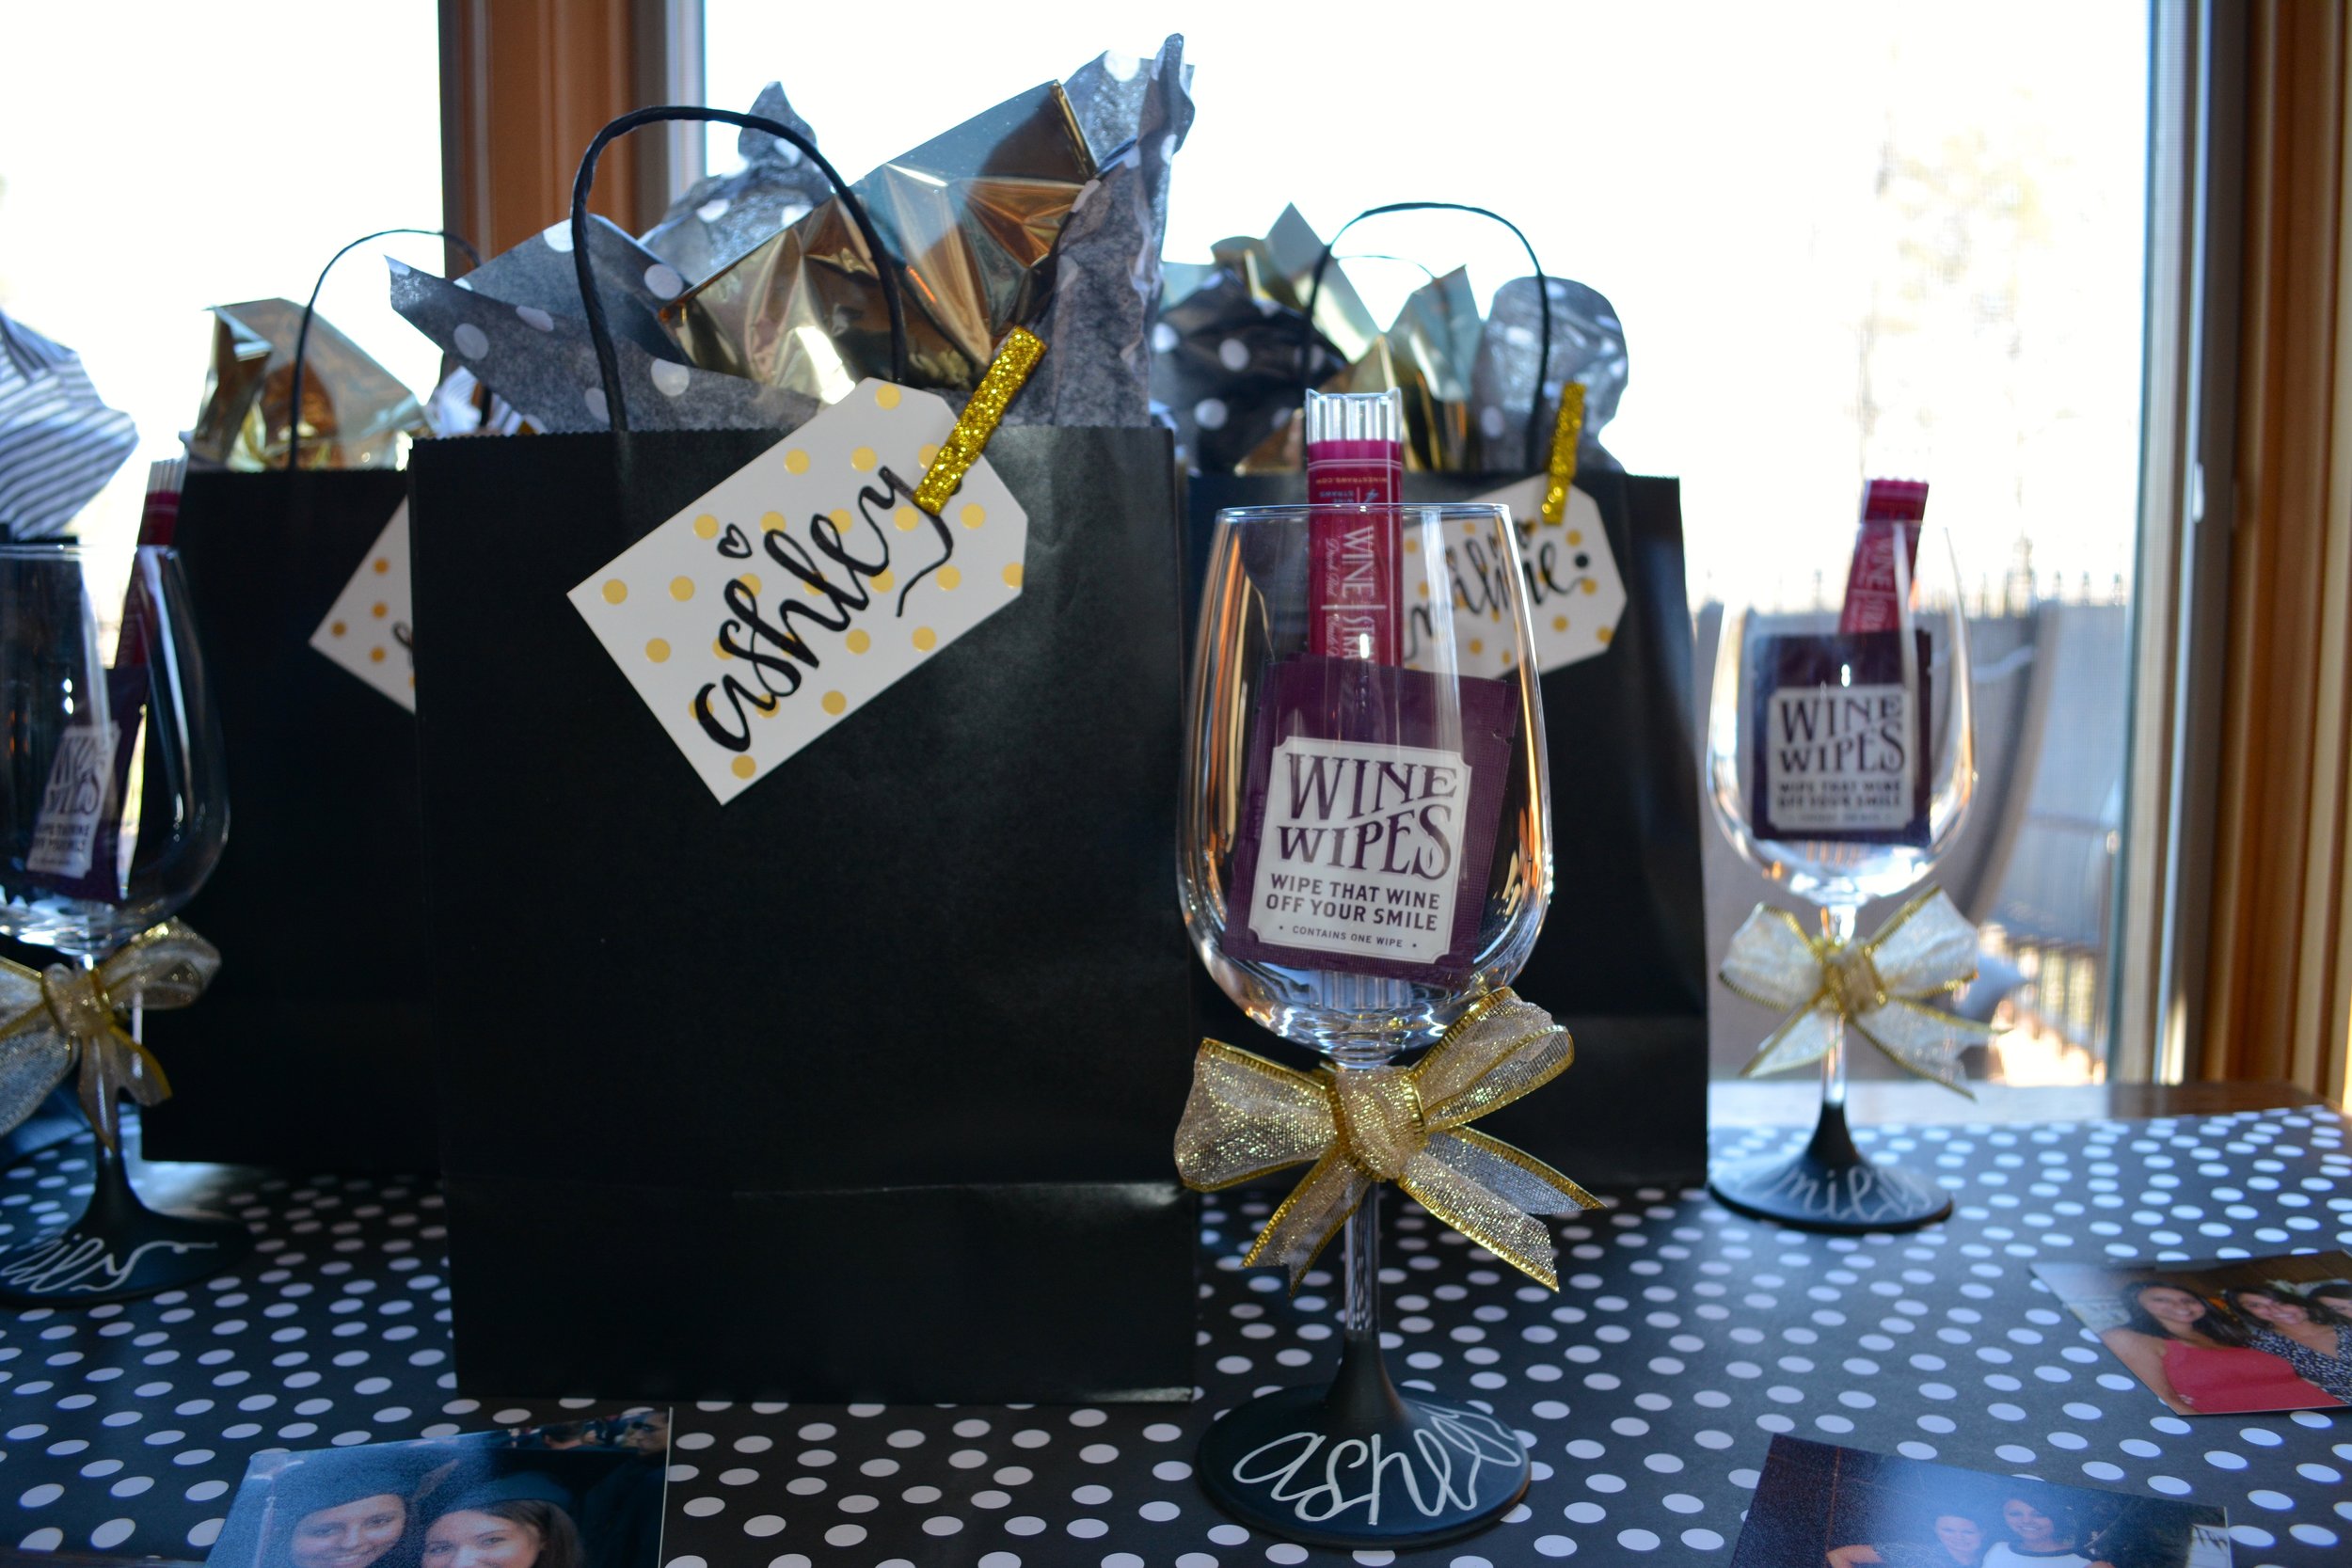
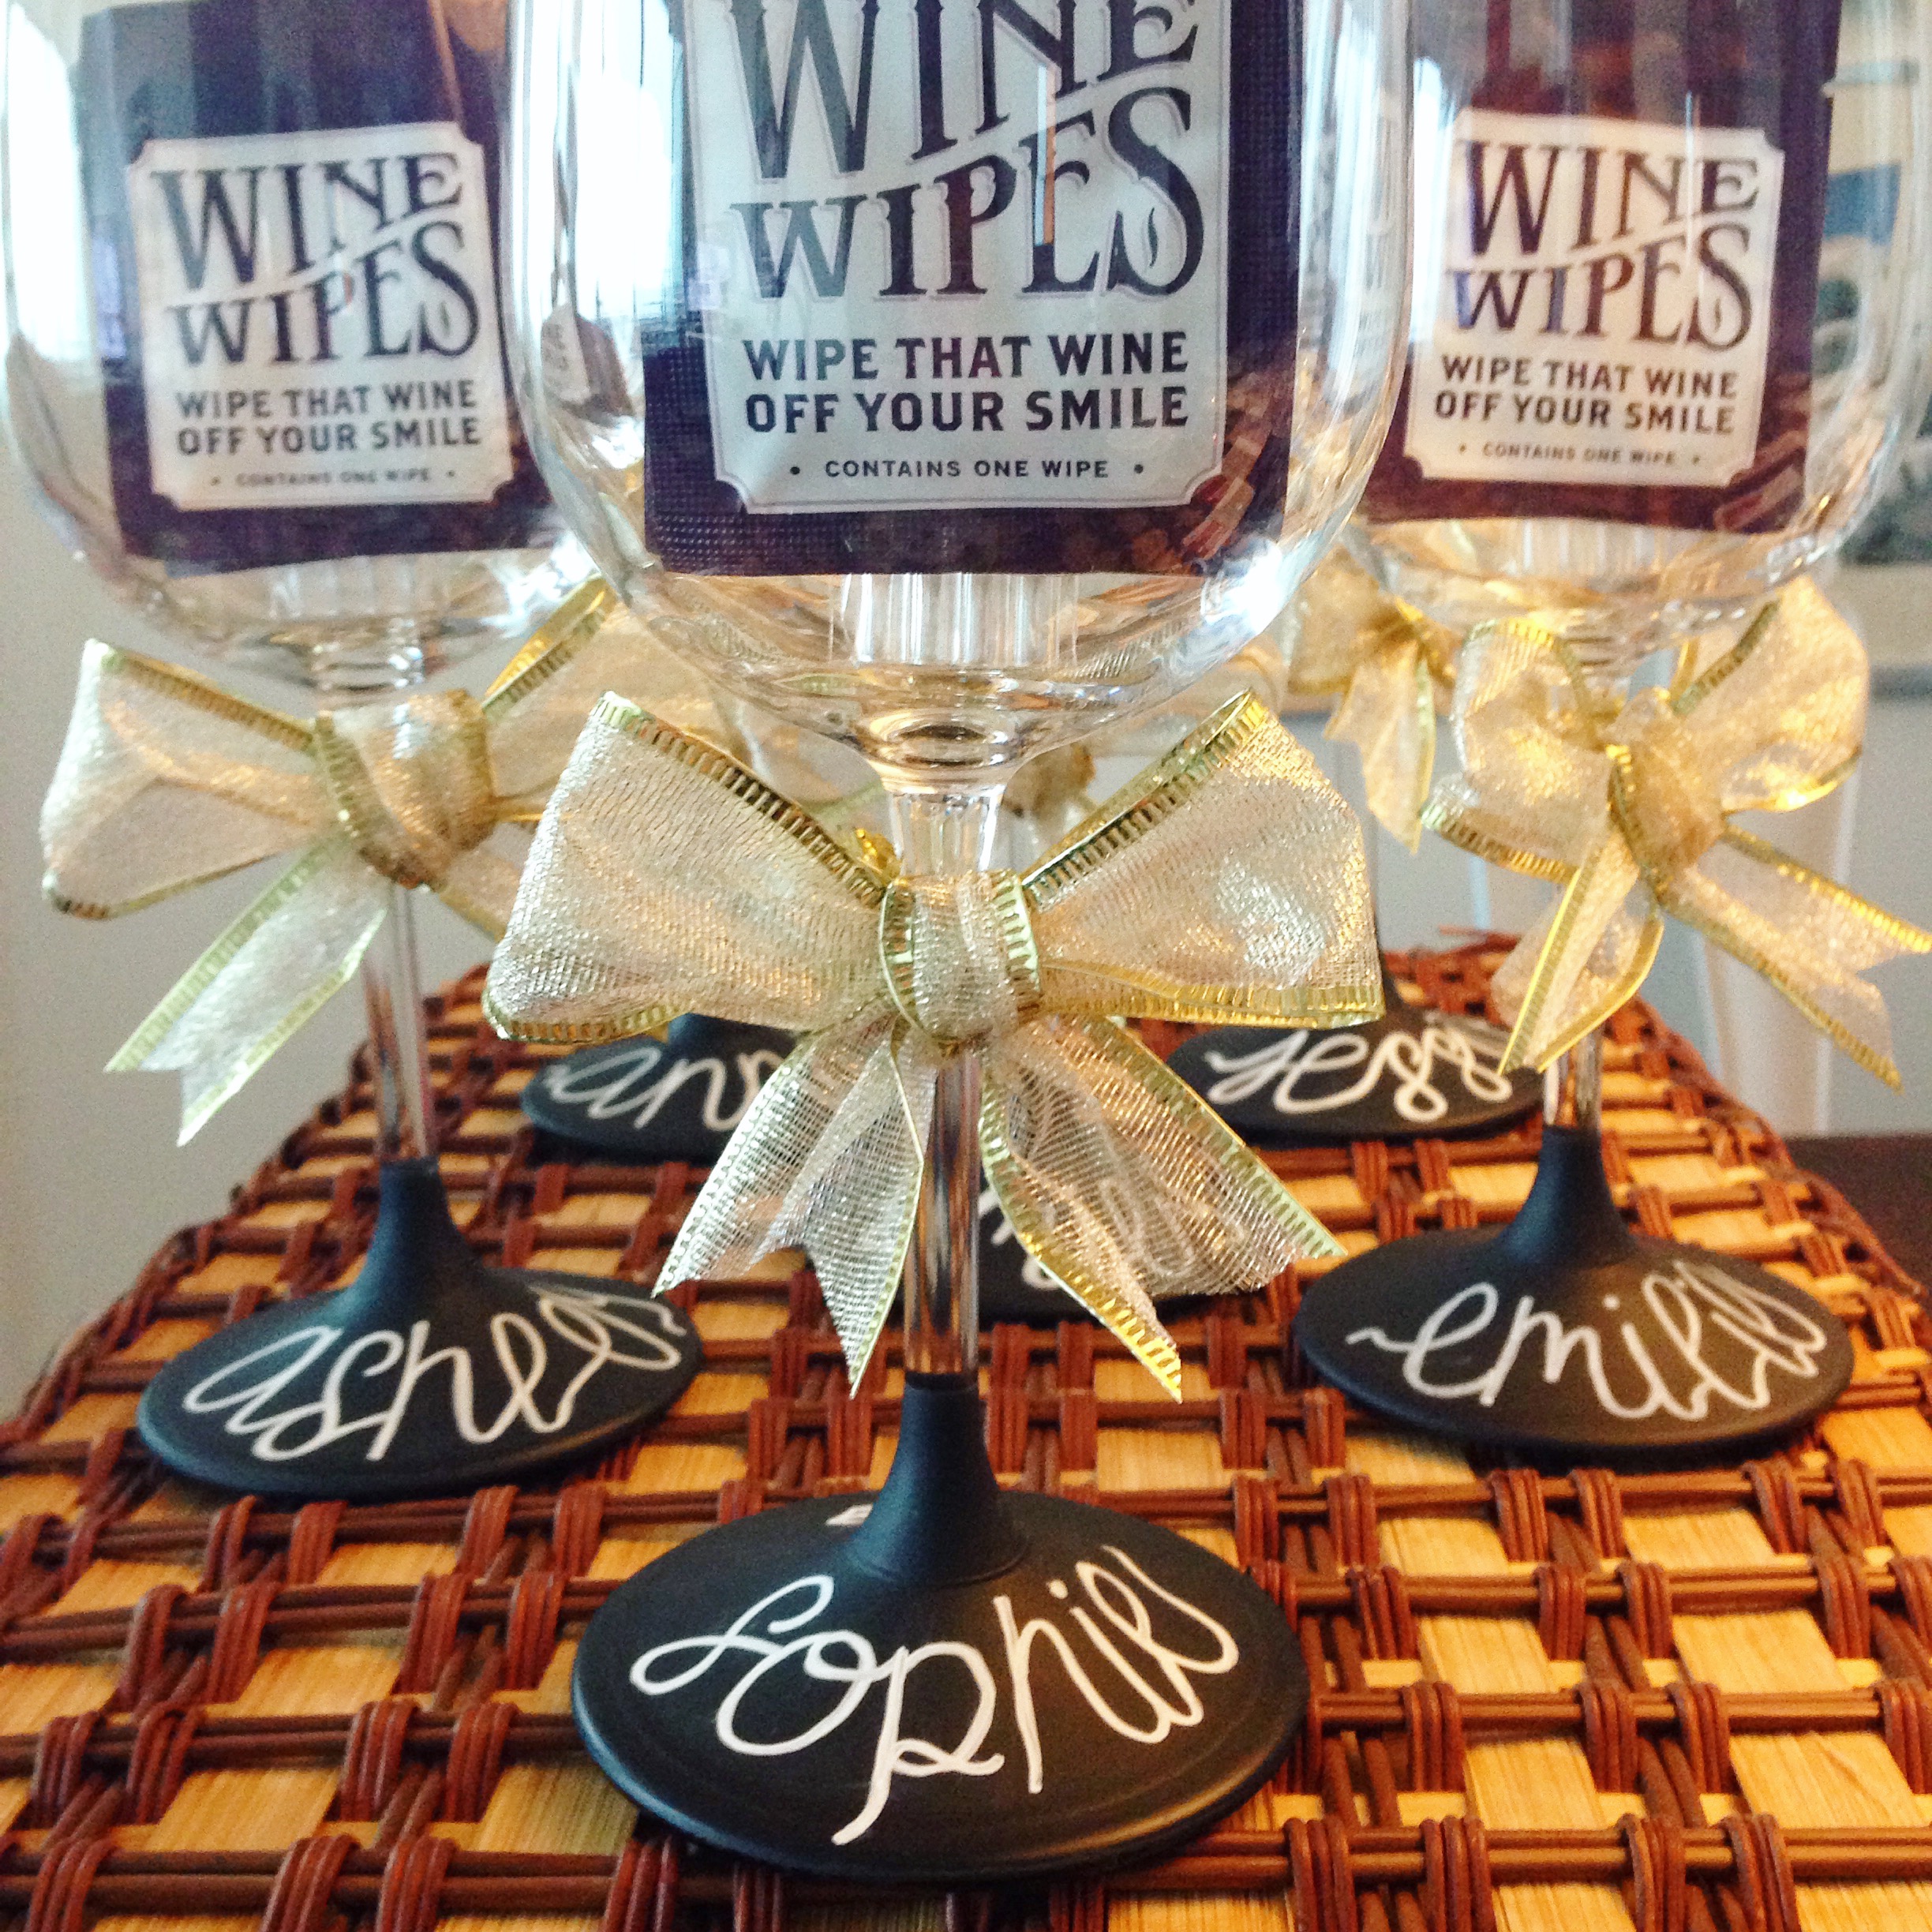
As hostess, you should do a little something to tell all the girls thank you for making it out and to remember the whole shin dig by. Since this was a wine tour bachelorette, what would be more appropriate than a personalized wine glass? I used this tutorial to make these chalk board wine glasses and inscribed everyones' names with...you guessed it, chalk pen {{purchased the wine glasses from HomeGoods}}. I also loved the idea of coordinating themed shirts and fell in love with these Feyonce themed ones by @LineLiam_ on Etsy. I just packaged them nicely in some black paper bags with pretty tissue paper and a hand-lettered tag. Being the dental nerd that I am, I couldn't help but throw in a few wine straws {{$3 per reusable 4 pack}}and wine wipes {{$6.99 for 12}} to keep those pearly whites from turning purple from all the wine we were sure to imbibe. The dental hygienist in the bunch surely appreciated the touch!
Step 5: The Food
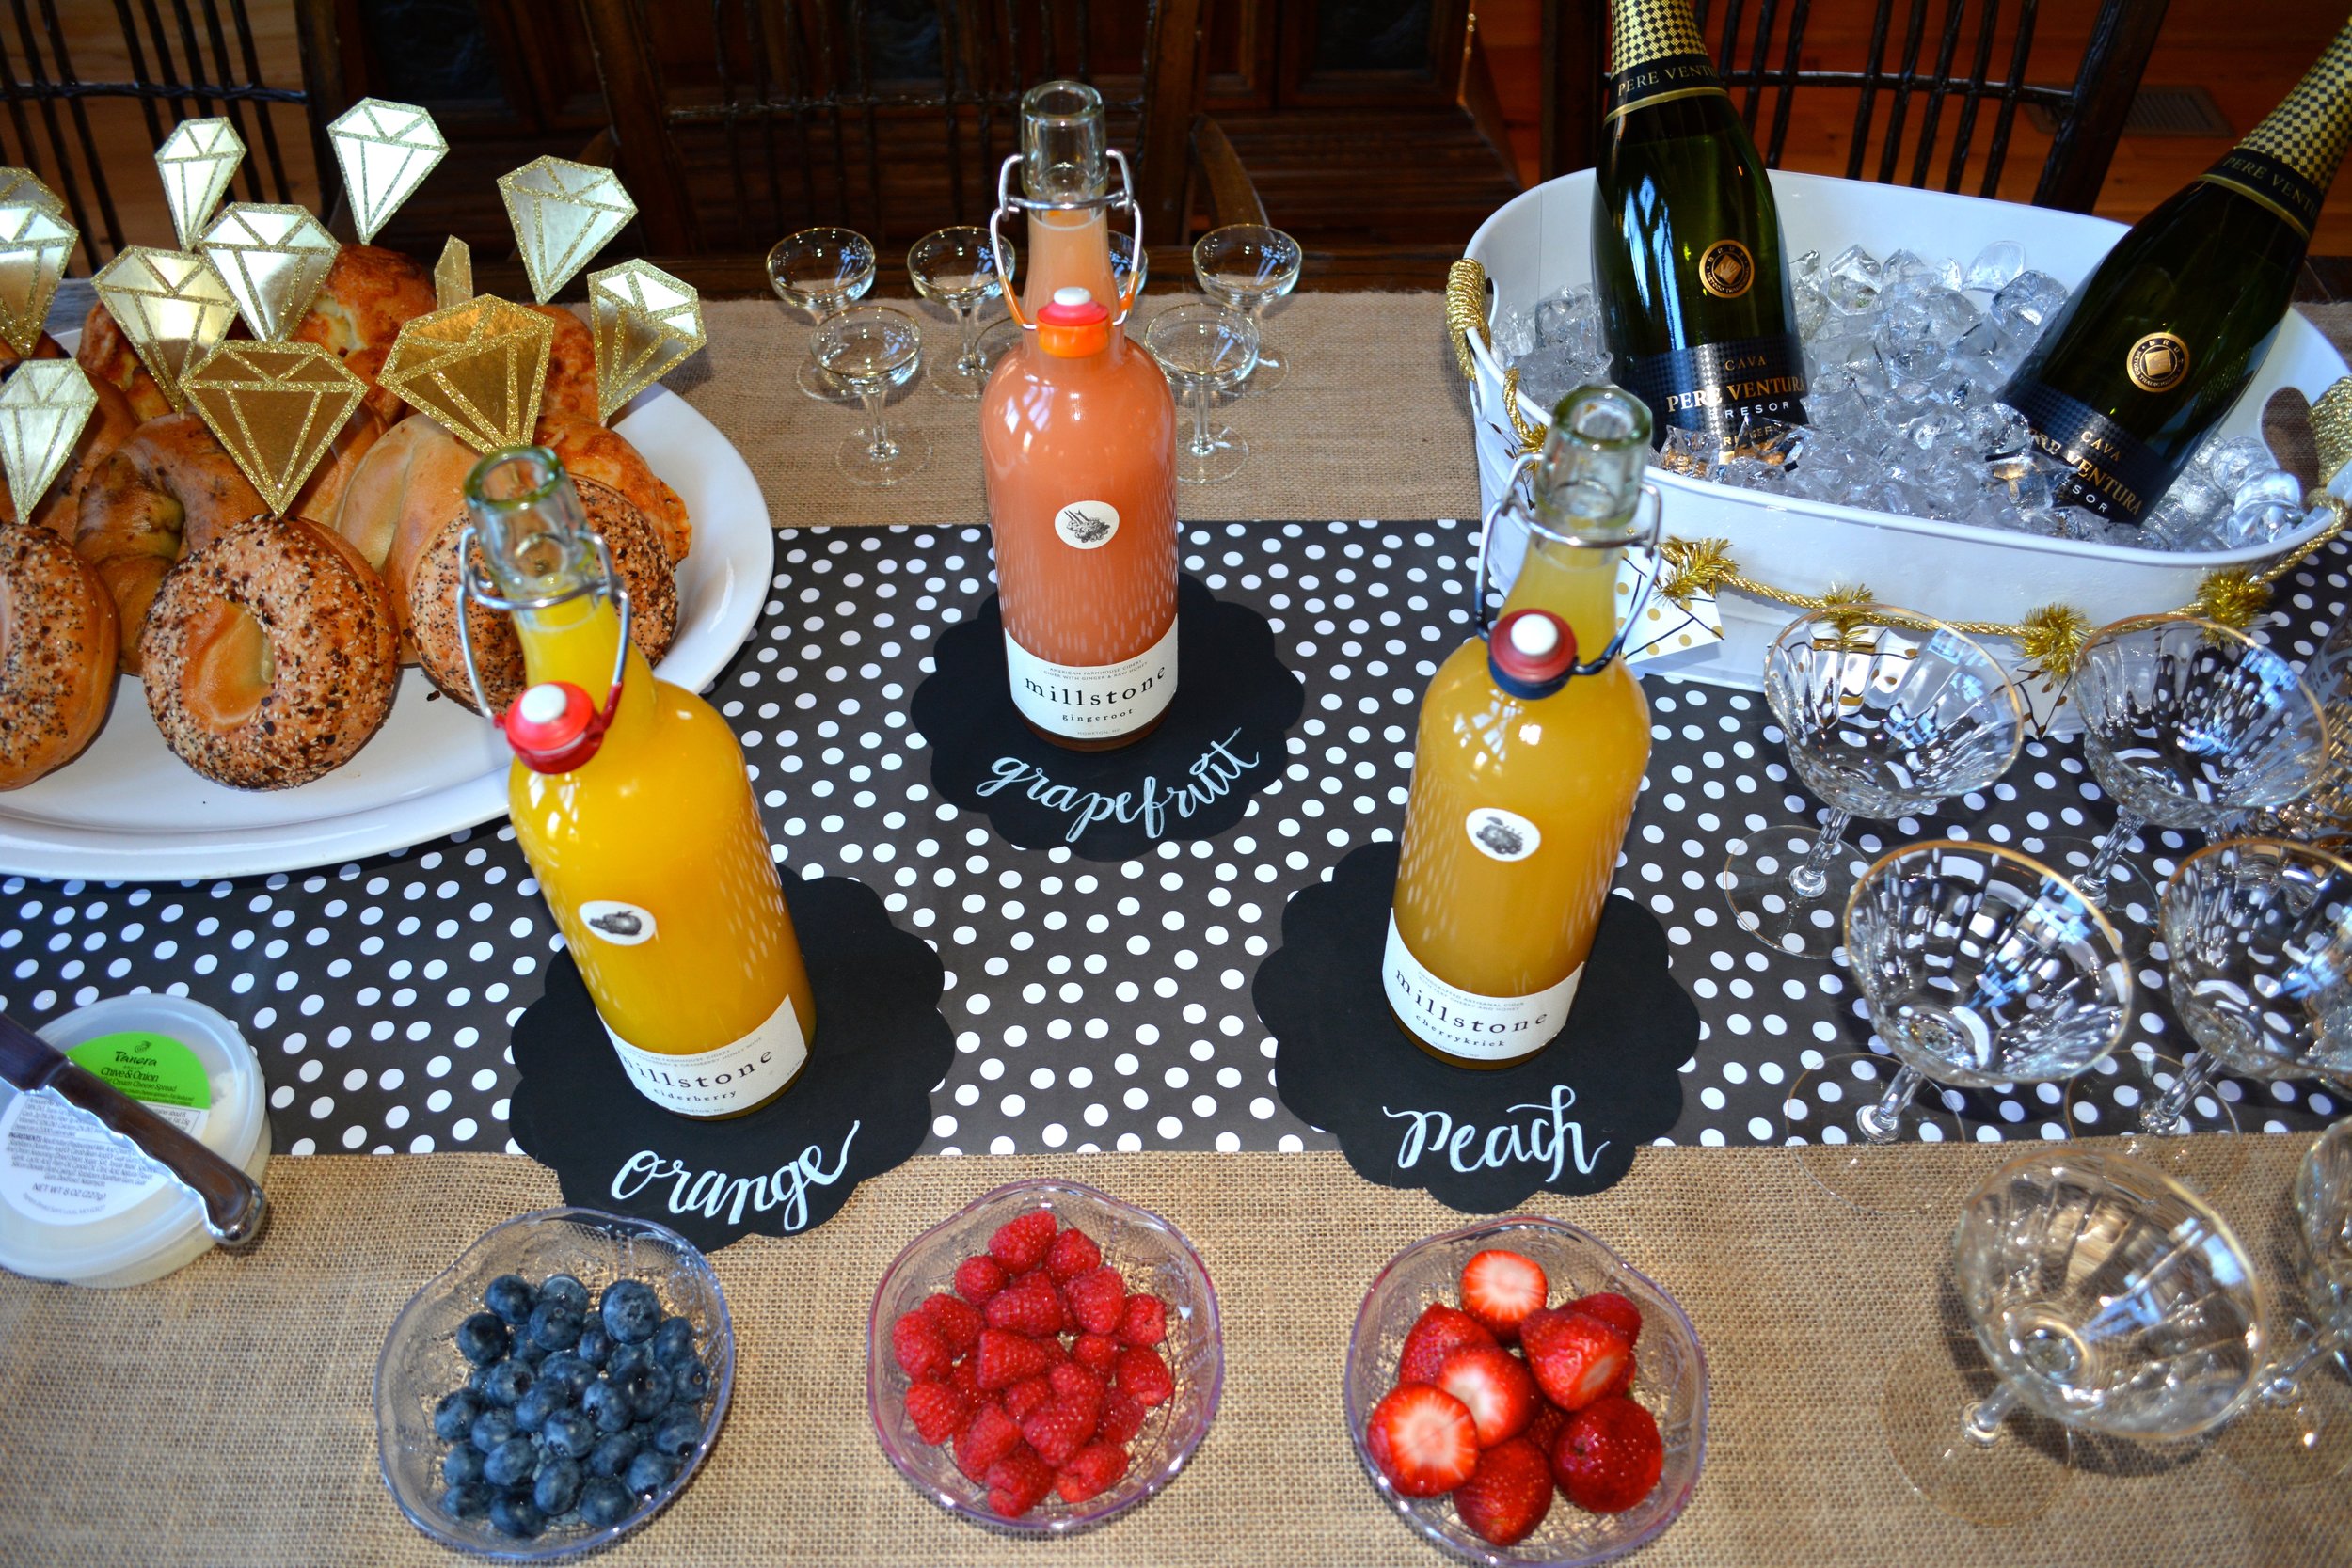
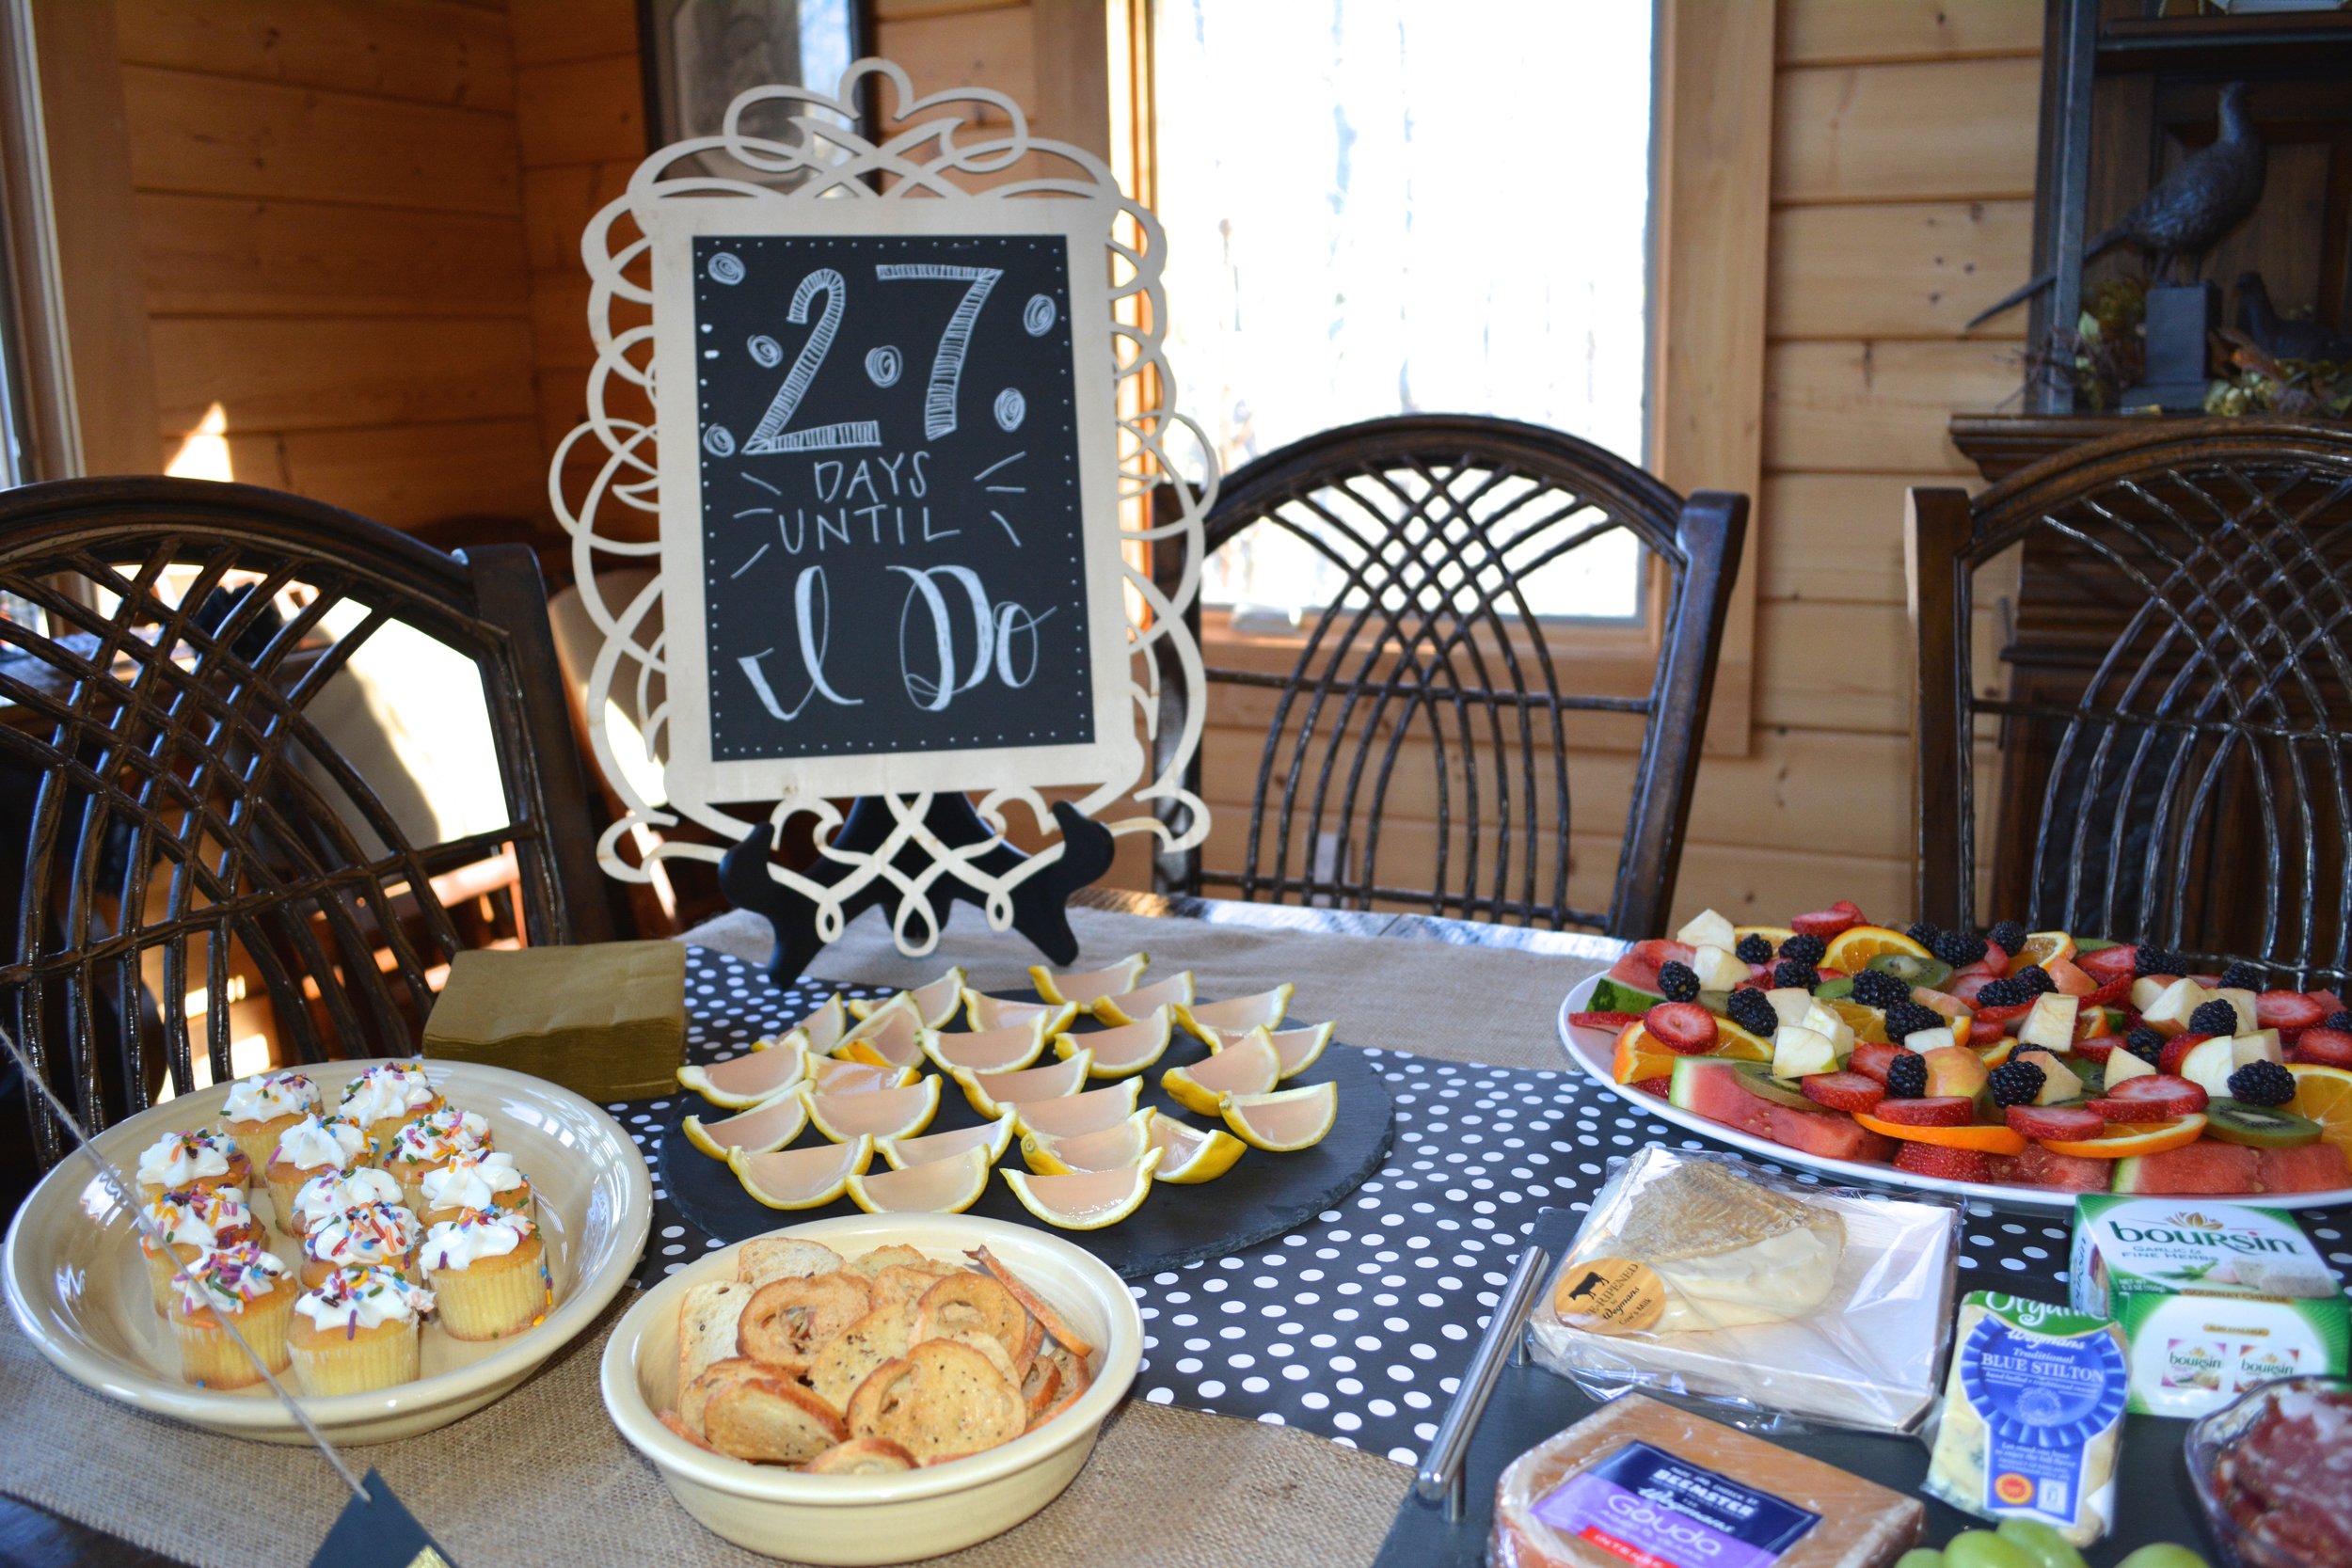
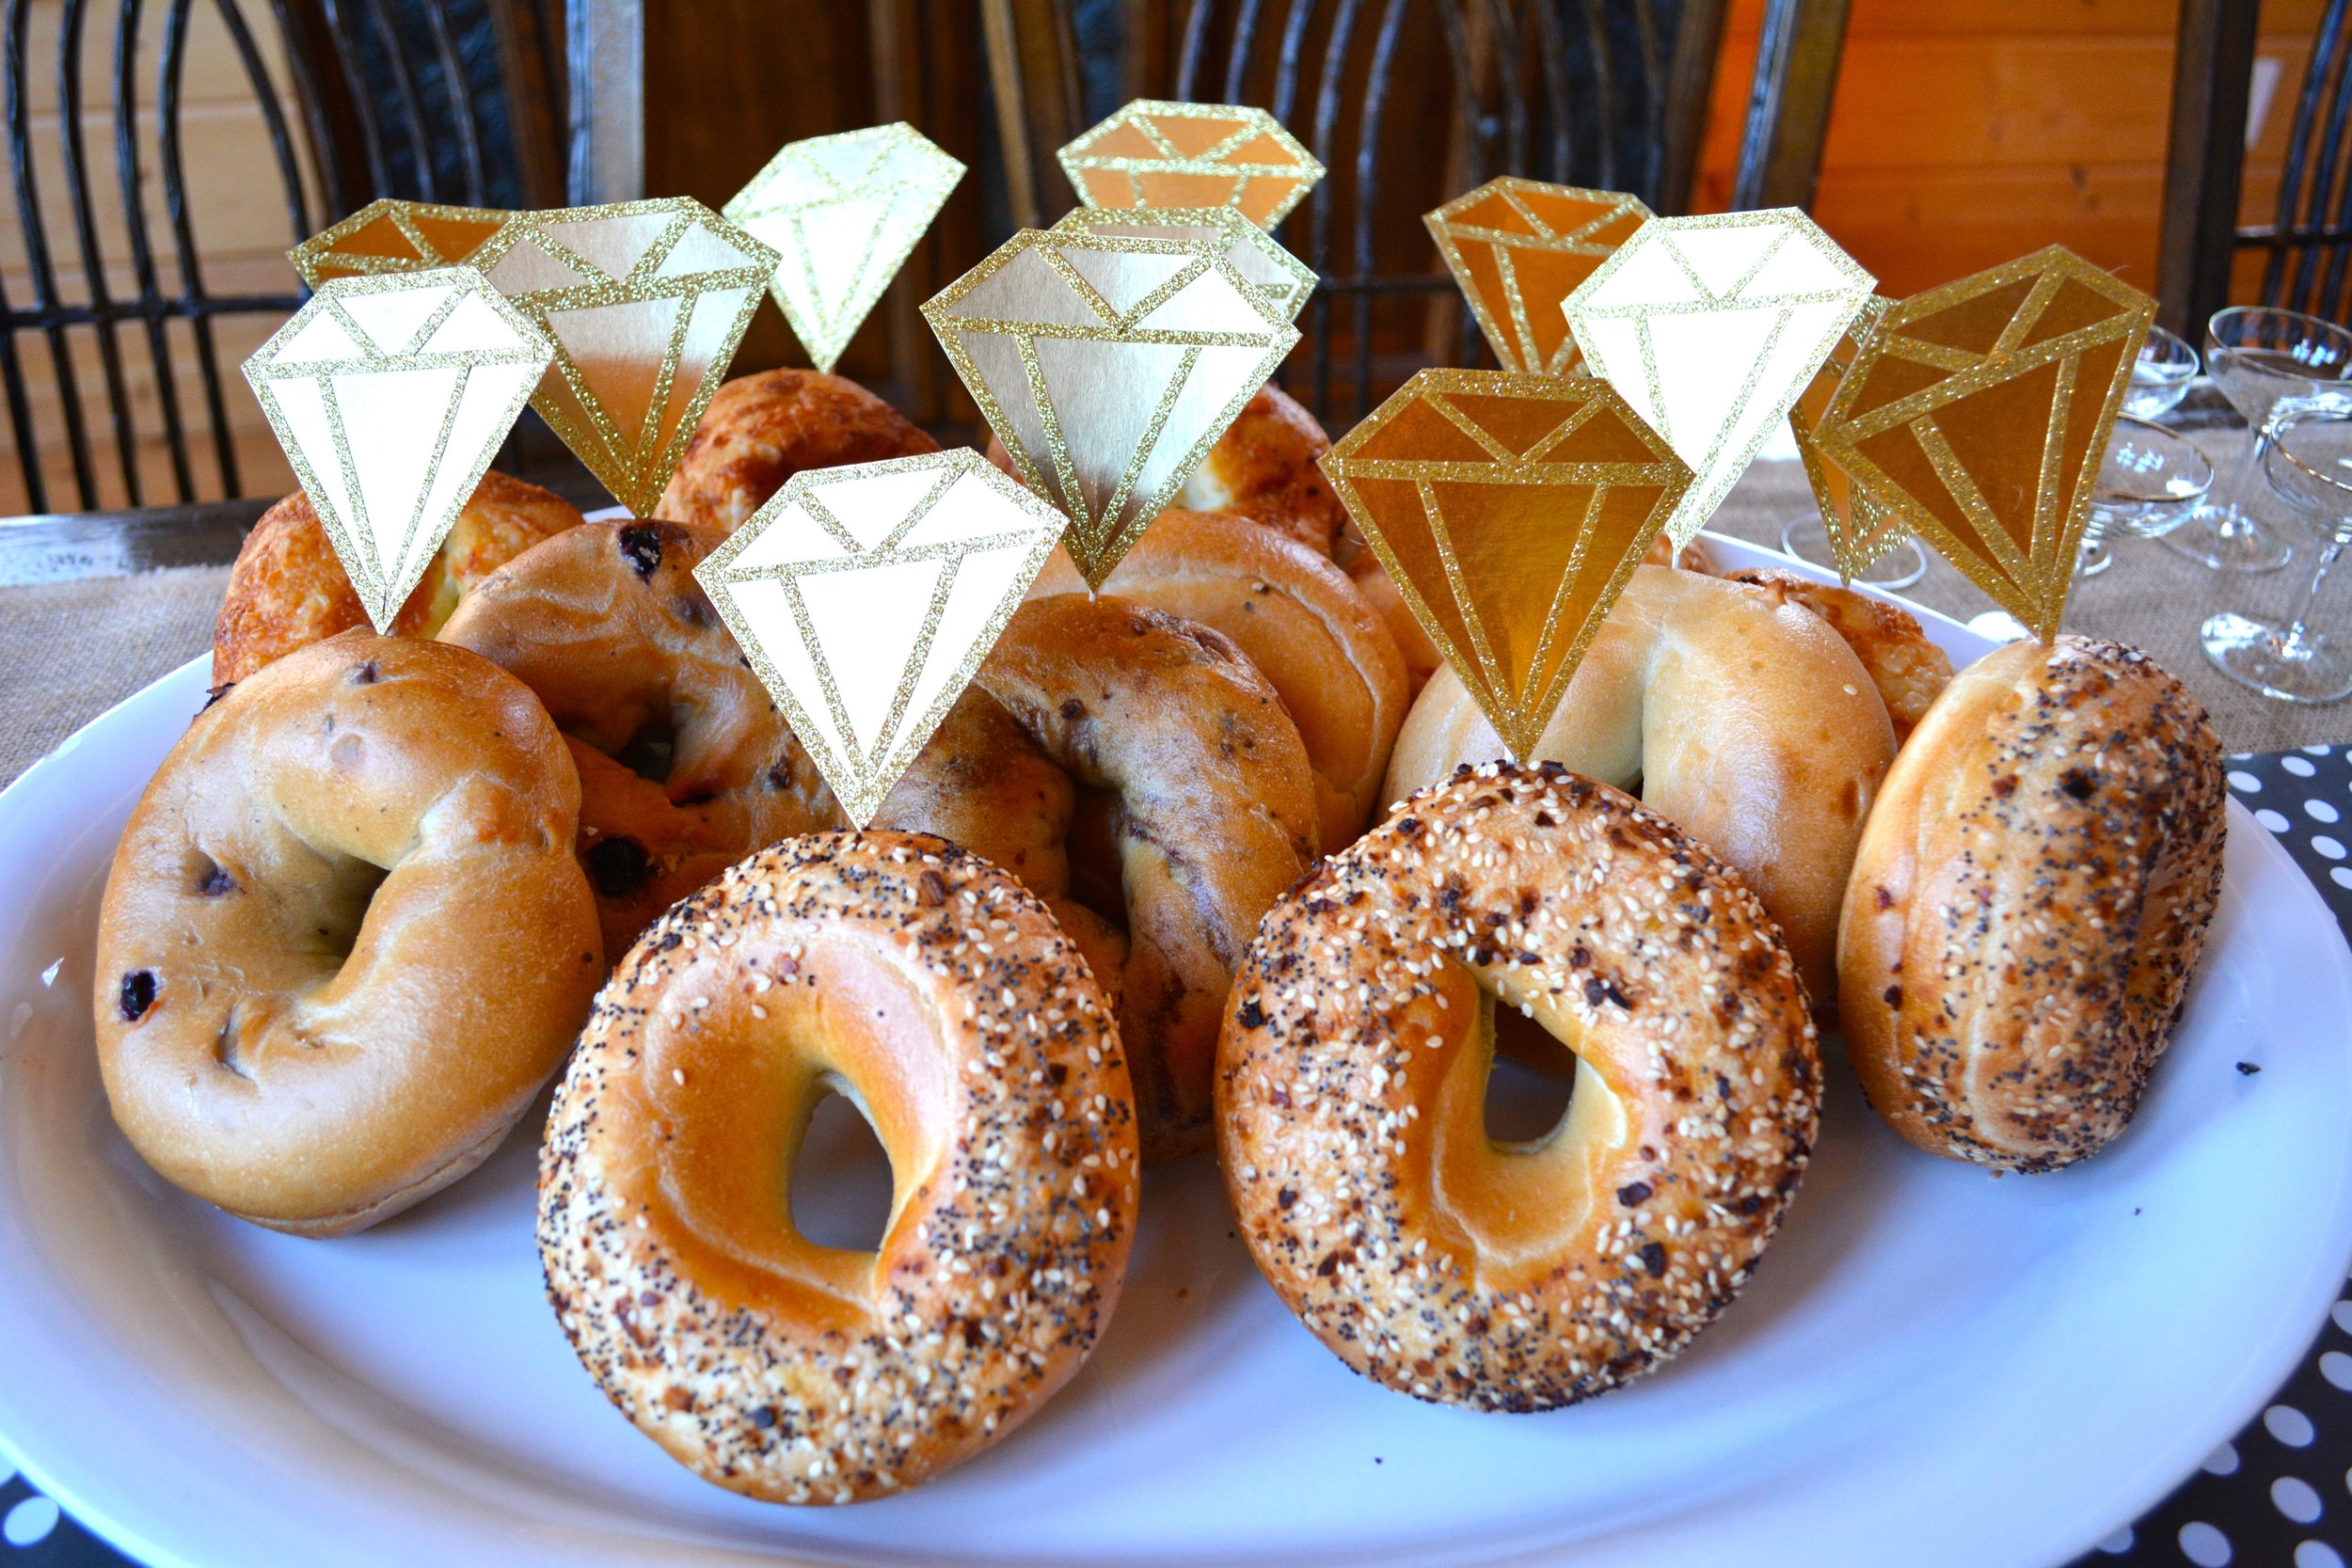
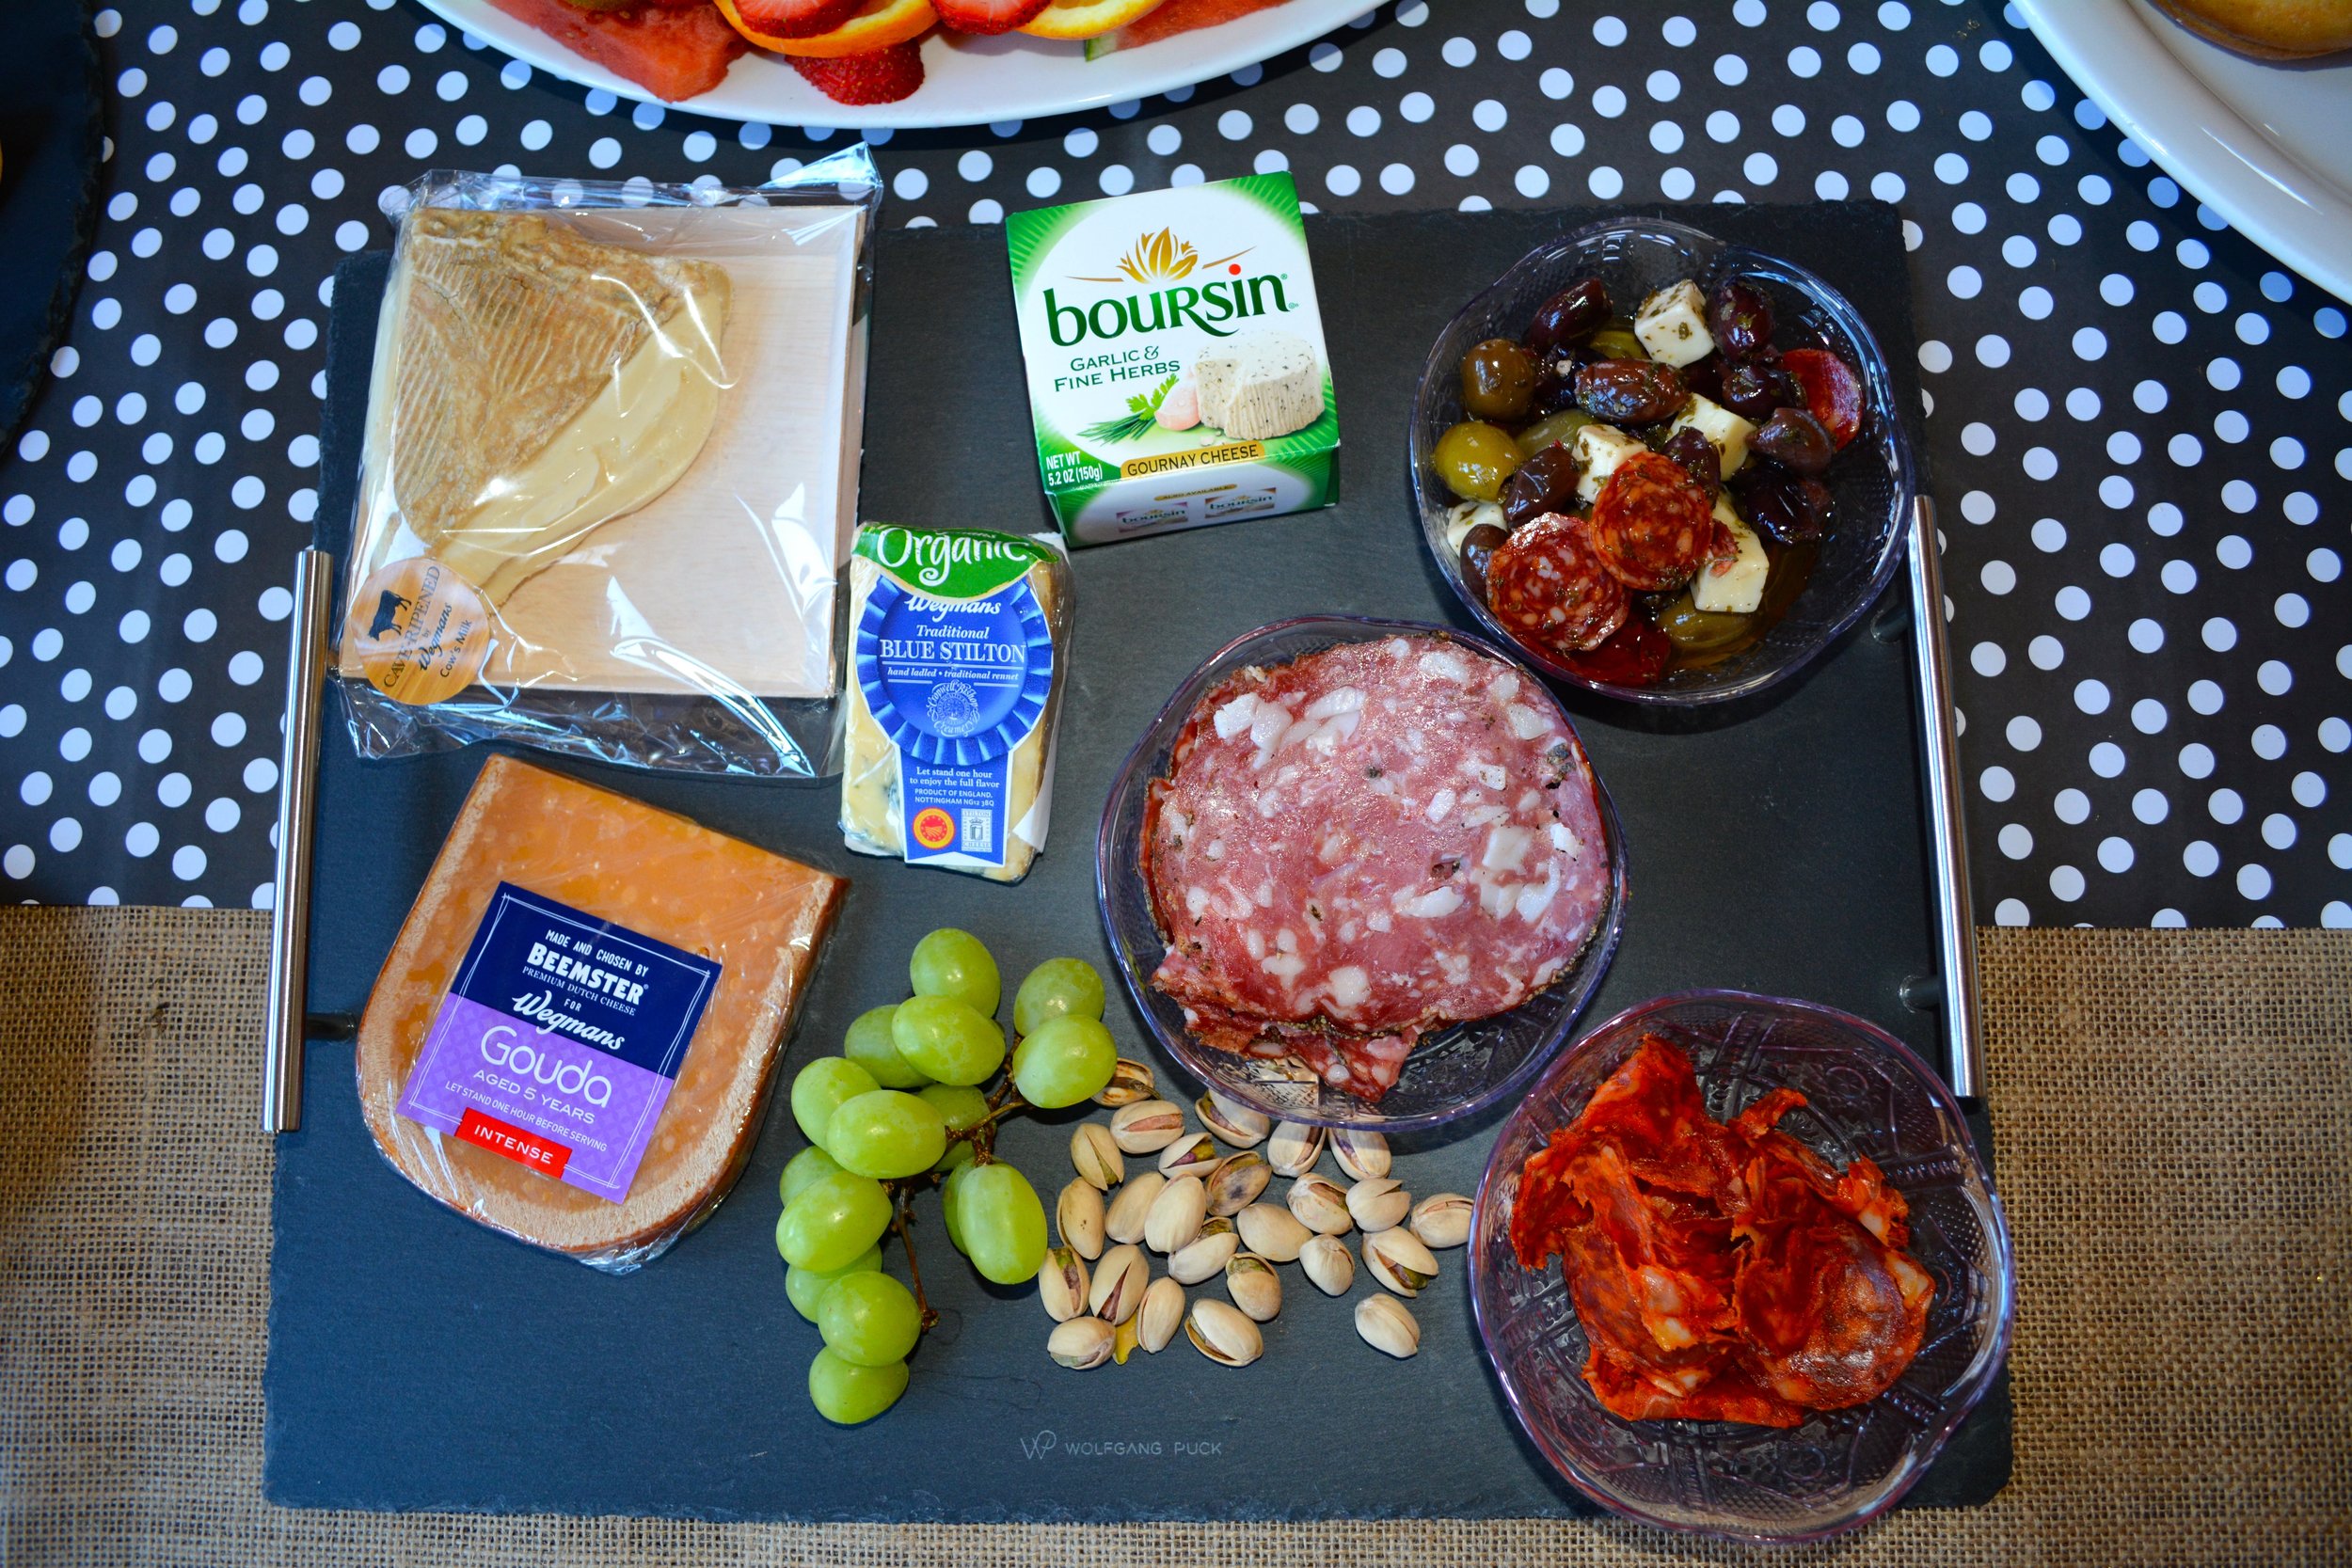
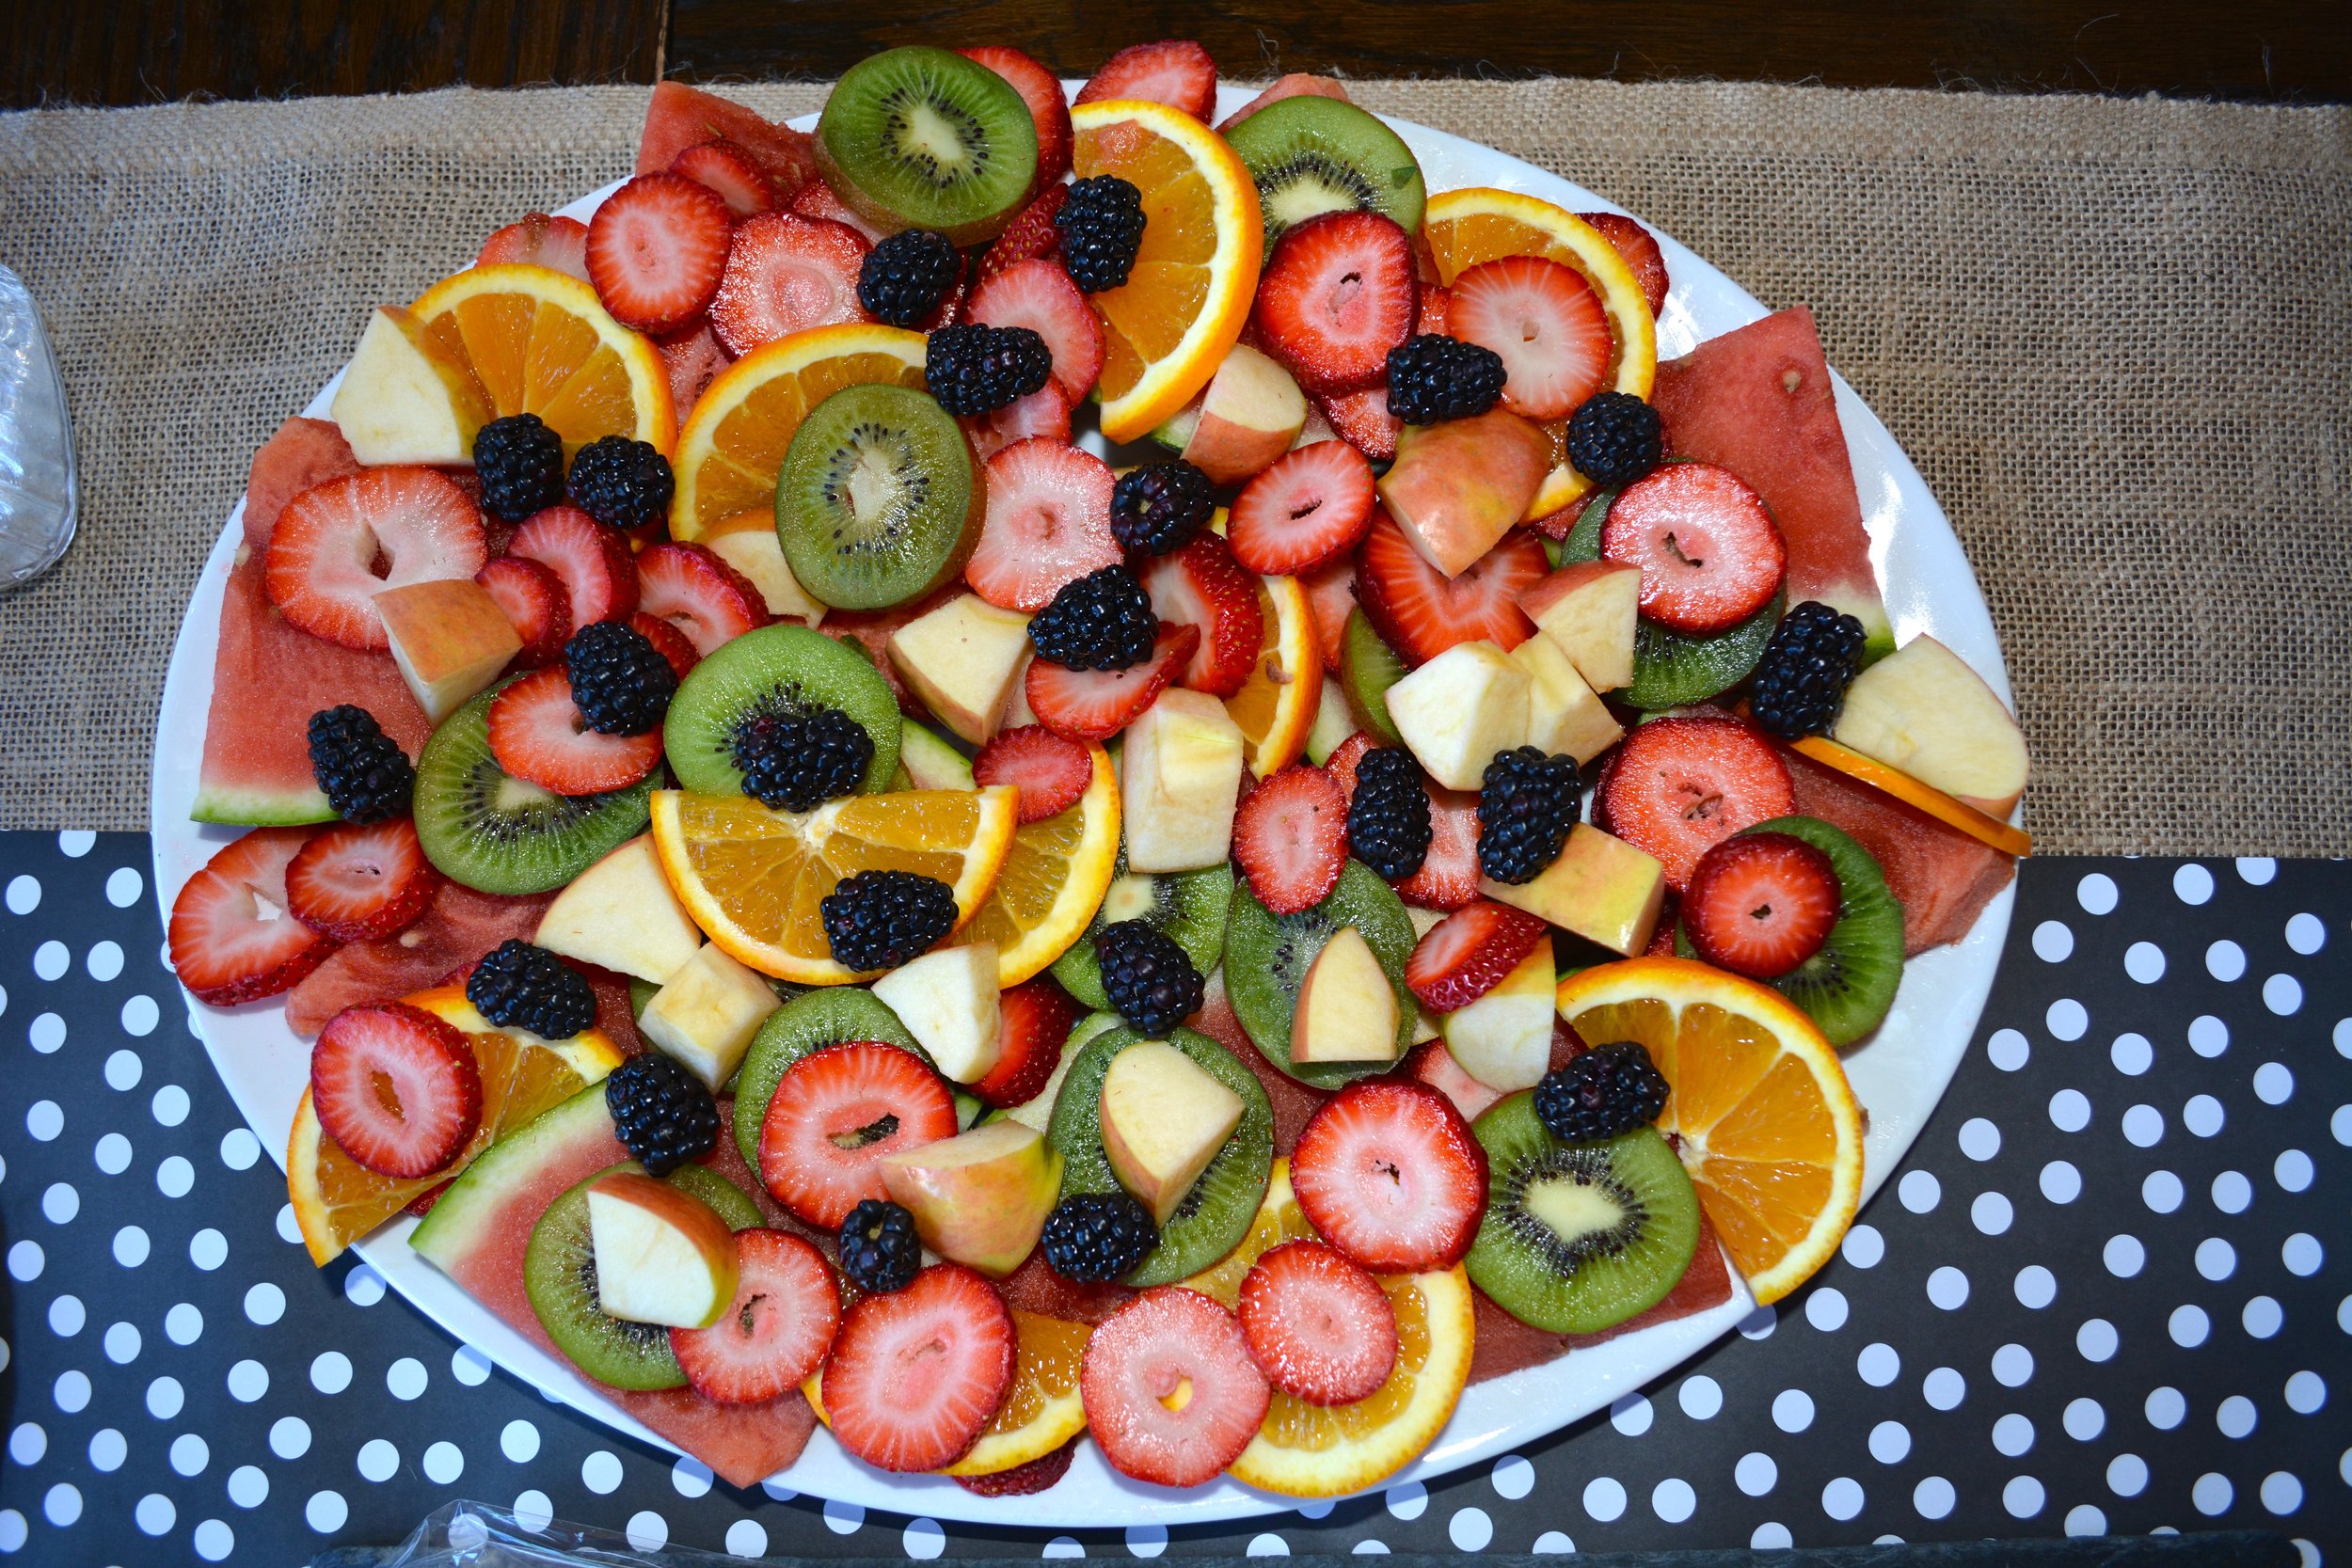
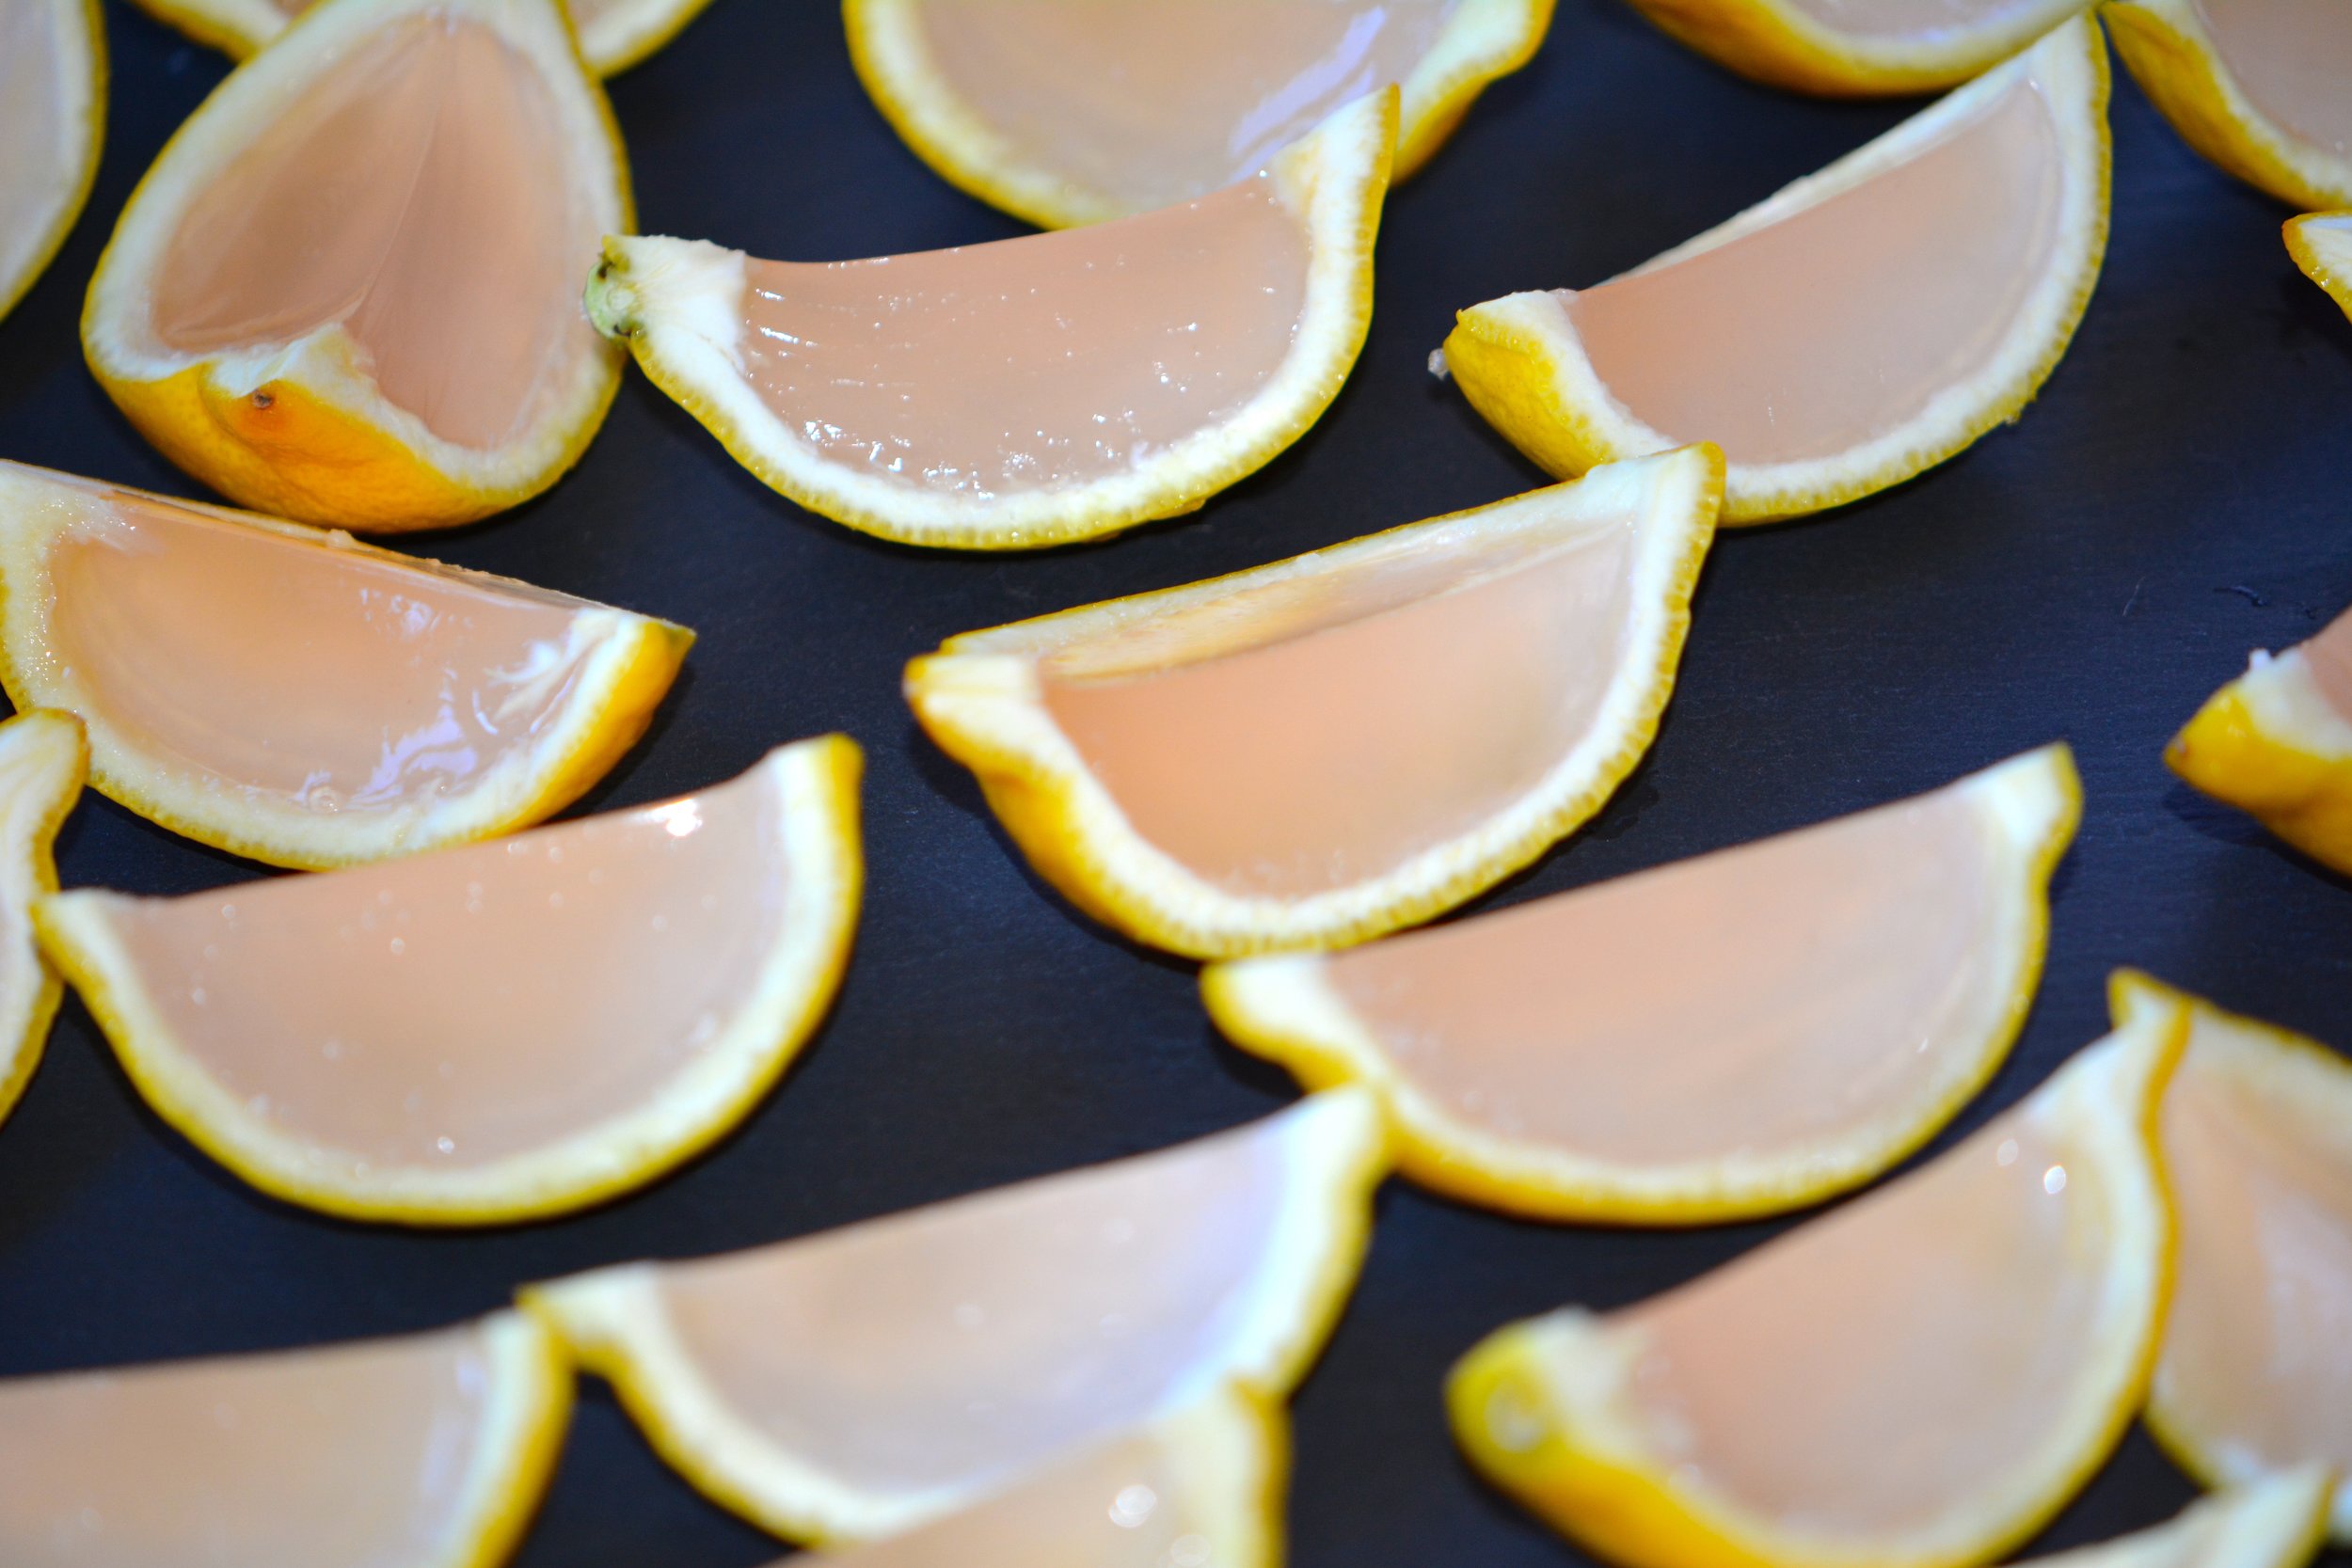
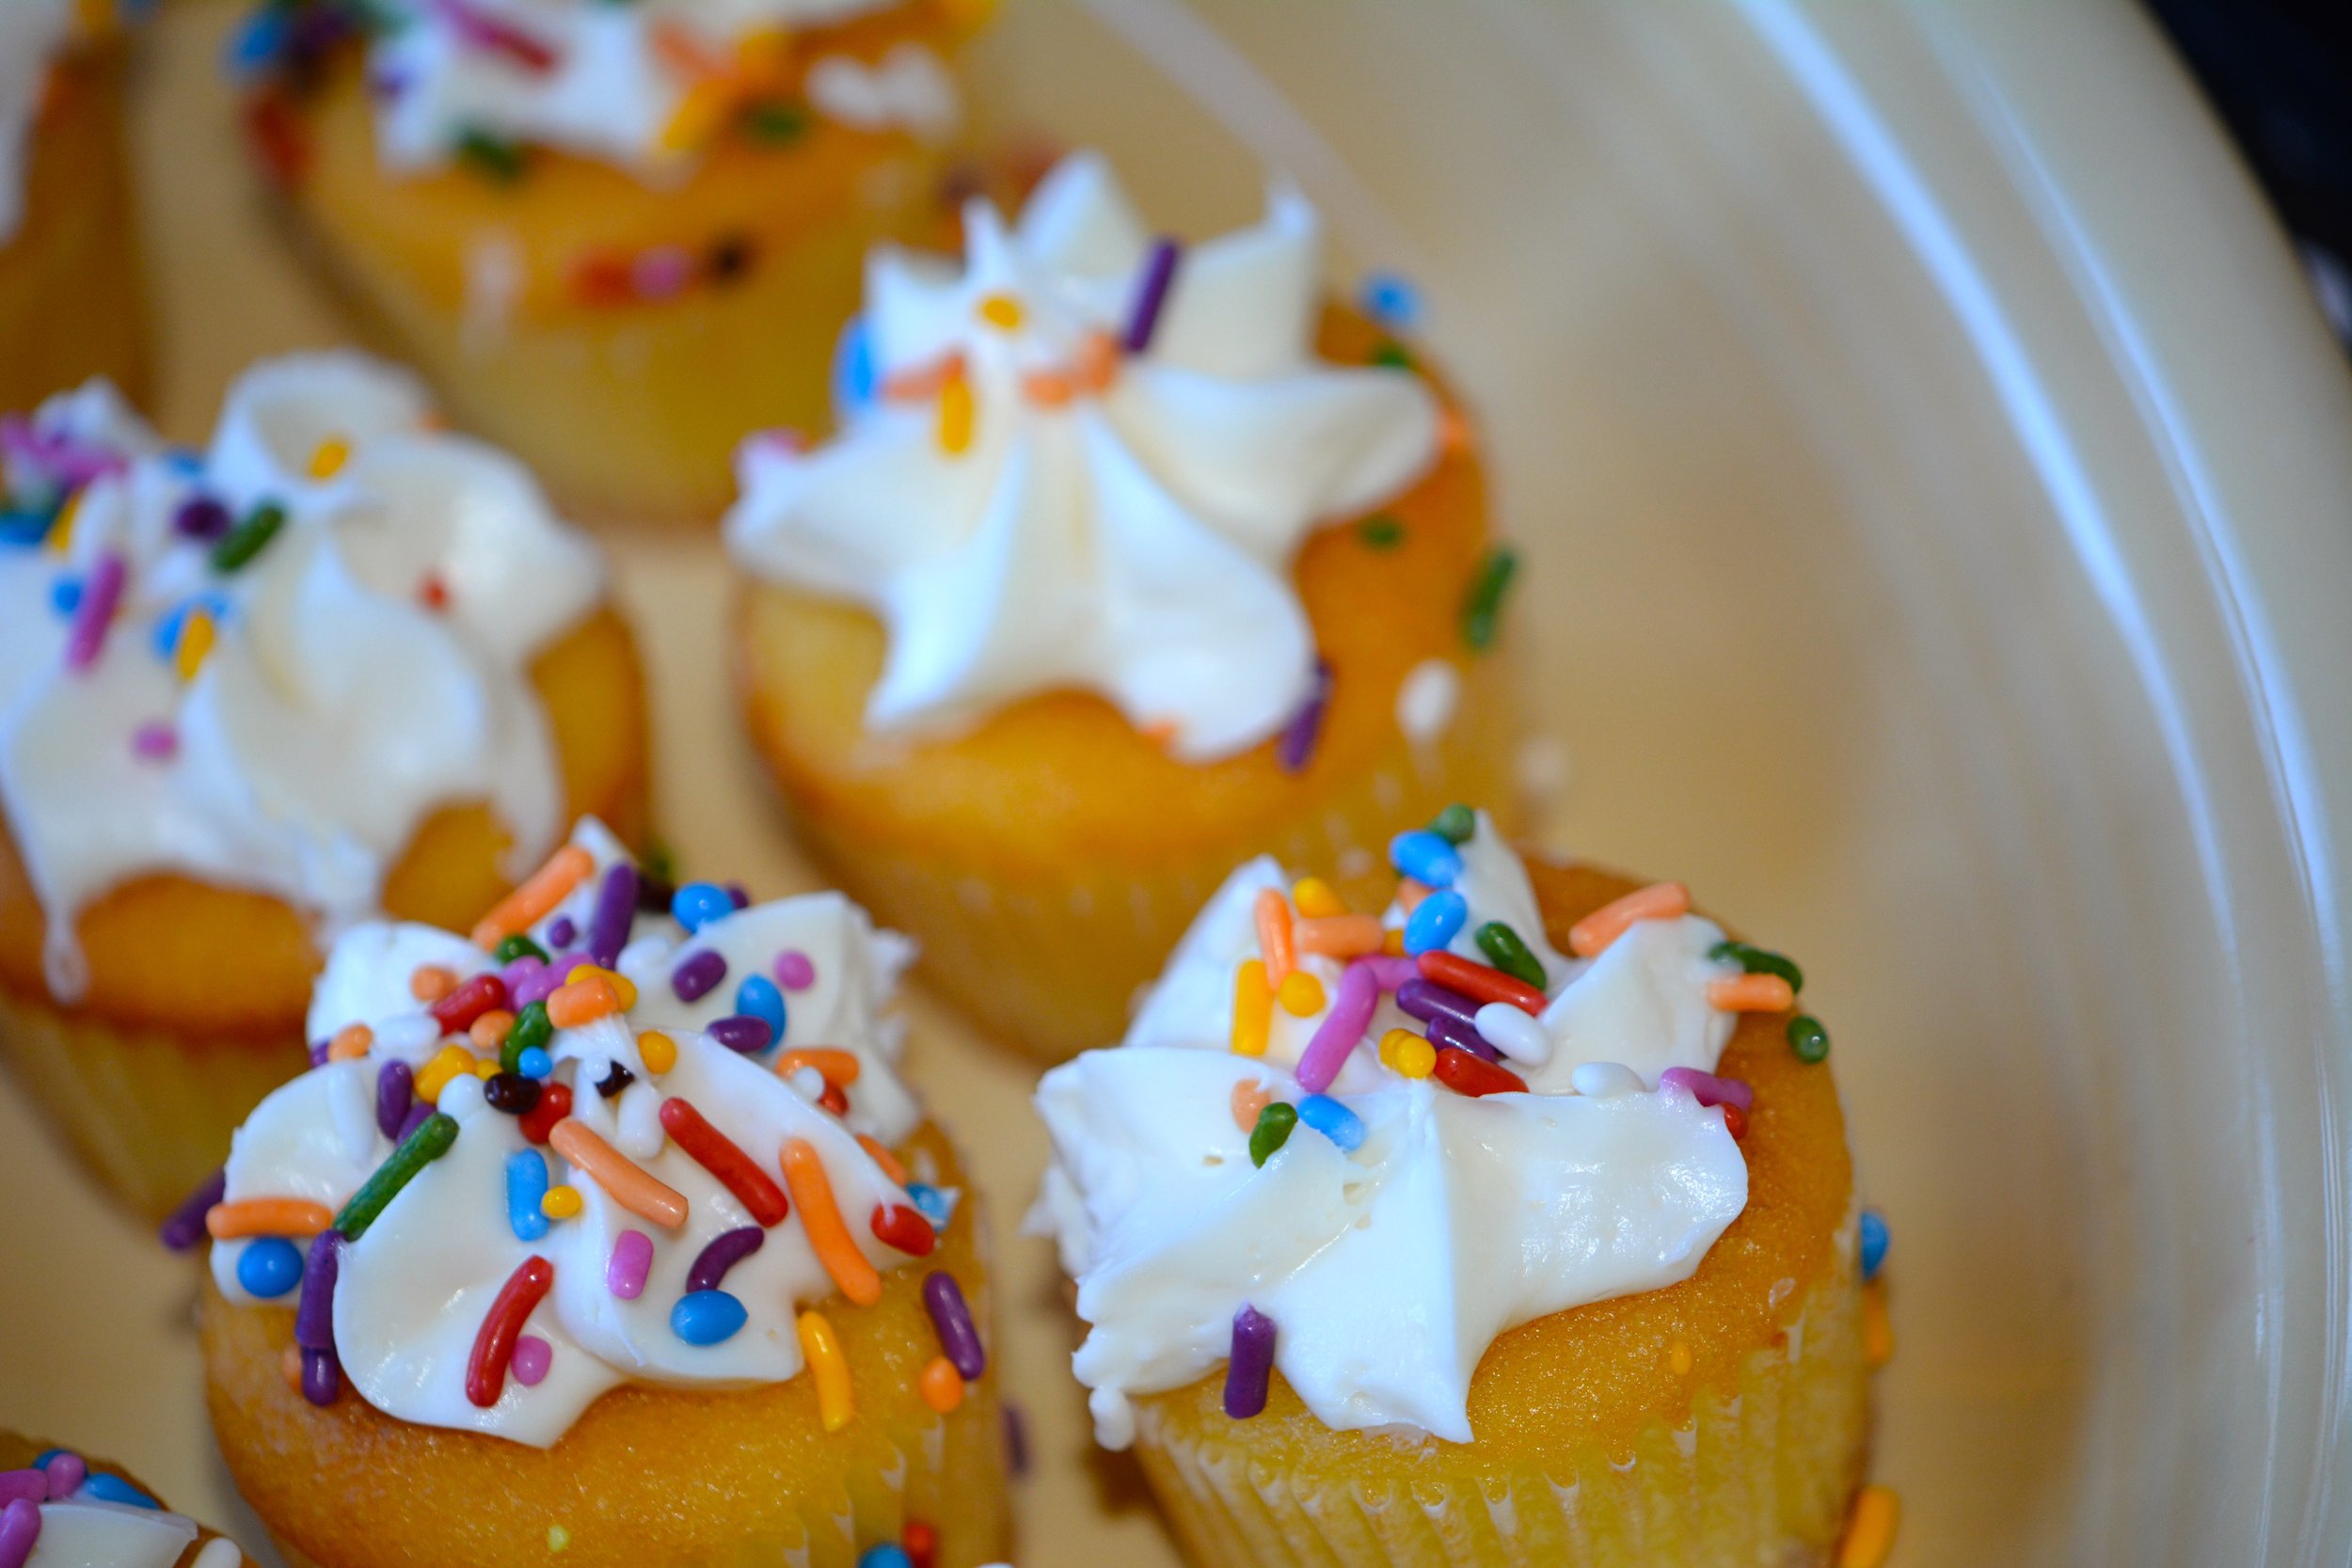
Last, but certainly not least...the food! For the brunch spread I just picked up some bagels (or should I say 'Bey'-gles) and cream cheese from Panera and spruced them up a bit with these fun diamond toothpicks that I made from paper. For the mimosa bar we had 3 juices, grapefruit, orange and peach alongside various fresh fruit garnishes (blueberries, strawberries and raspberries). What wine tour bachelorette wouldn't be complete with out a bomb cheese and charcuterie board? I purchased Wegman's peppered salami and spicy chorizo sausage to pair with aged gouda, Boursin, Blue Stilton and cave ripened calves milk cheese. And for those desiring something a little lighter...a fruit spread that I totally copied from @sugarandcharm because it looked so beautiful, you can find the deets here. For a boozy treat, I tried these pink lemonade jello shots from @BritandCo. Are you picking up on the subtle Queen Bey theme? I'm also obsessed with infused waters right now, so to stay hydrated we had this yummy lemon and cucumber water! Oh and some mini cupcakes (also from Wegman's) for those with a sweet tooth (ME!!) of course.
And that is really all you need to throw an amazing Wine Tour Bachelorette Party! Bring on the wine! Cheers!!


