

Learn how to make your very own DIY Personalized Wedding Hanger!
So for the past few weeks I have been kind of stumbling over what I should write about for my very first blog post. Mulling over what might grab people's attention and what might lull them to sleep. But in the end I'm just going to go for it...

Found this on Pinterest <<Follow me on Pinterest>> It's from Bananas and Bellinis! Check it out.
What better way to start than by discussing a few of my favorite things: Dogs + Dentistry + DIY!!
Today's blog post will be one related to the later {{But stay tuned >>> I'll get to the others too}}. DIY has always been near and dear to my heart. I grew up watching Bob Vila and Bob Ross and dreaming up ways to be like them. They're probably part of the reason why I decided to "remodel" my mom's kitchen when I was 14. Disclaimer: My mother was not involved in this decision or any step of the process. And "remodel" is in quotations because, in retrospect, I hardly consider the green and purple cabinets and painted black countertops (Yes. I painted the Formica.) an improvement on the retro 1970's style kitchen. Oh-- and did I mention that I did this while my mom was out of town, so you can imagine her surprise upon returning. Her linoleum floors were now clad in the cheapest tile I could find from the Home Depot and the black paint on her countertops was more easily scratched than a brand new pair of sunglasses. Here is a pic of the lovely tile I chose for her new backsplash:

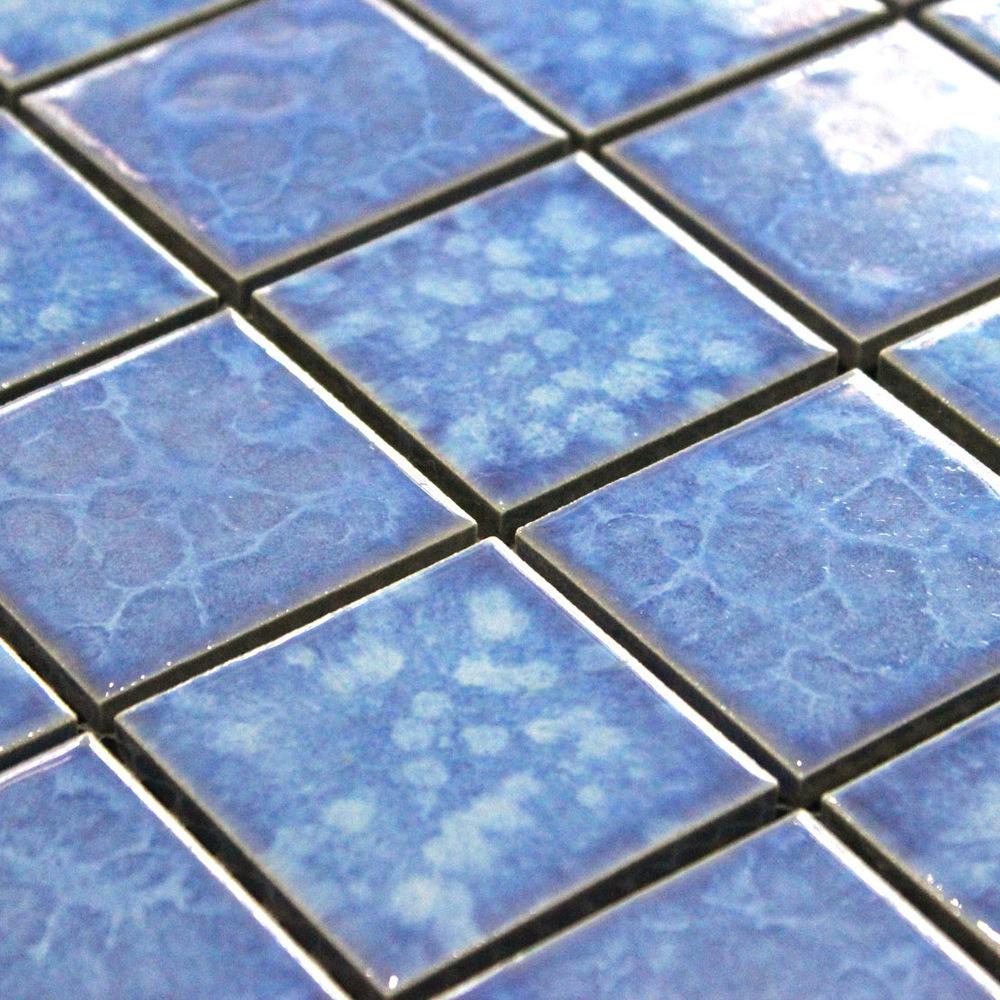
I know what you're thinking. And the answer is no, I did not rob a swimming pool for this...
Anyways, it's safe to say that I've come a long way! Thank God.
So, today I'm going to share with you how I make my personalized wedding hangers. Don't be scared, you can totally do this!!!
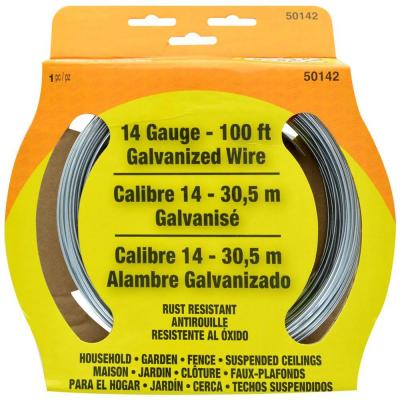
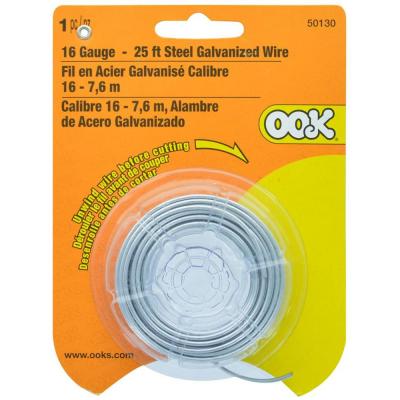
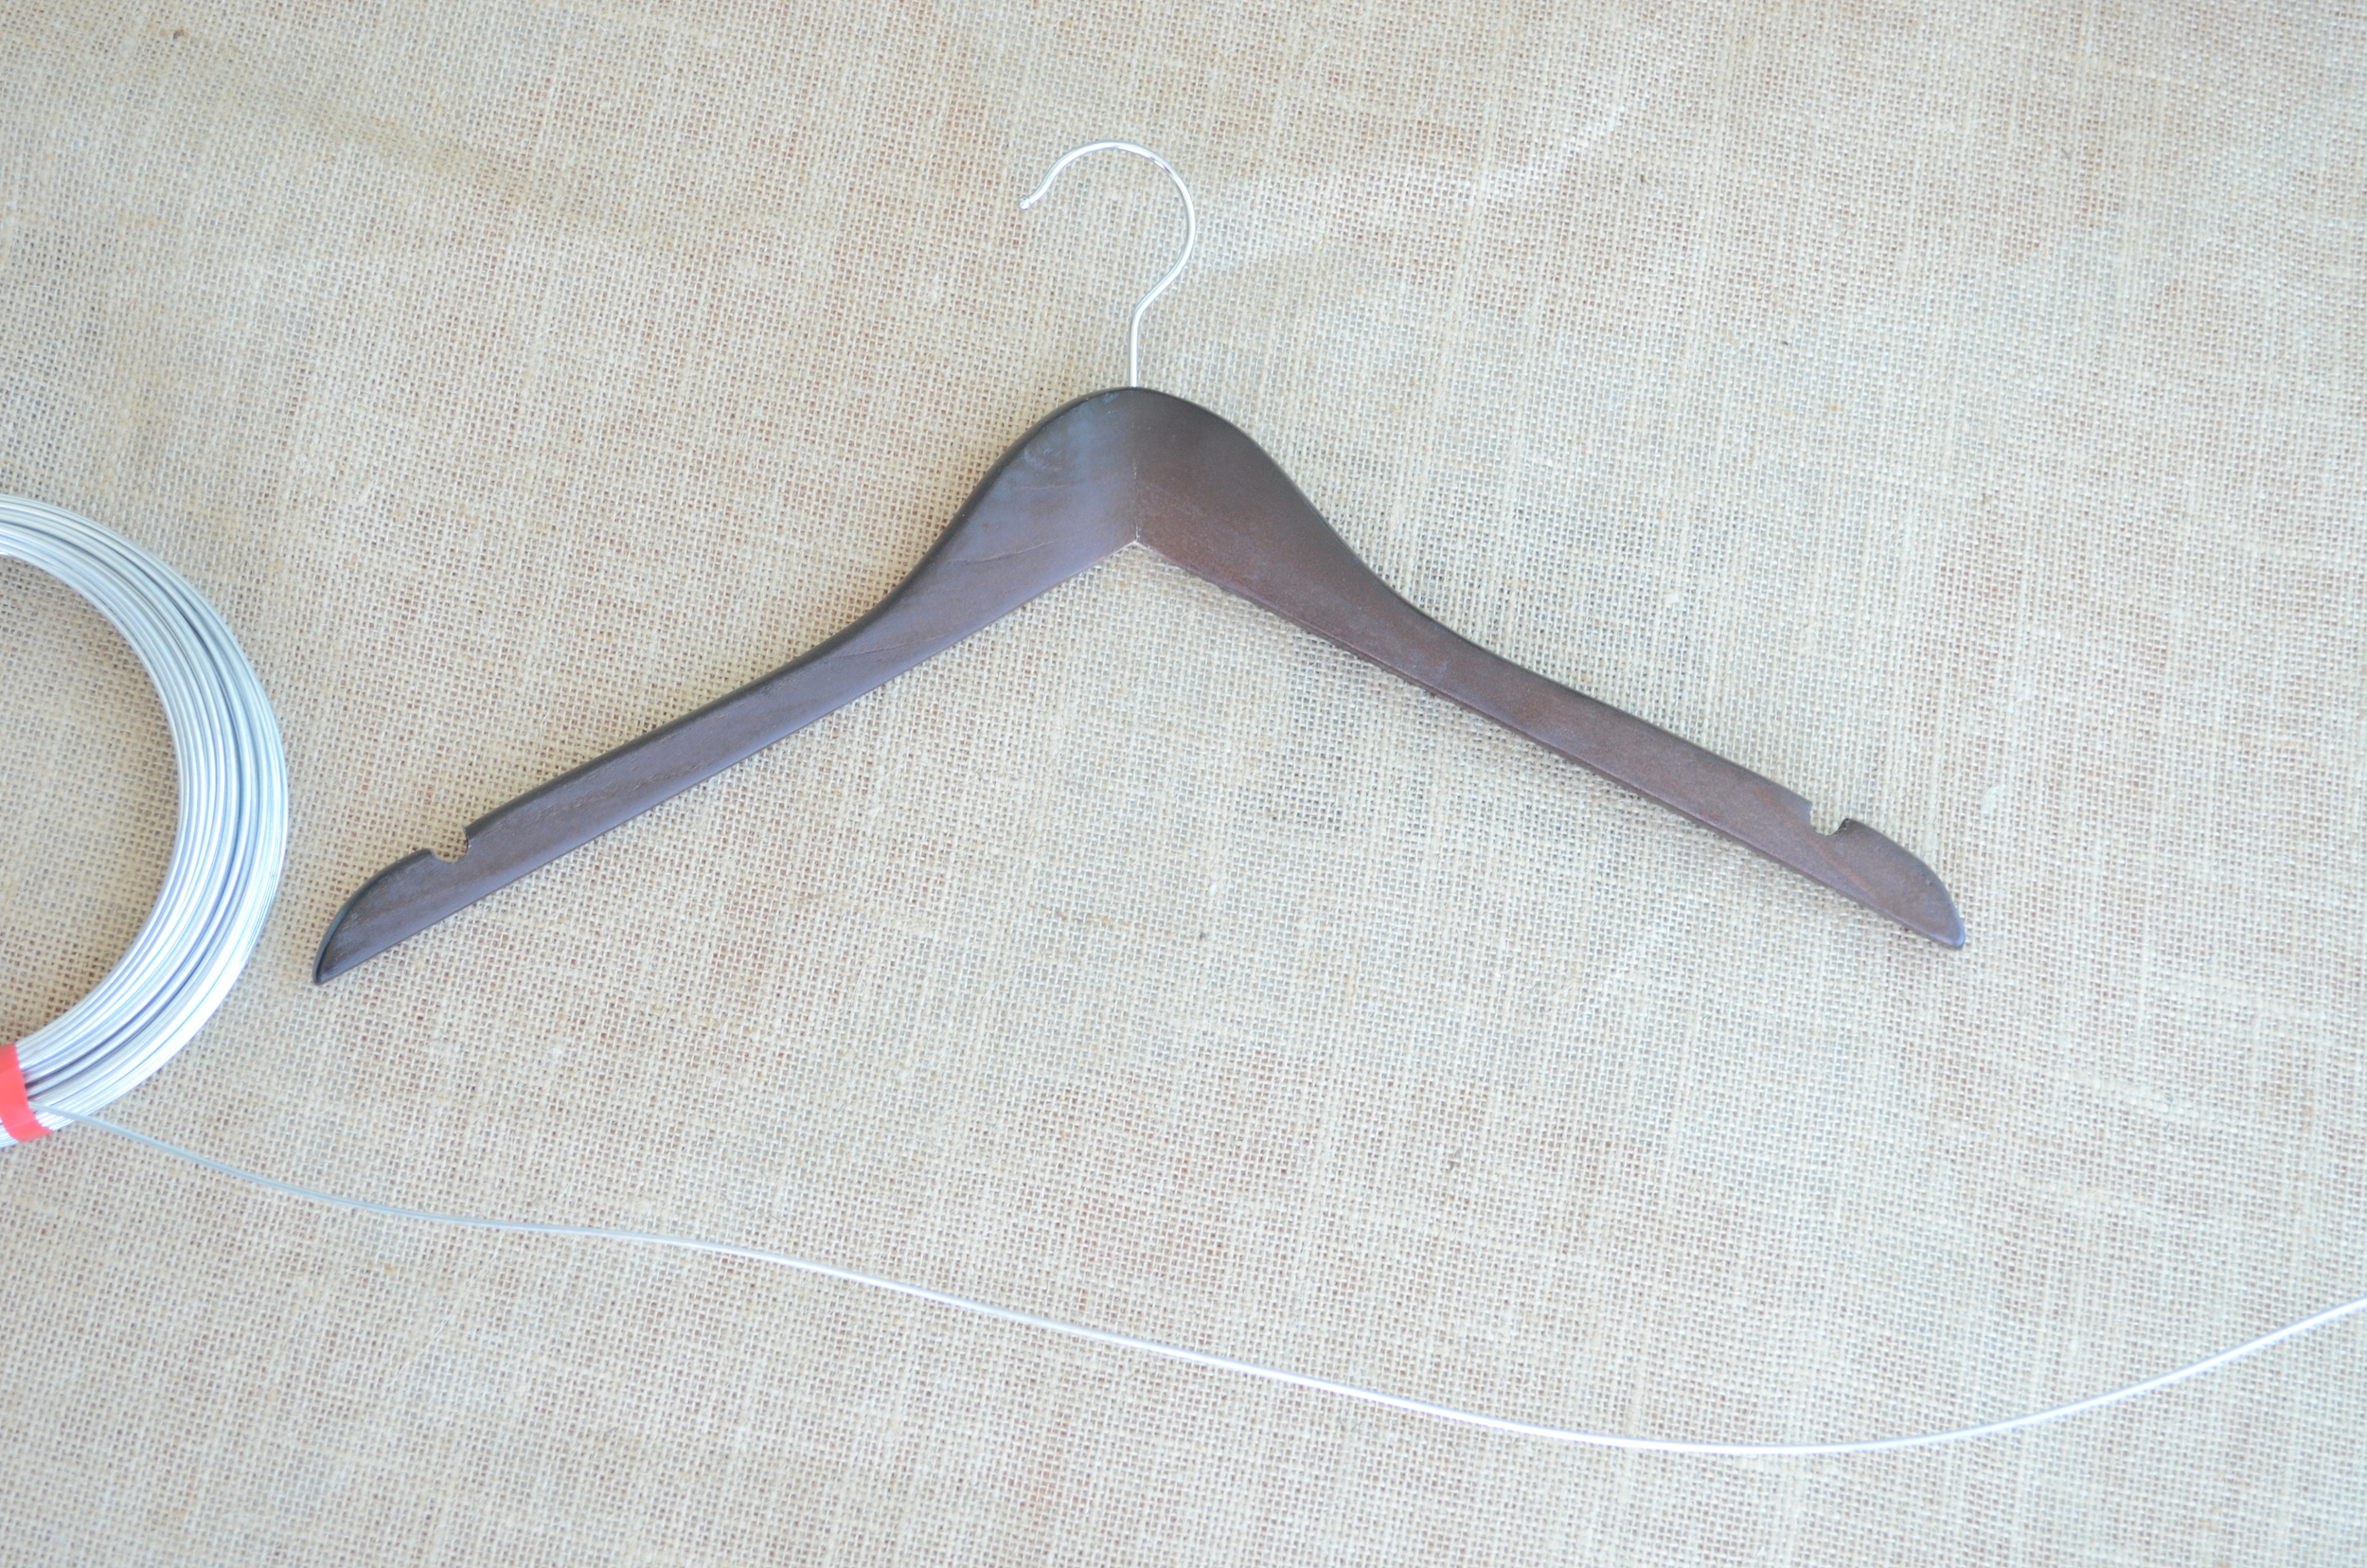
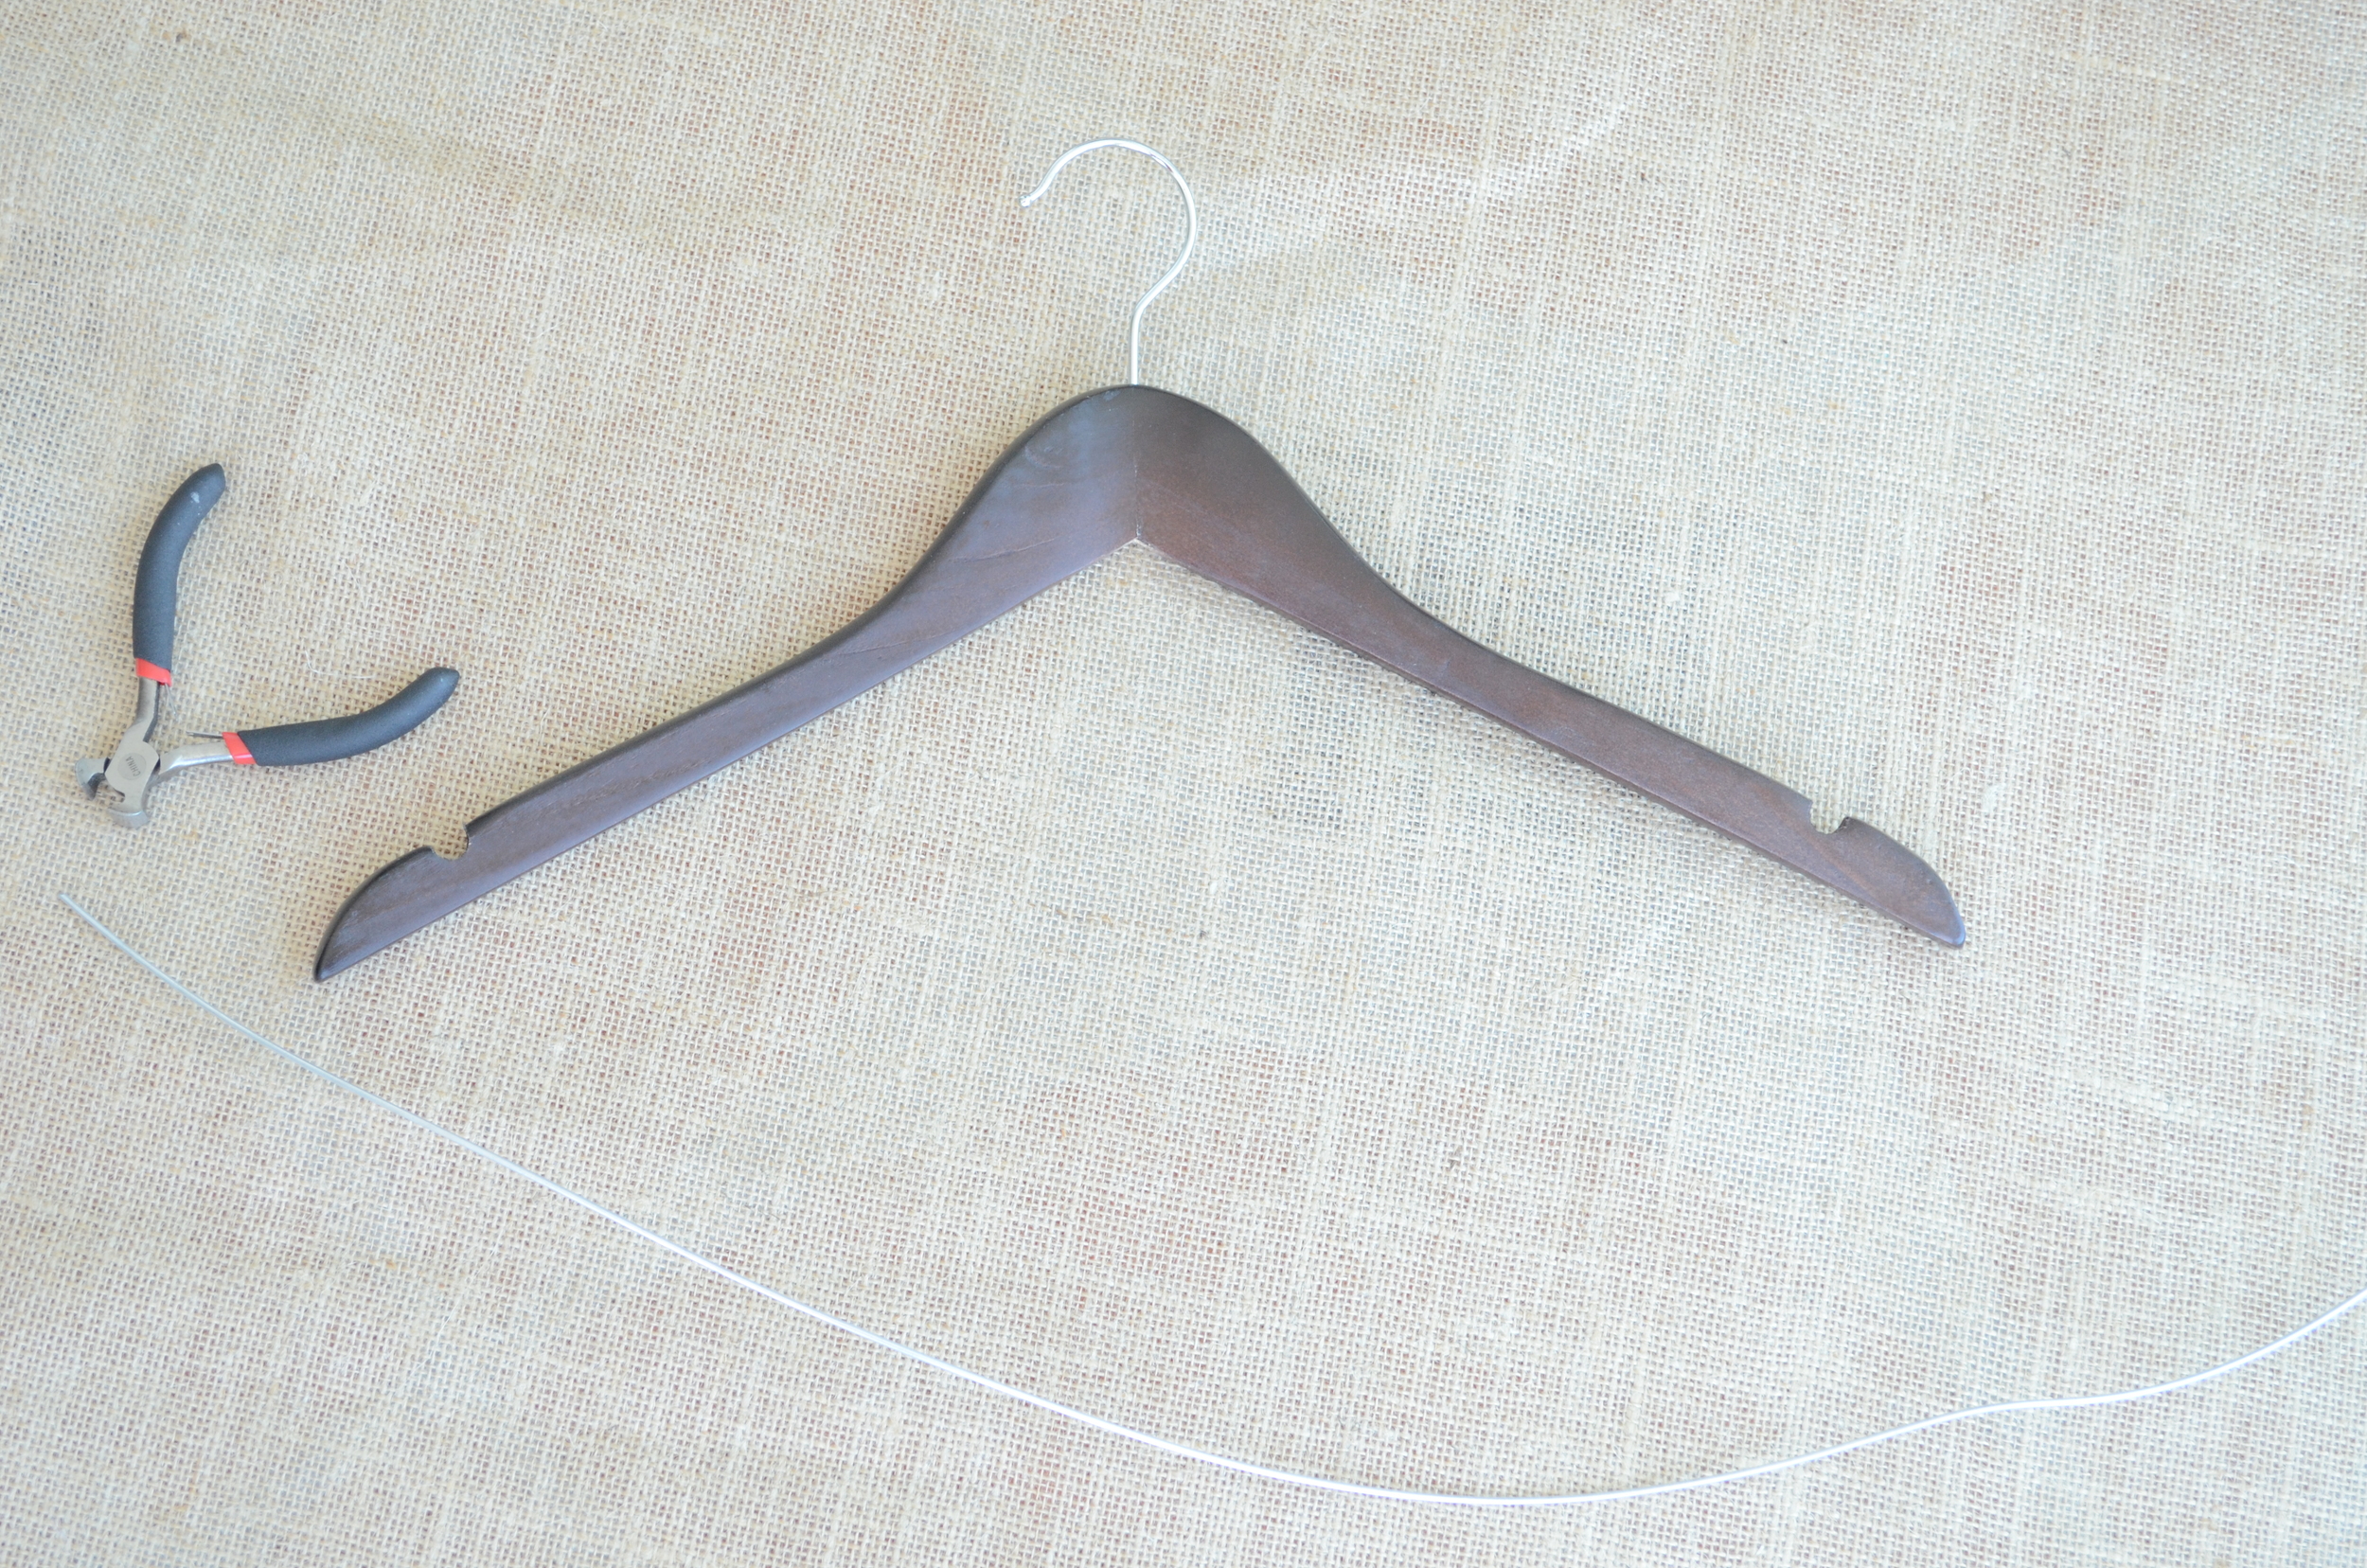
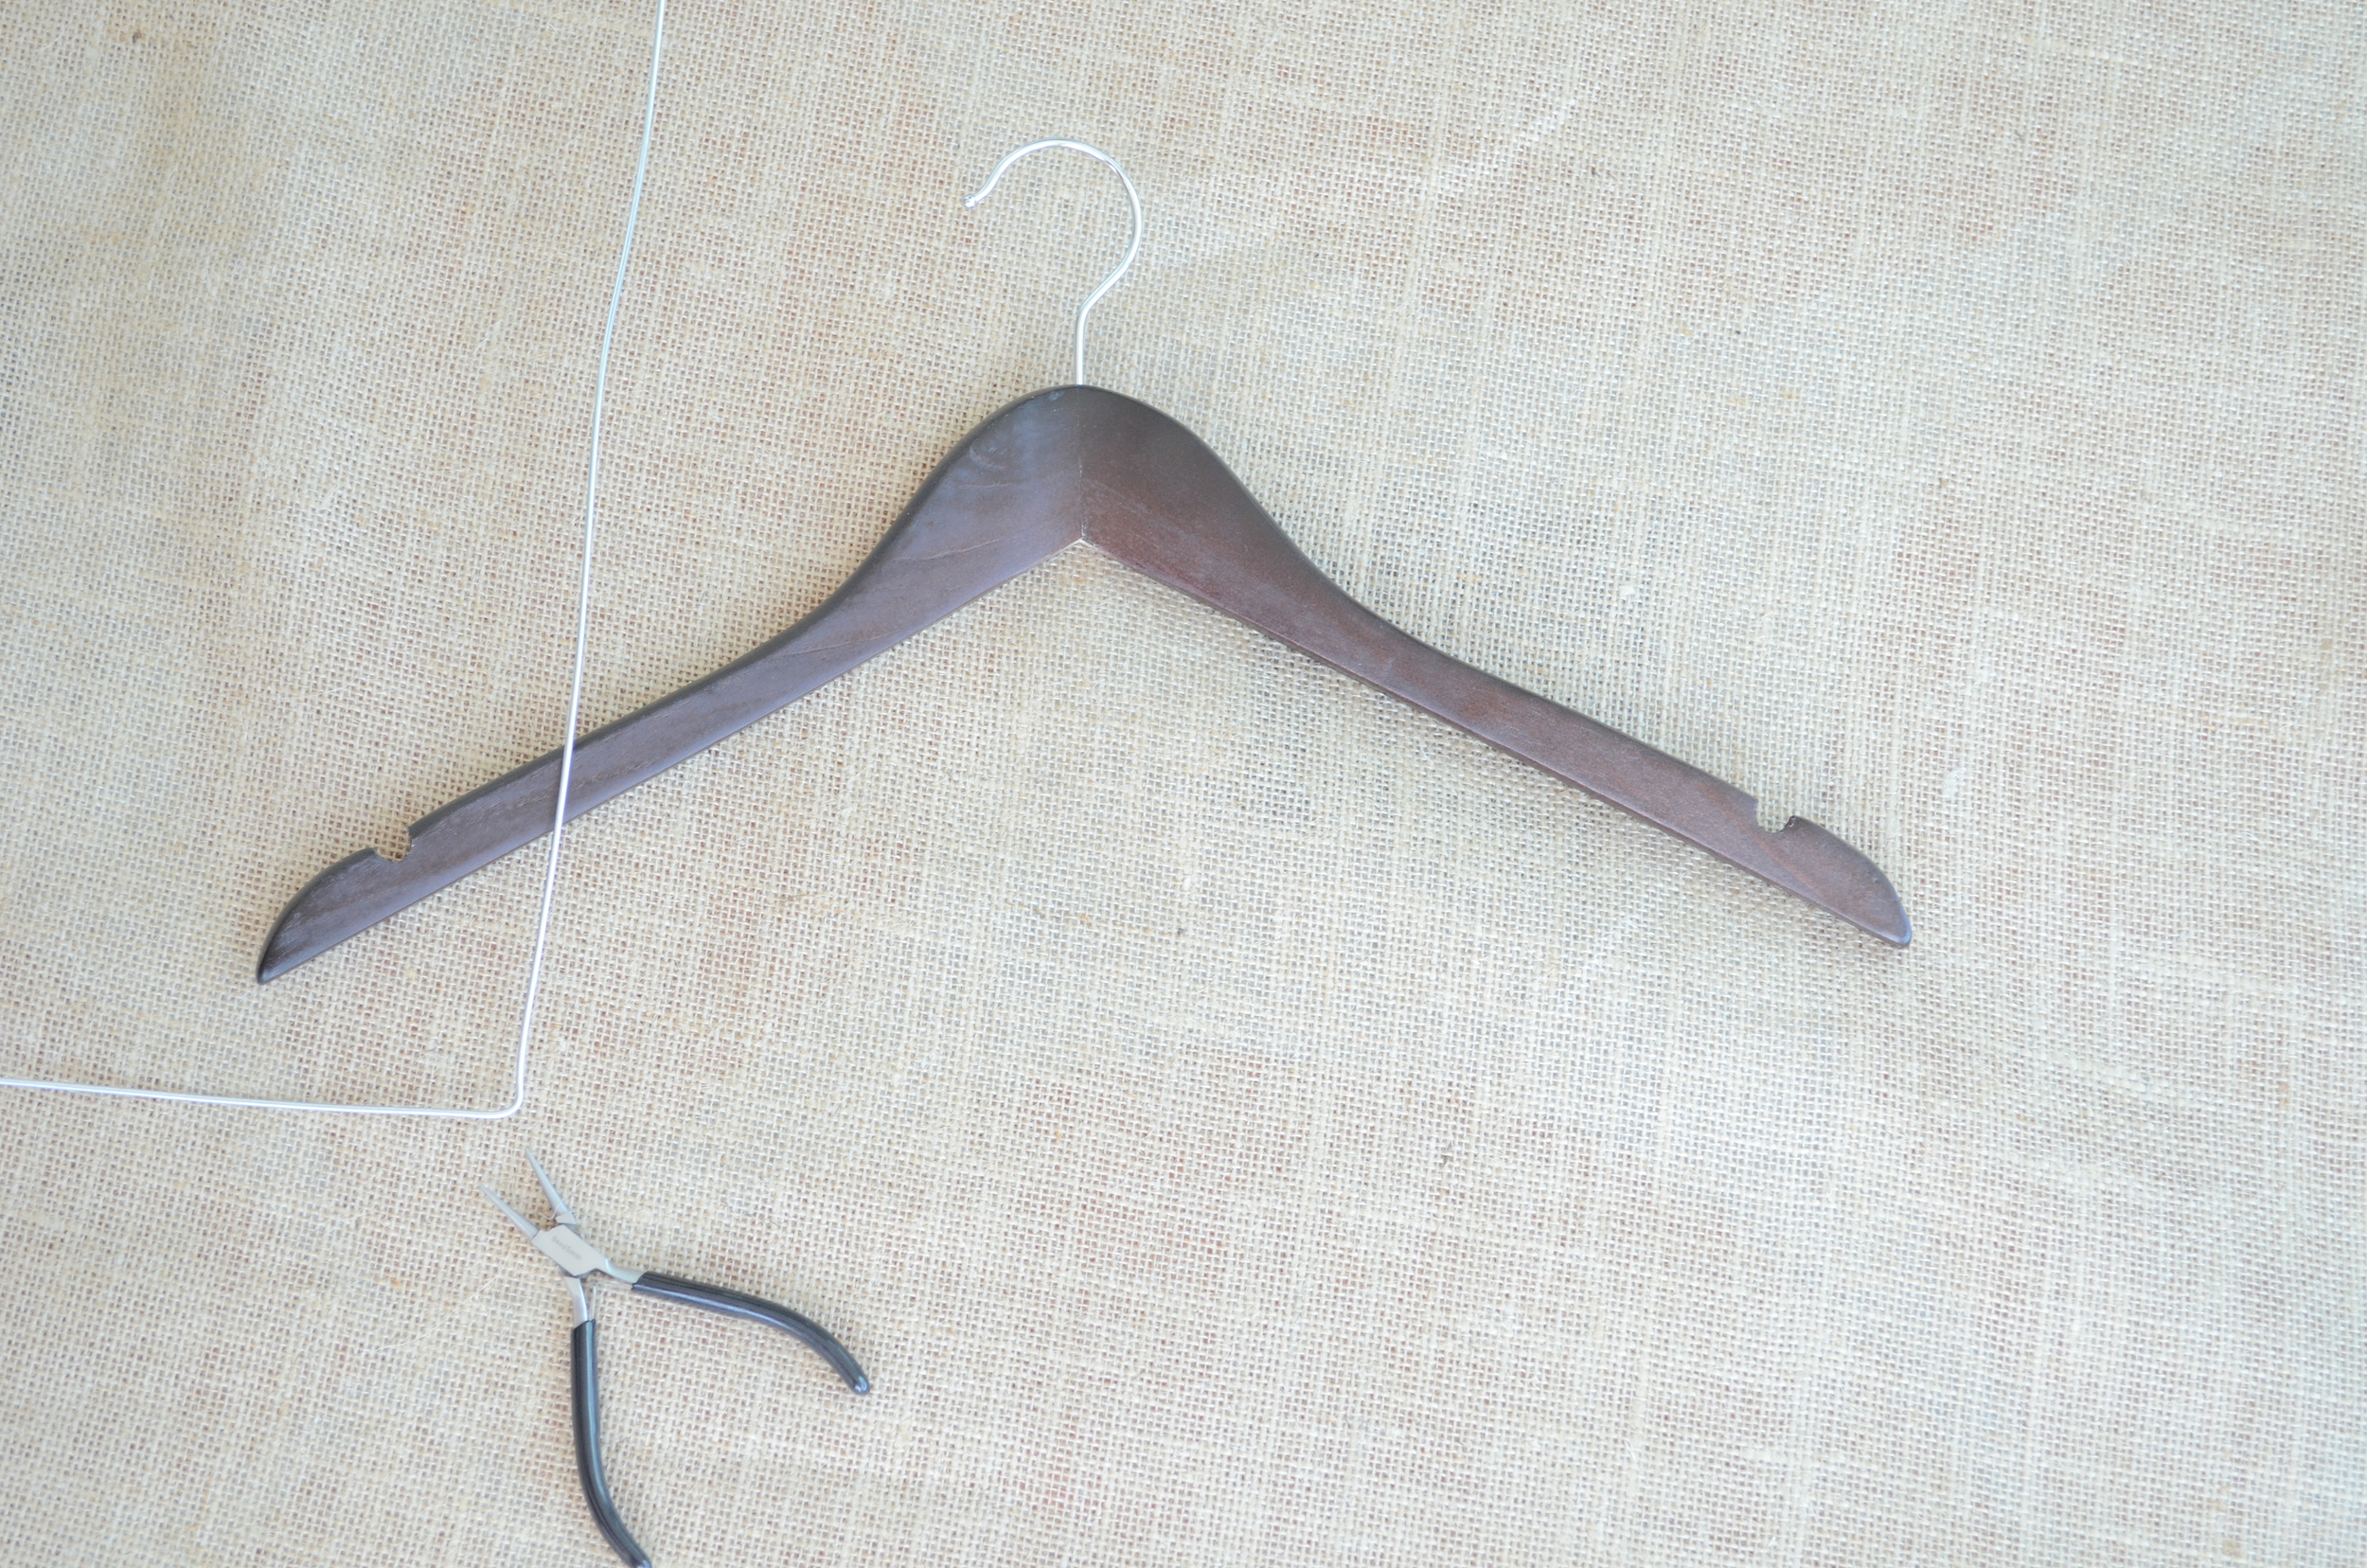
OK. So, this is what you're going to need:
14g or 16g galvanized steel wire (the 14g will be a little tougher to bend, so if this is your first experience bending wire, then start with the 16g)
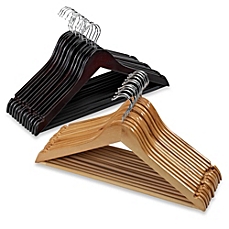
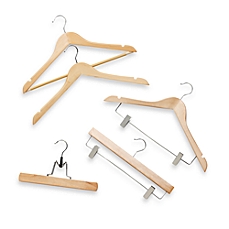
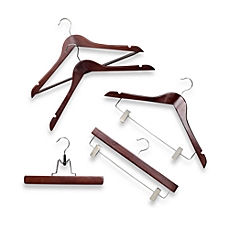
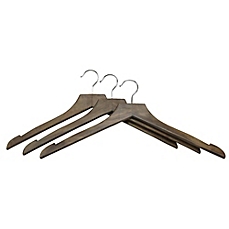
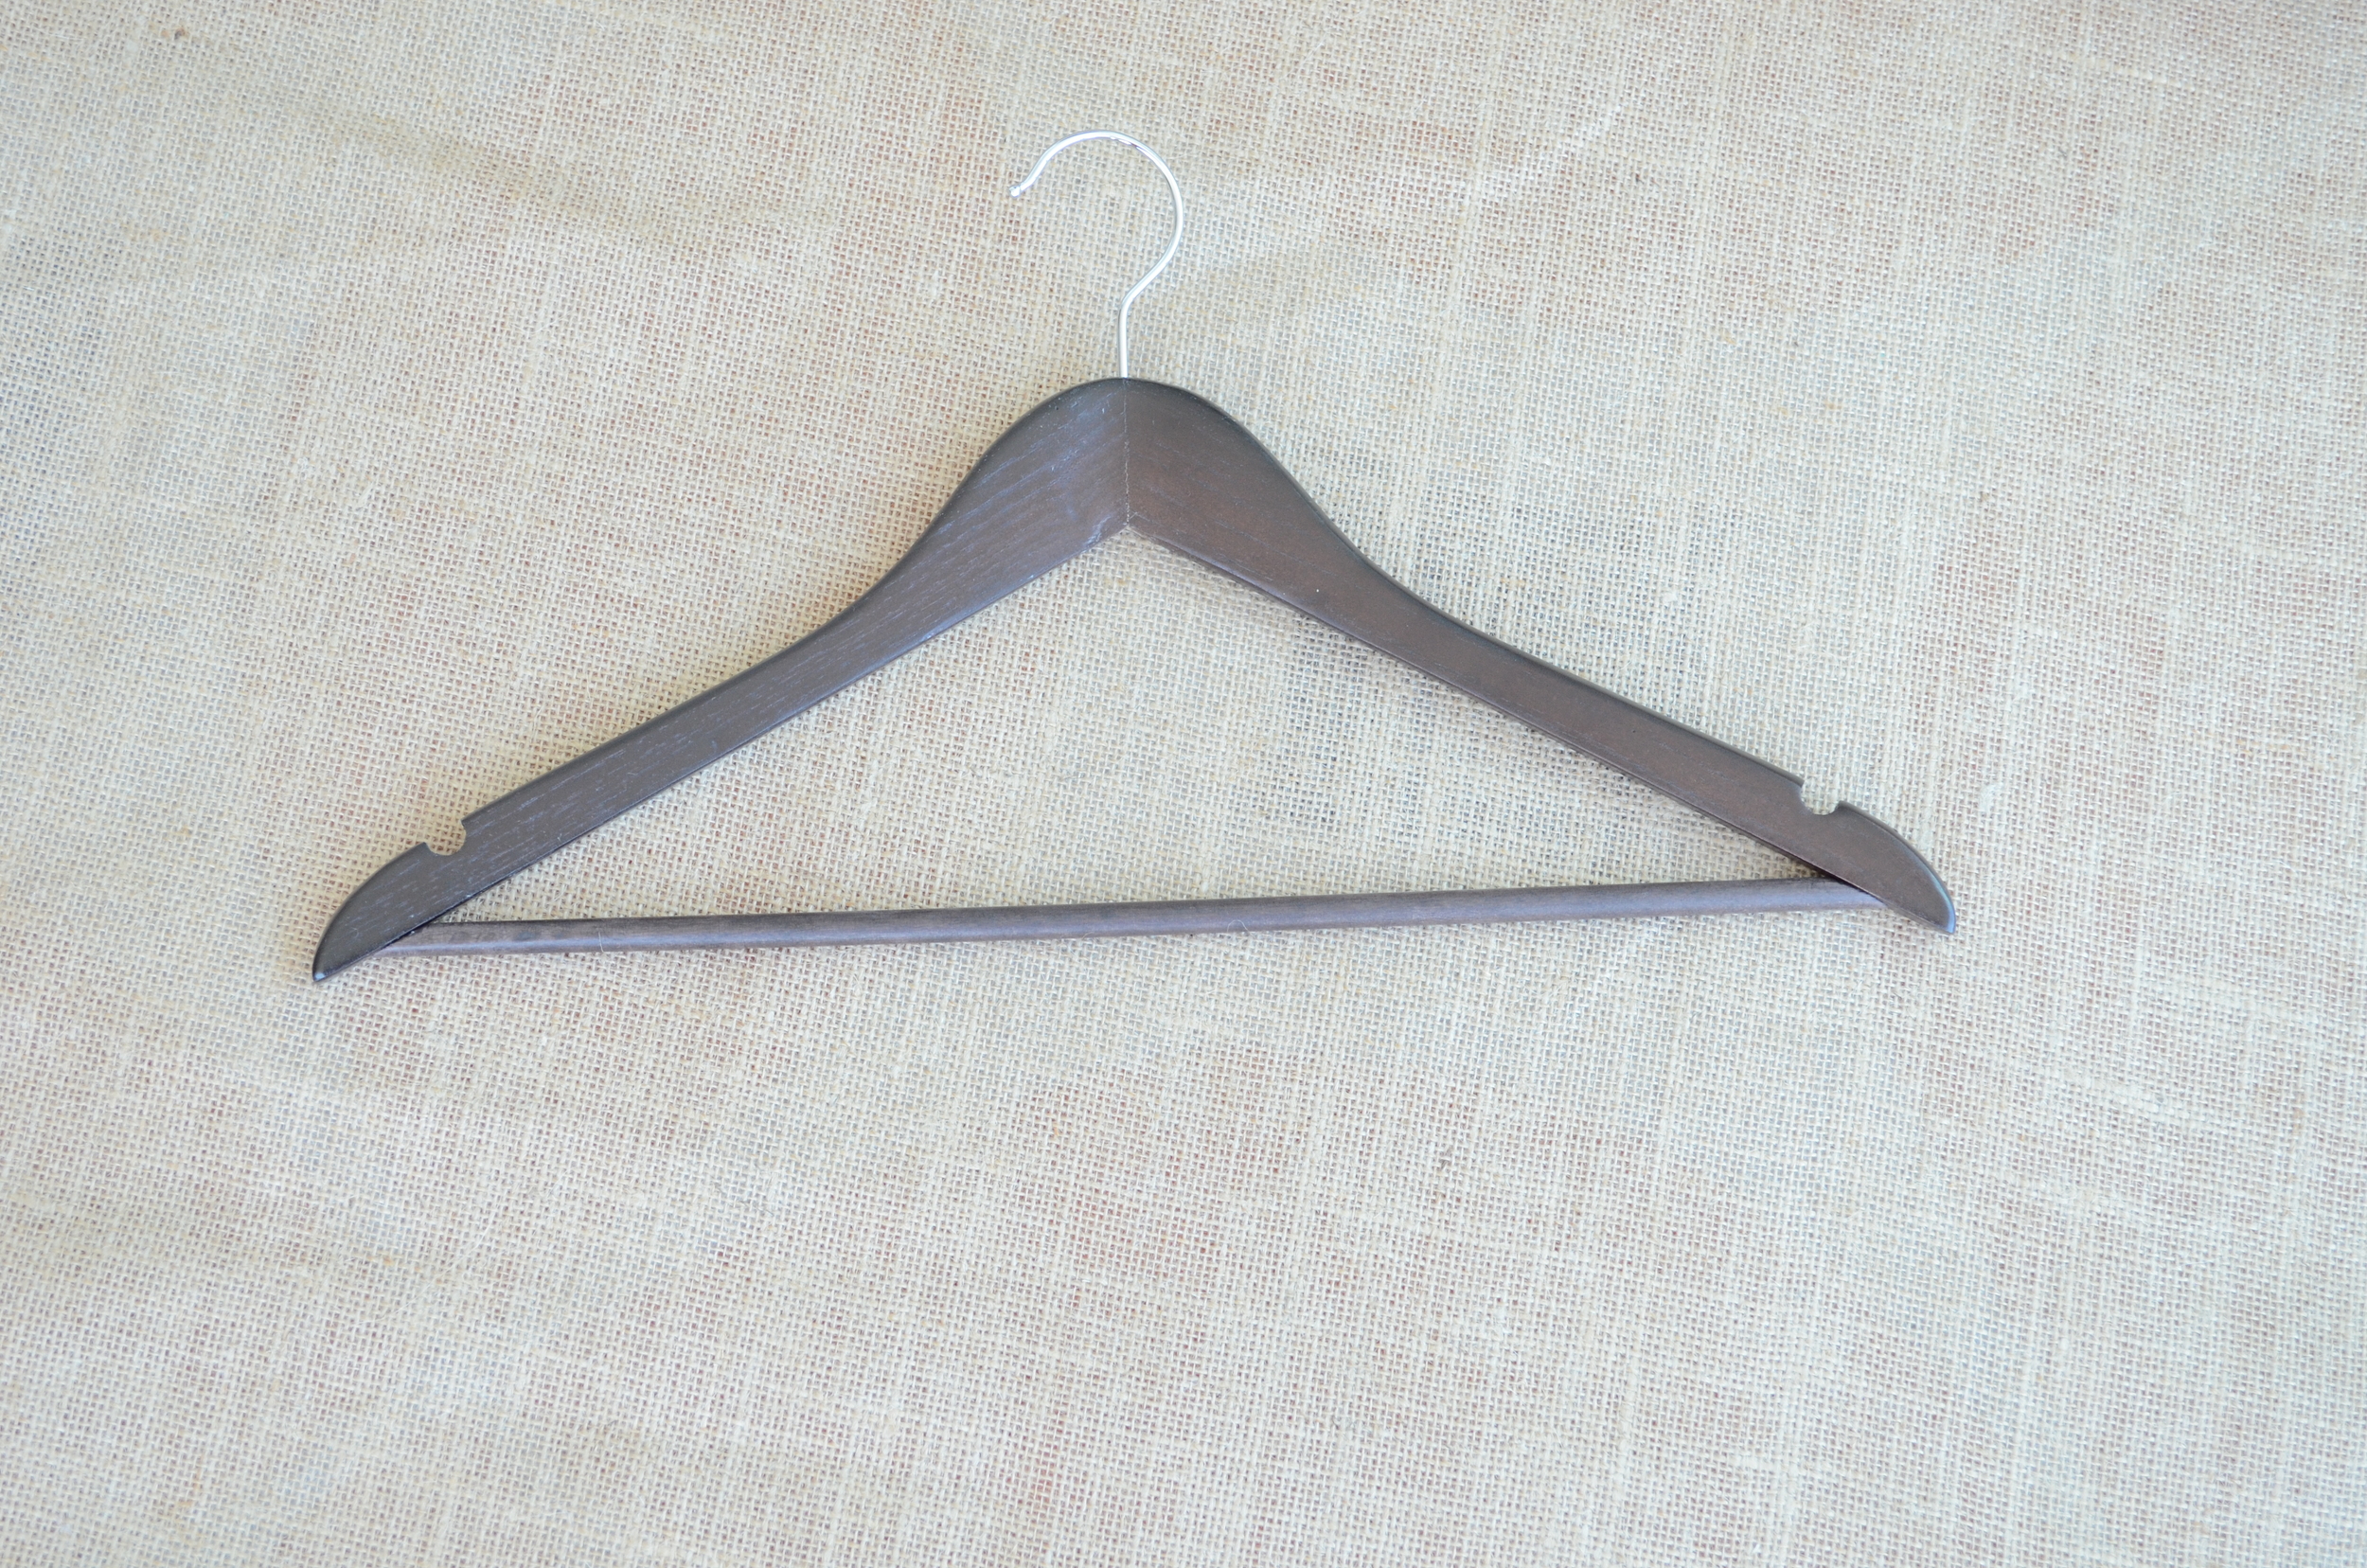
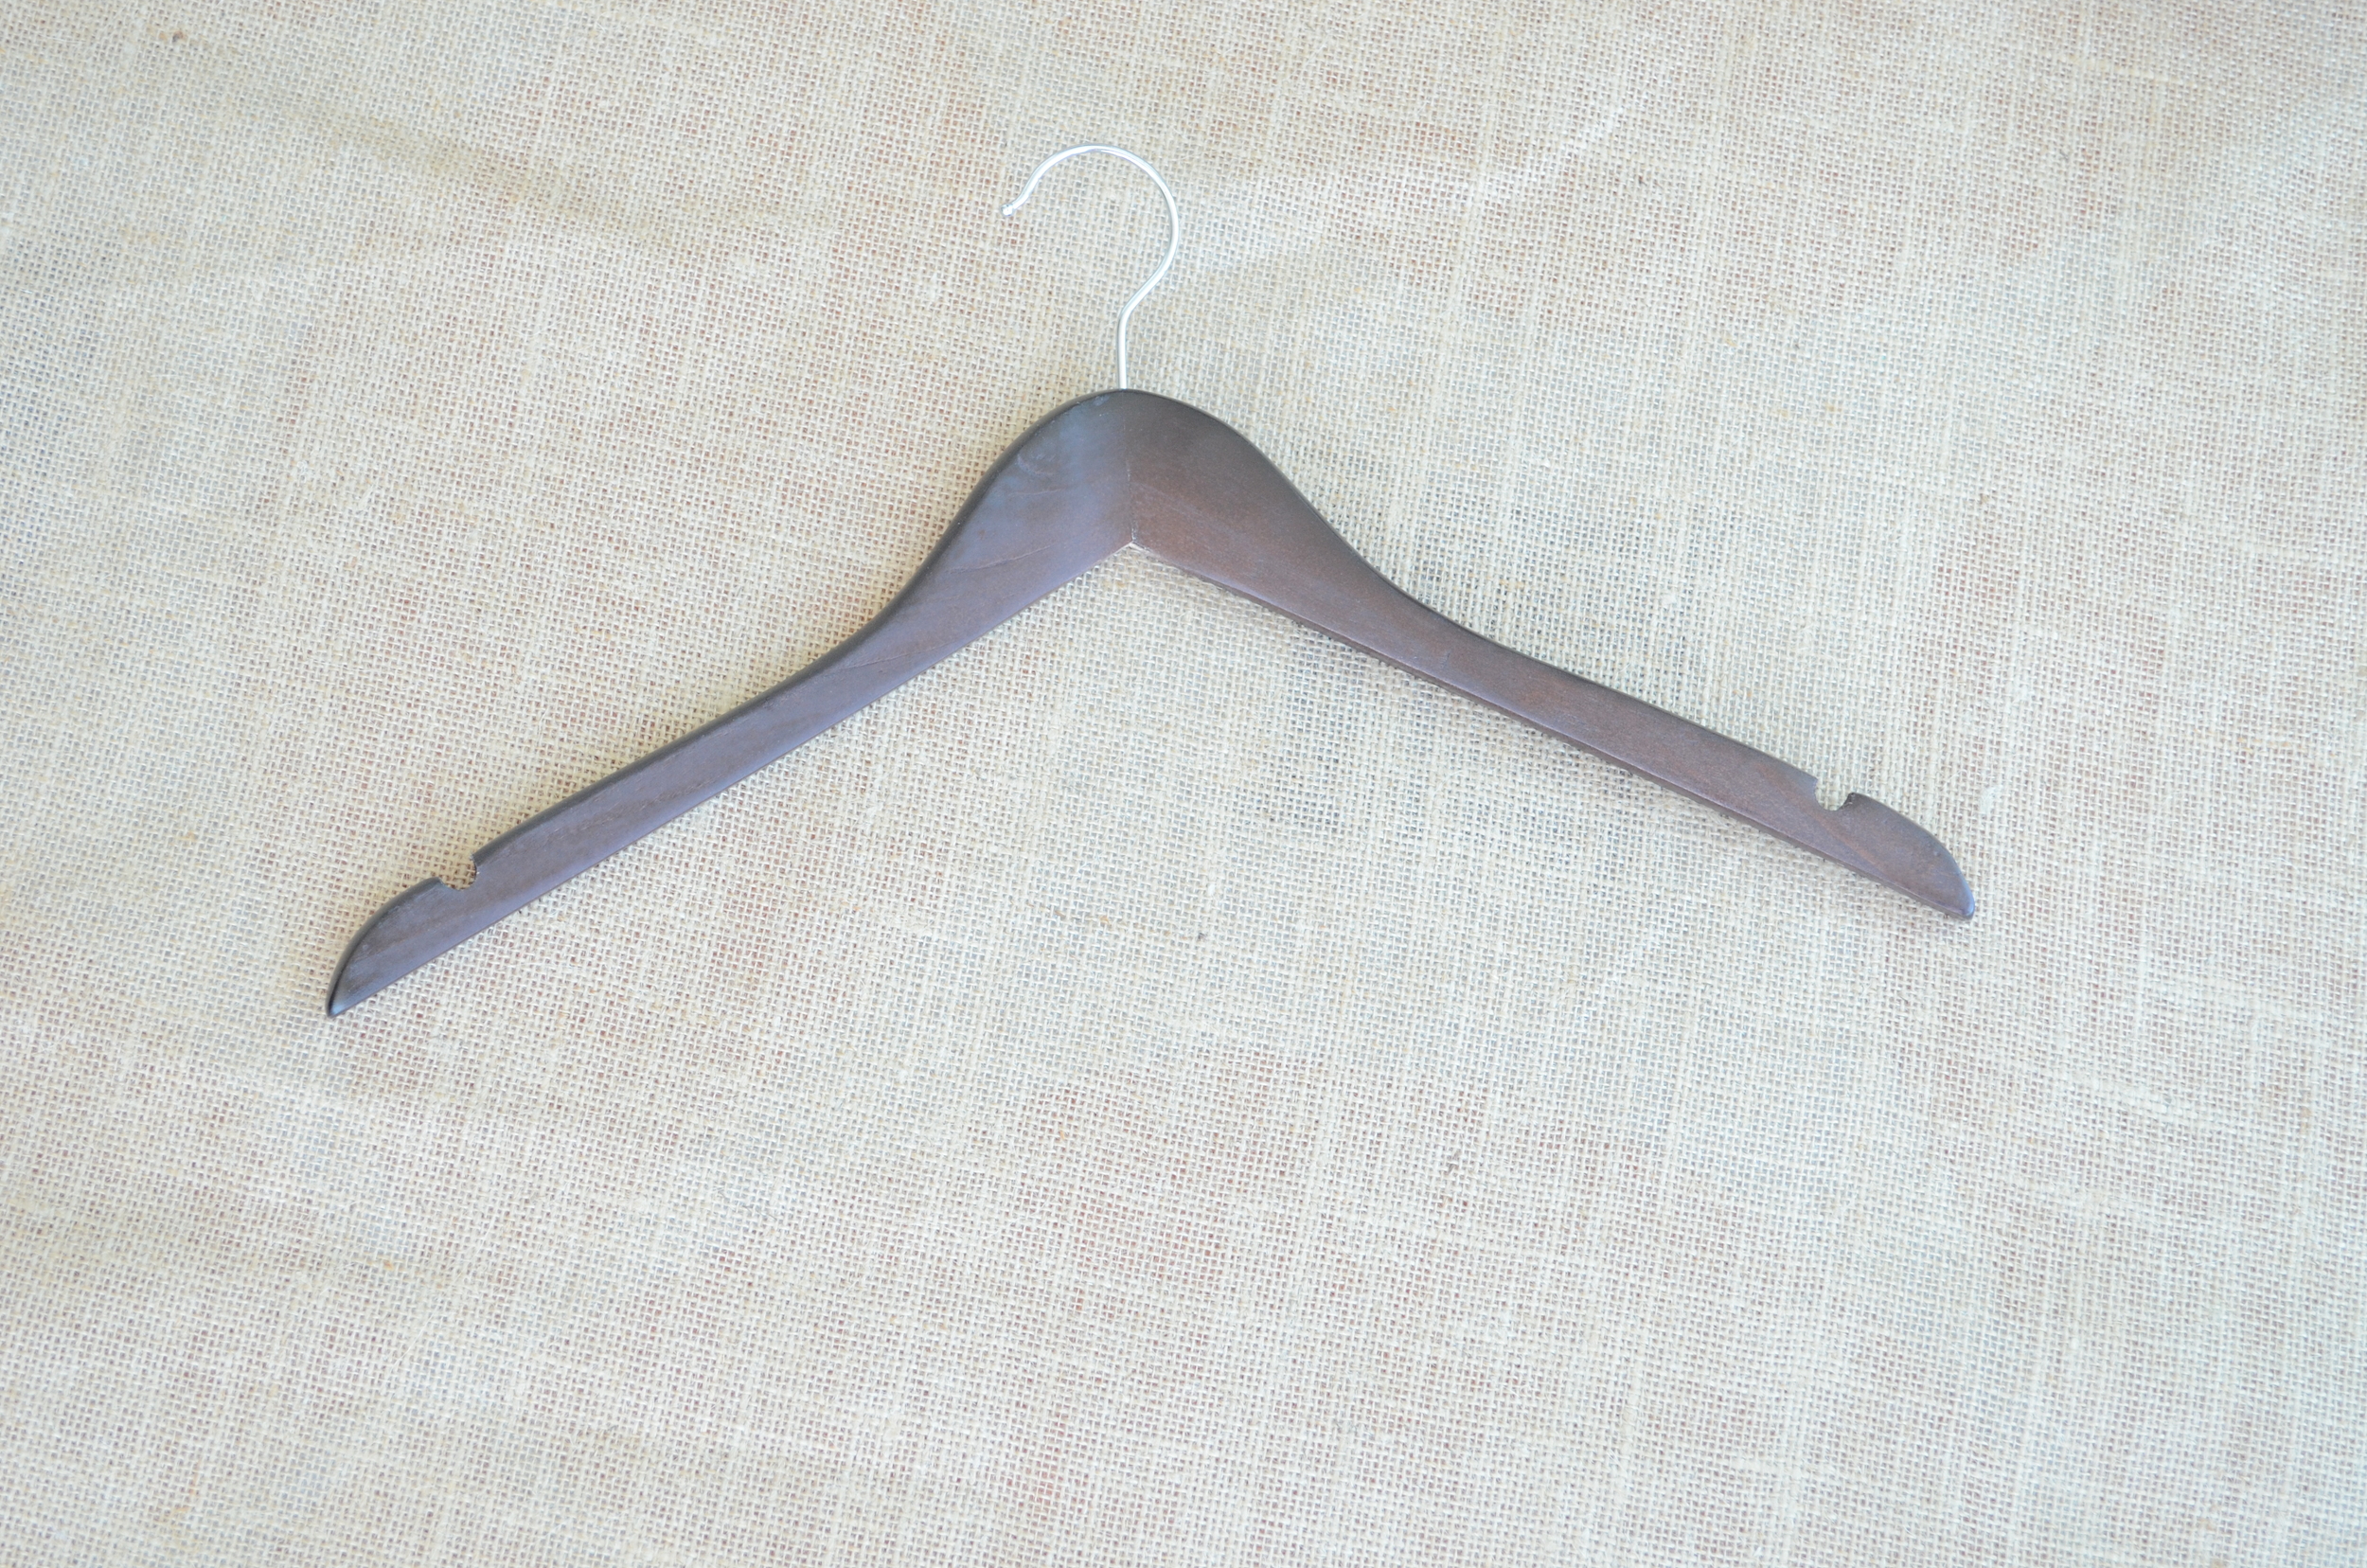
Wooden hangers
Quick setting epoxy resin

Round nose pliers (or ortho pliers always work too hehe), needle nose pliers and wire cutters

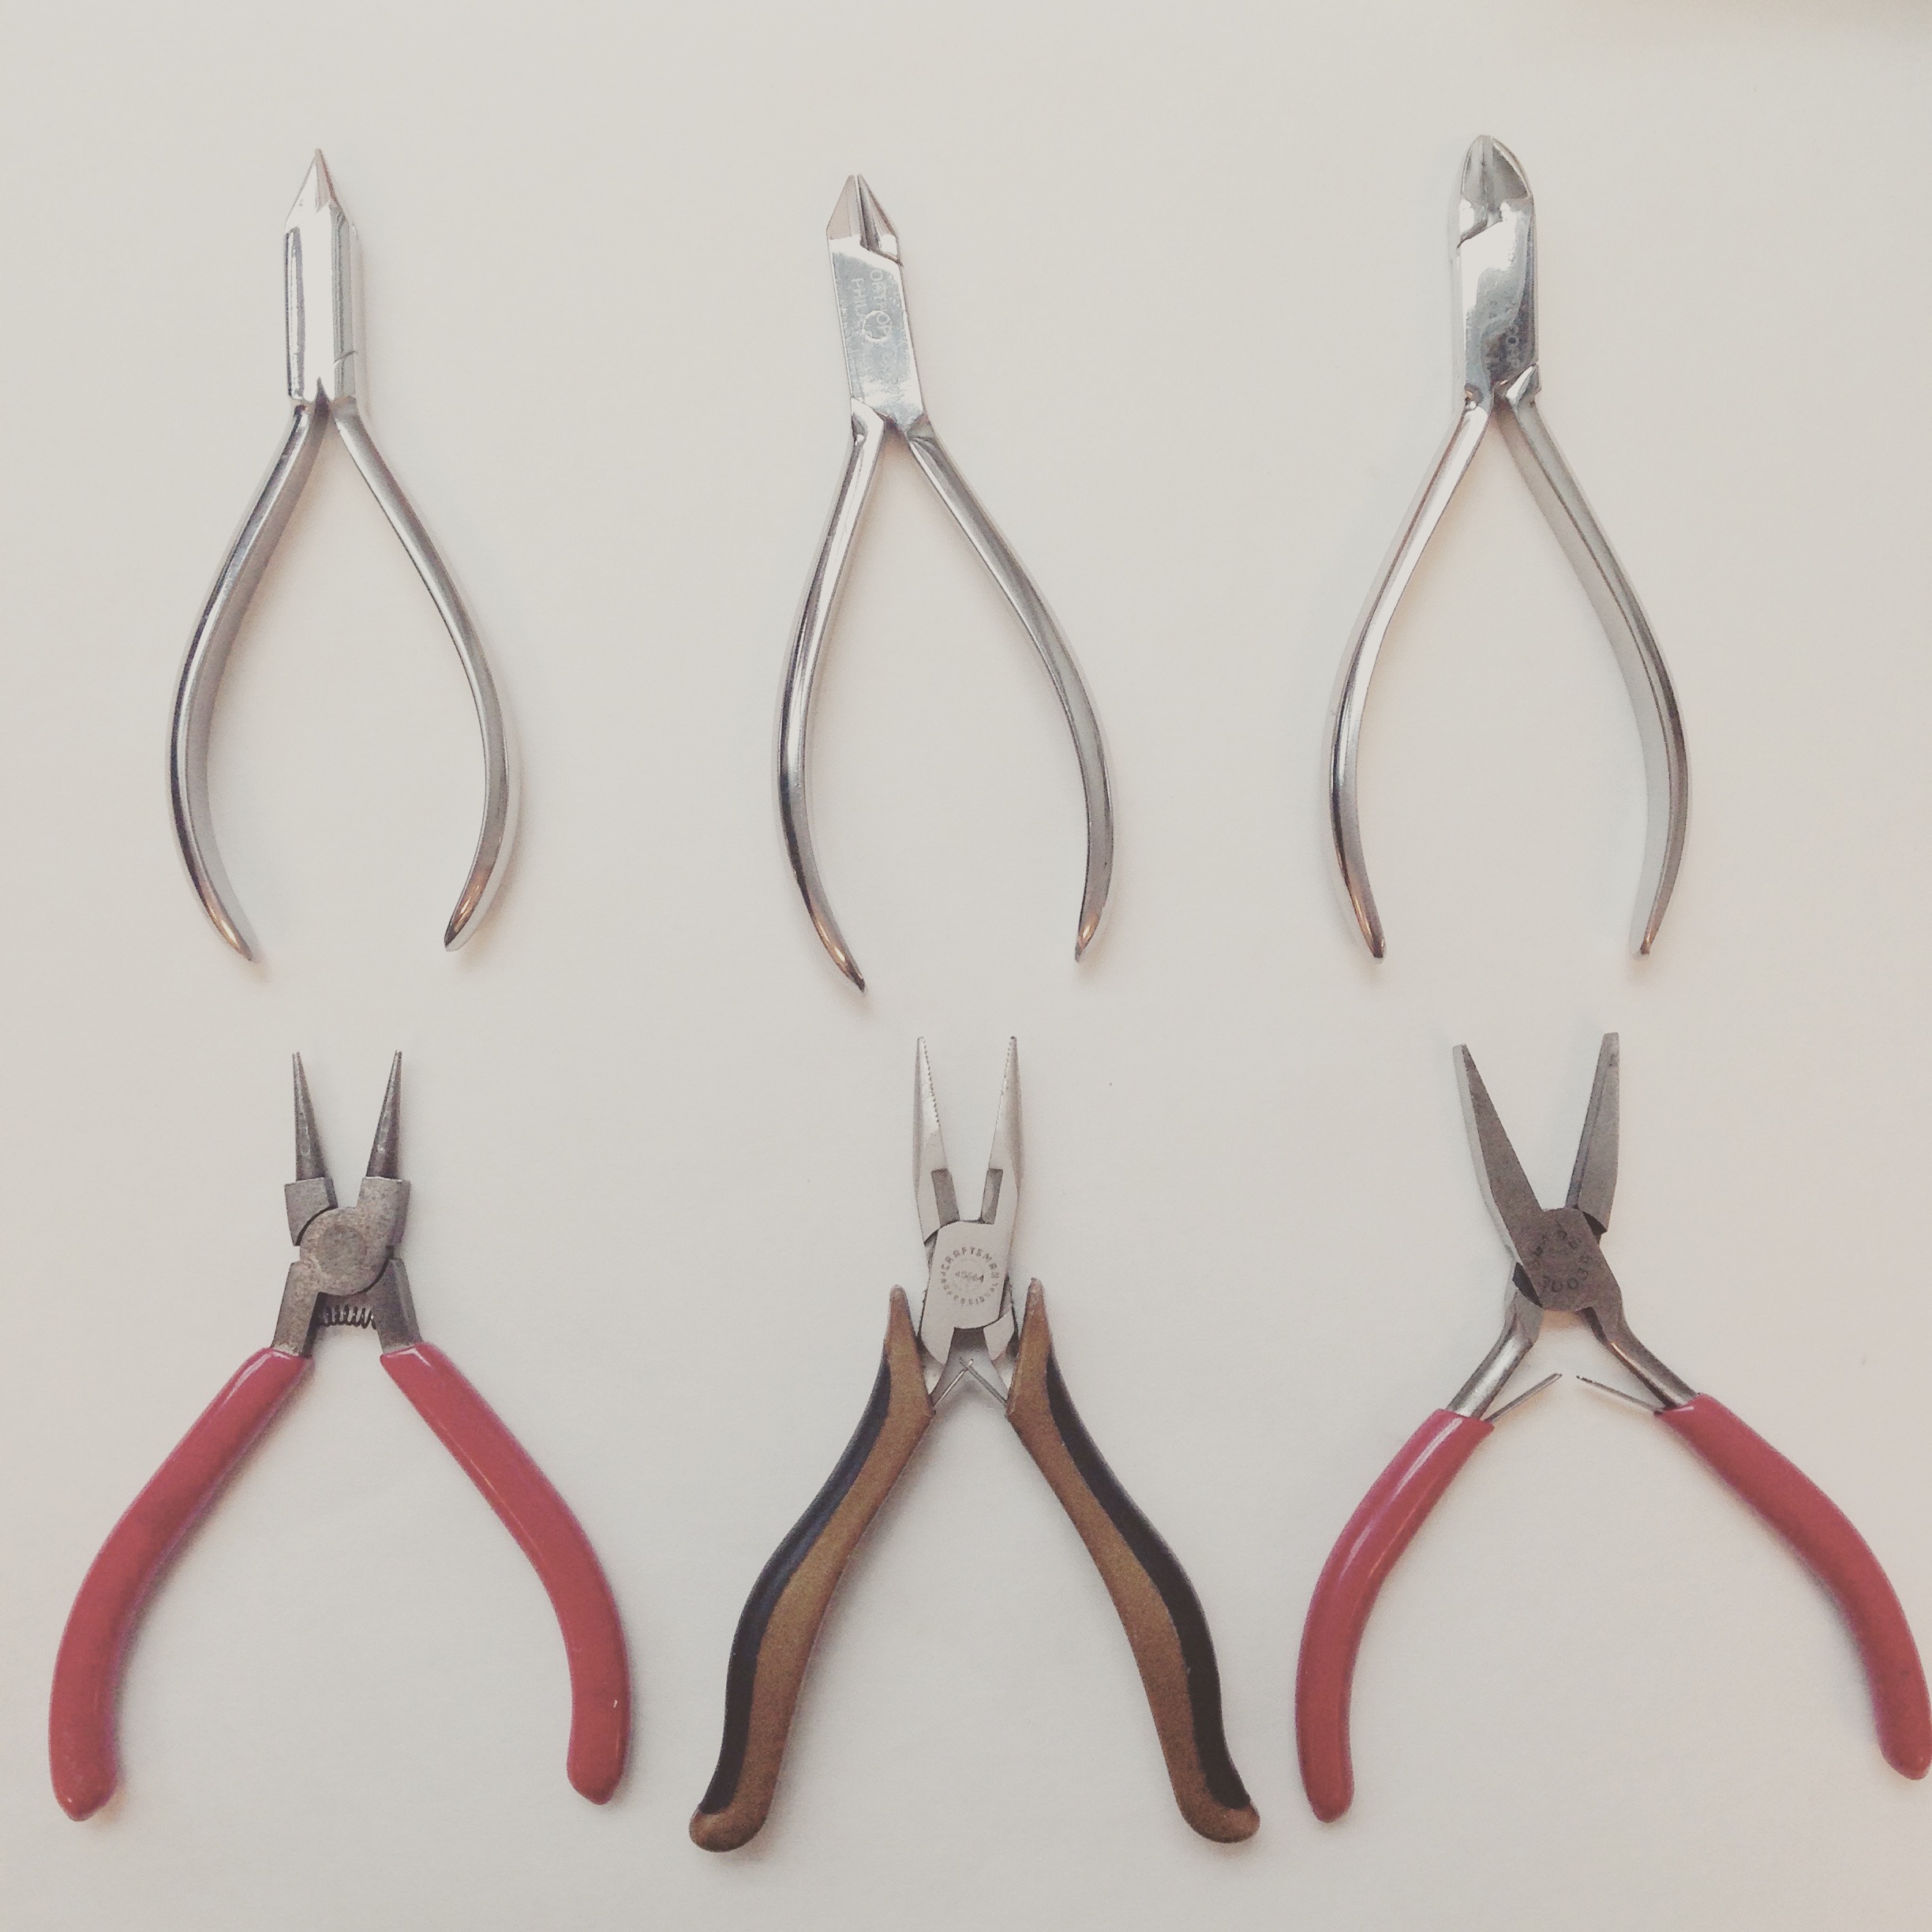
Upper: Ortho pliers!!!
Lower: {from Left to Right} Round nose pliers, needle nose pliers with cutting edge, and flat nose pliers.
You may need a stronger wire cutter than what's pictured if you're using the thicker 14g wire just FYI.
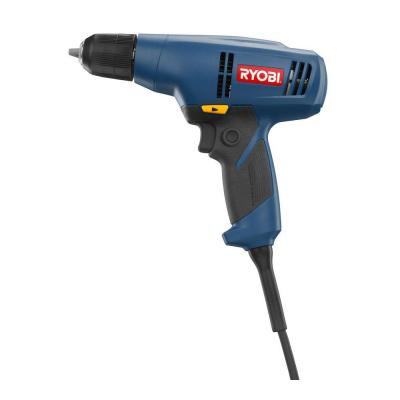
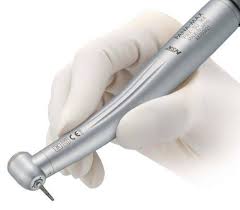
Drill or dental handpeice
<< Of course I'd never use my dental school's handpiece for ANYTHING non-dental related!! But I can IMAGINE a dental handpiece would be much lighter and easier to use than a heavy traditional drill for a project like this one... >>
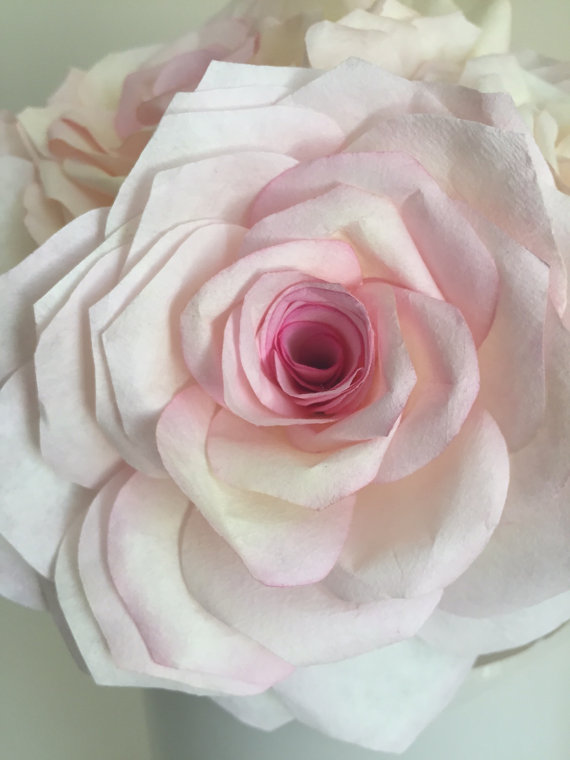
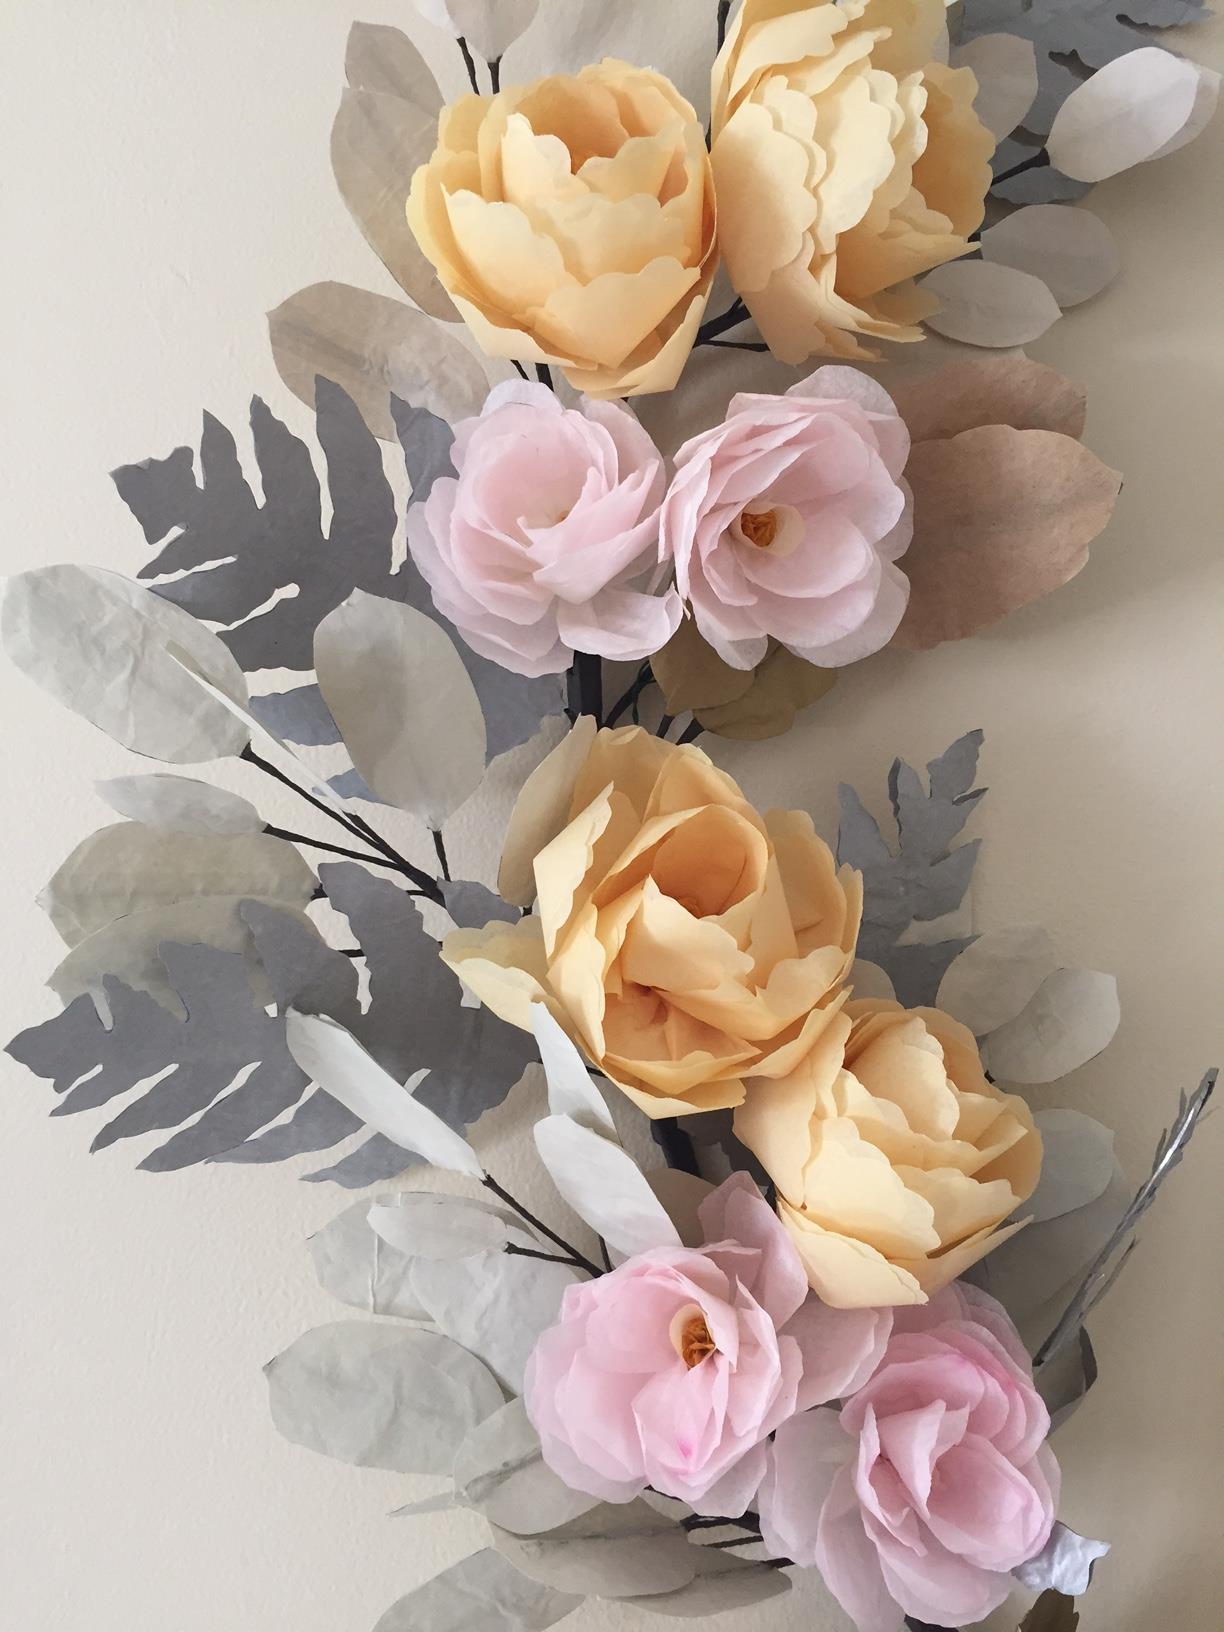
Any embellishment you like.
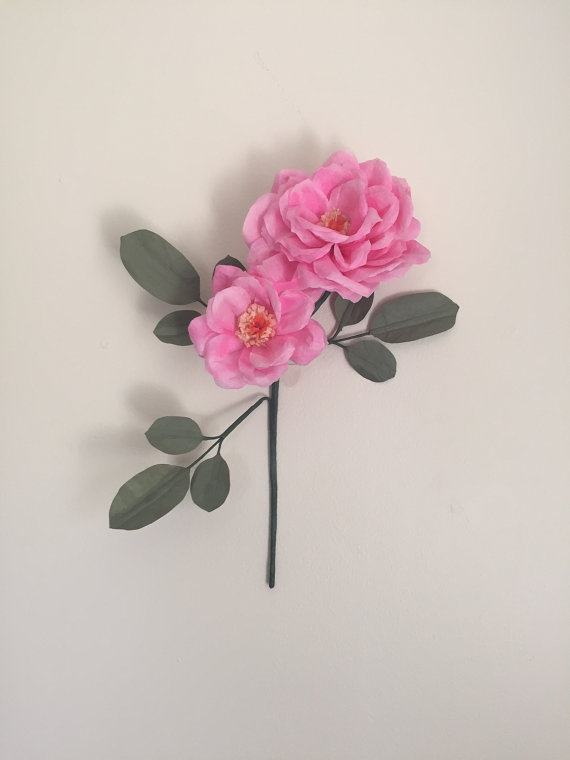
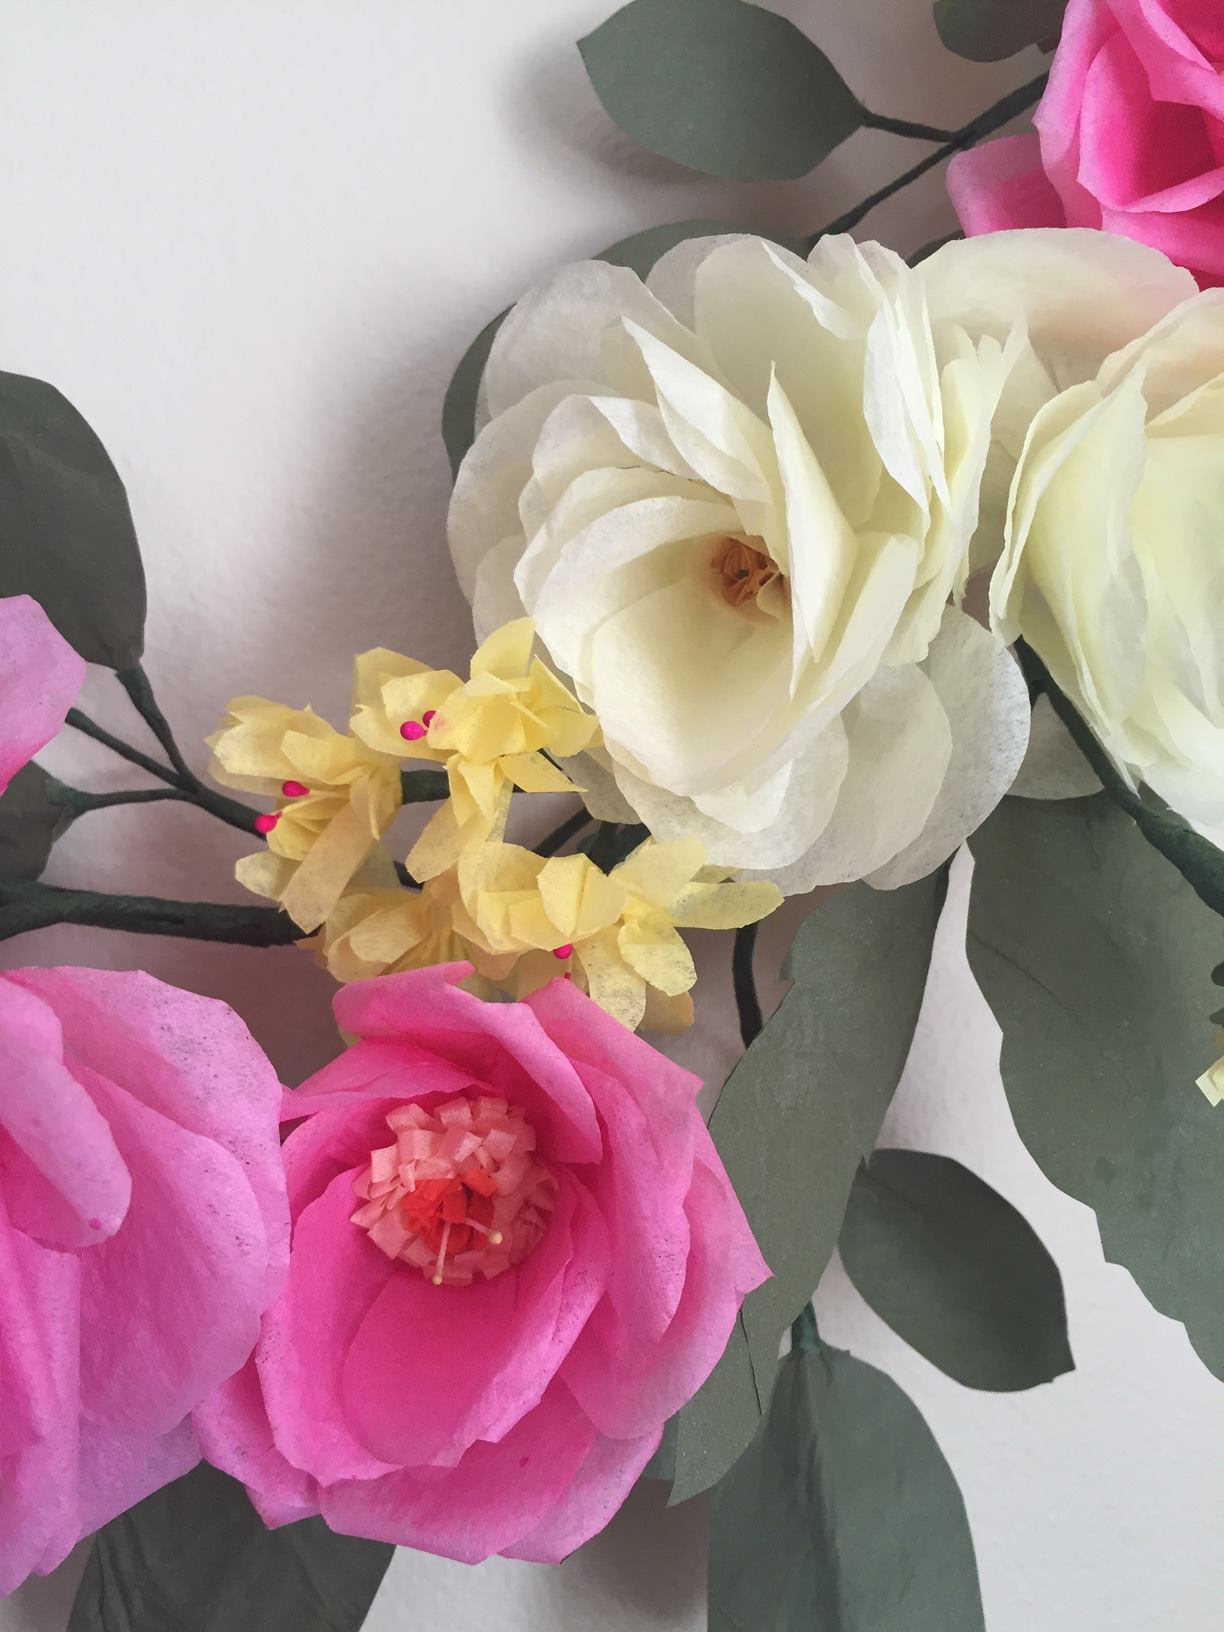
<< I love these handmade paper flowers by The Paper Flower Market. Find them on Etsy and Facebook! >>
Let's get started!
1. If your hanger has a bar for pants >> Remove it!
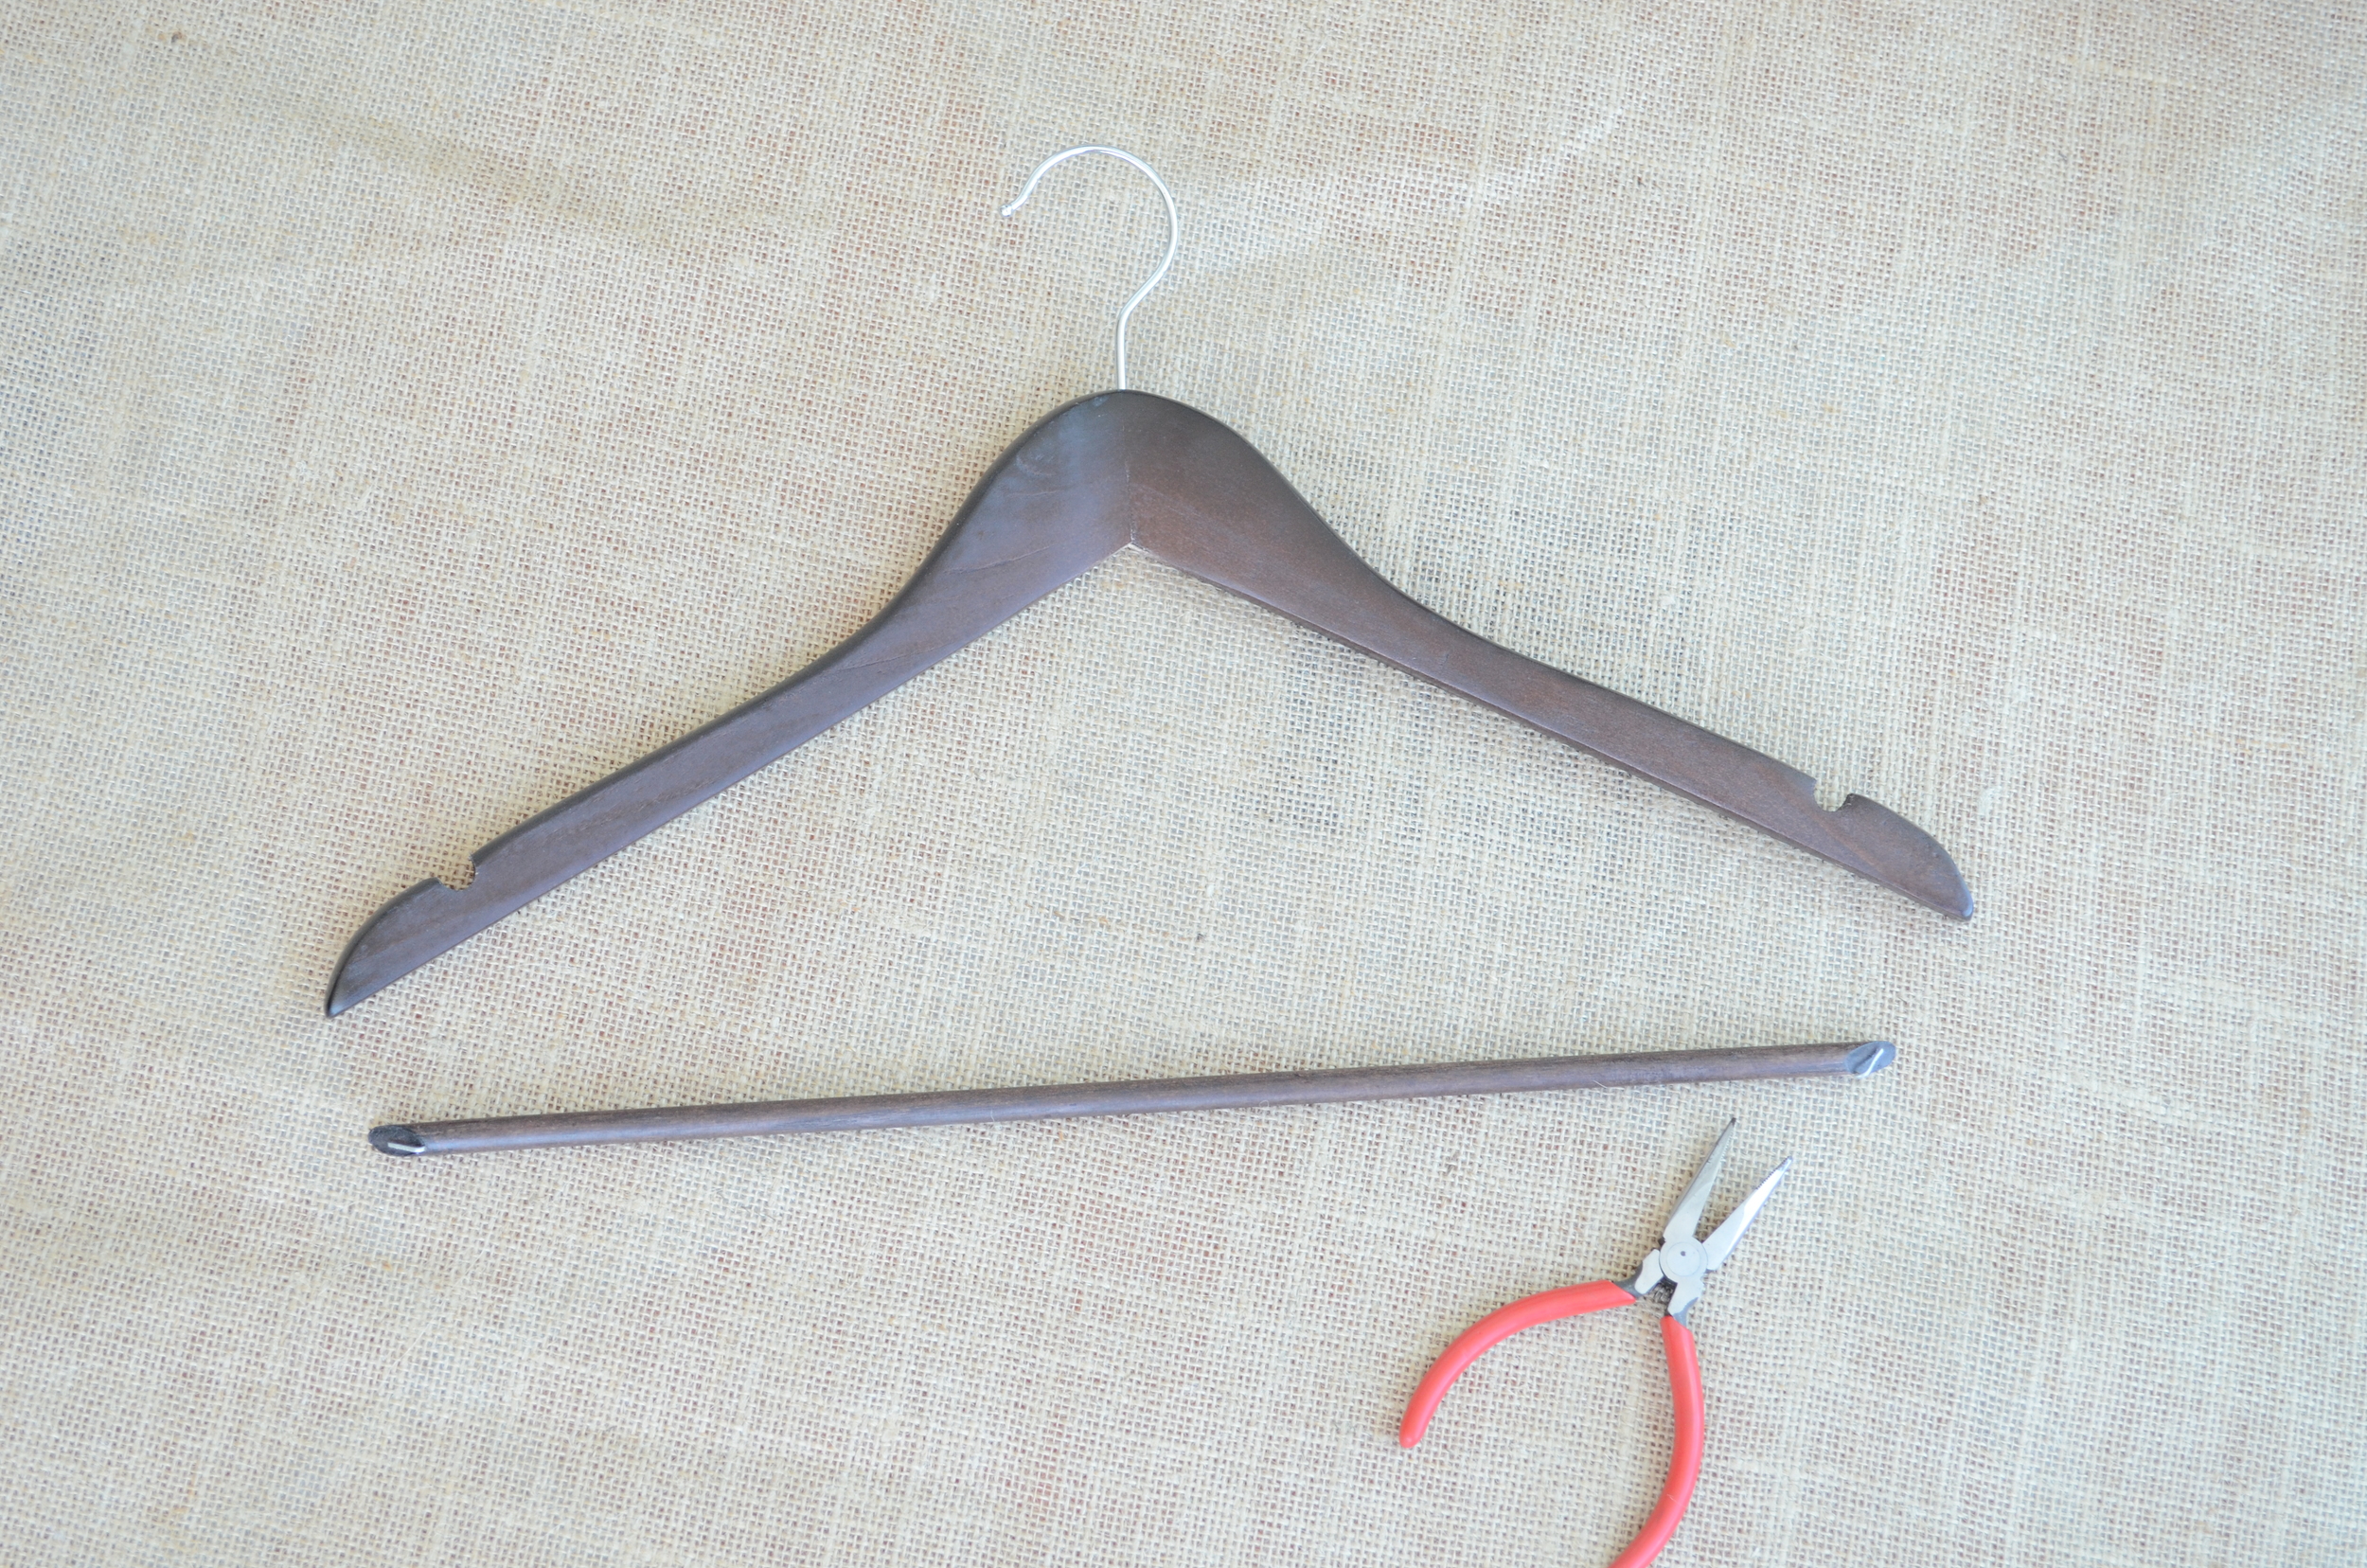
I just kind of wiggled and pried it off with needle nose pliers because mine were just tacked into place so it was pretty easy to remove.
2. Cut a piece of wire to twice the width of the hanger.
Just eye ball it. You don't want too much or it's going to be harder when we start bending, but you don't want to run out either.
It's a trial and error people. Trust me...I had a huge discard pile the first time I attempted this!!
3. Write out what you want your hanger to say.

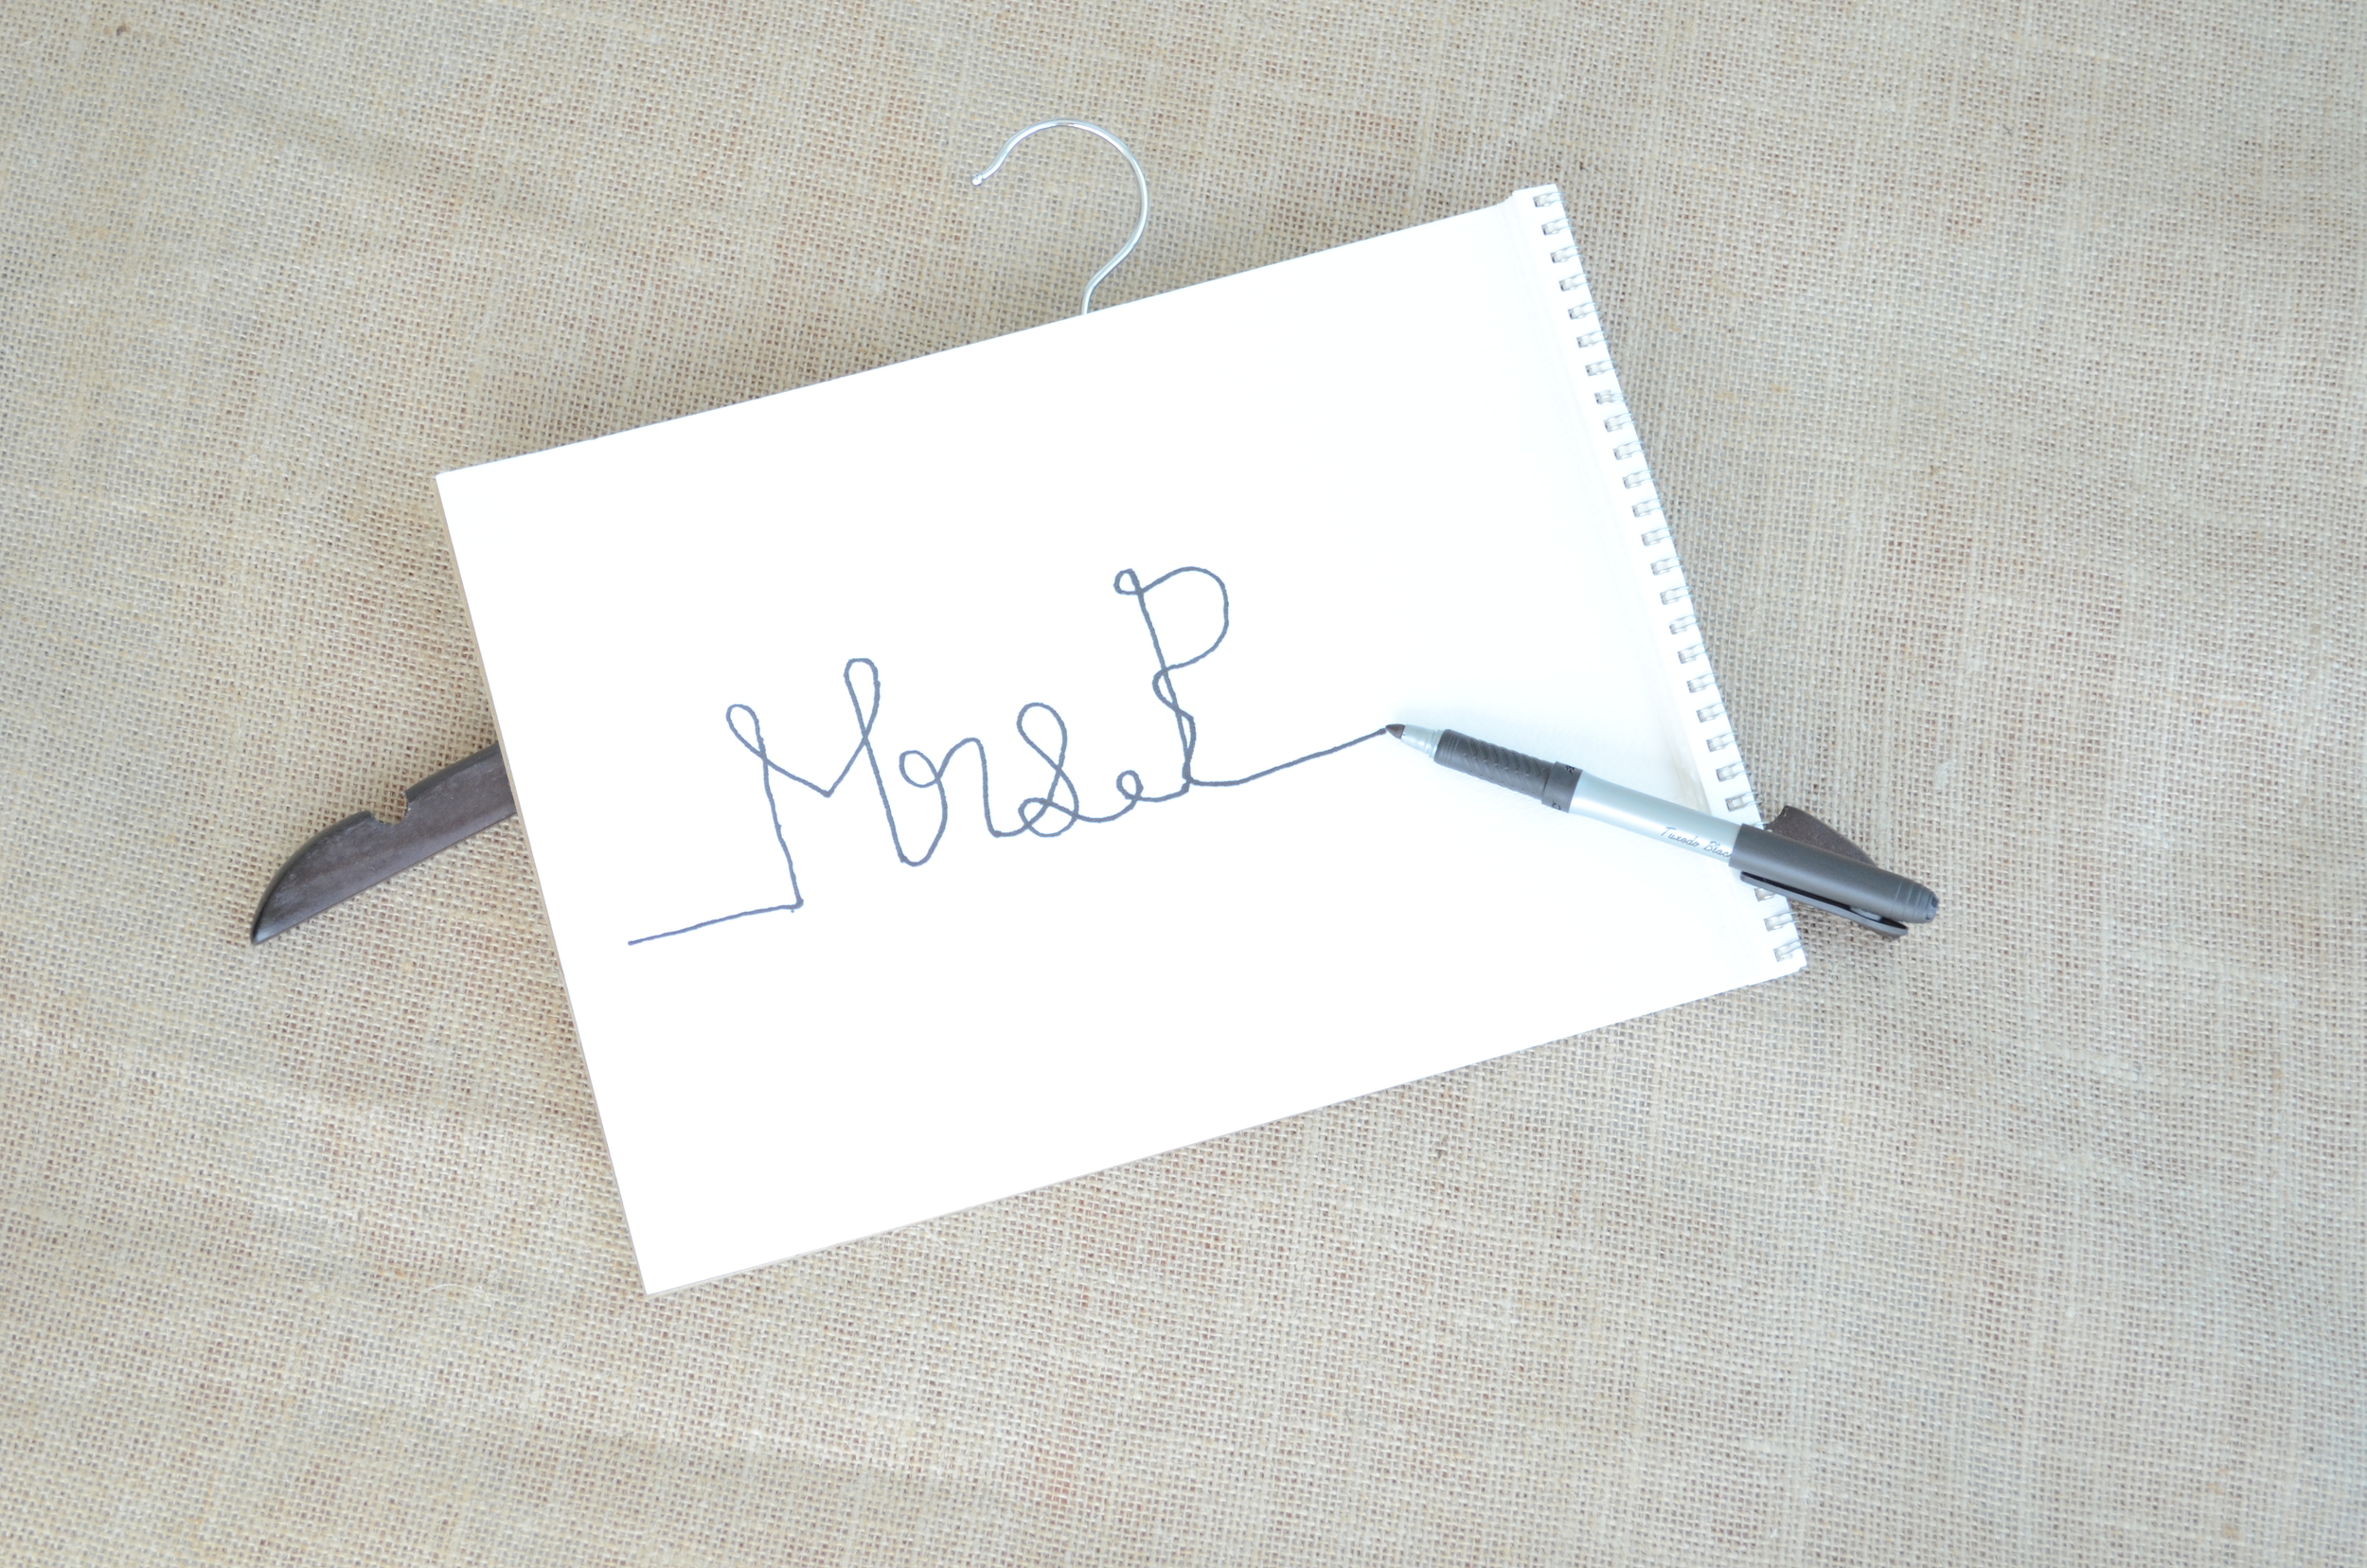
The trick here is you can't lift your pen off the paper the whole time as you are writing it out or it won't work! My suggestions would be 'Mrs. Your Name Here,' 'Bride,' or 'Mr. & Mrs.' You can do them for your bridesmaids with their names. If you want to get fancy you can add a heart, rose or the date.
4. Start bending your wire about 4 inches from the end.
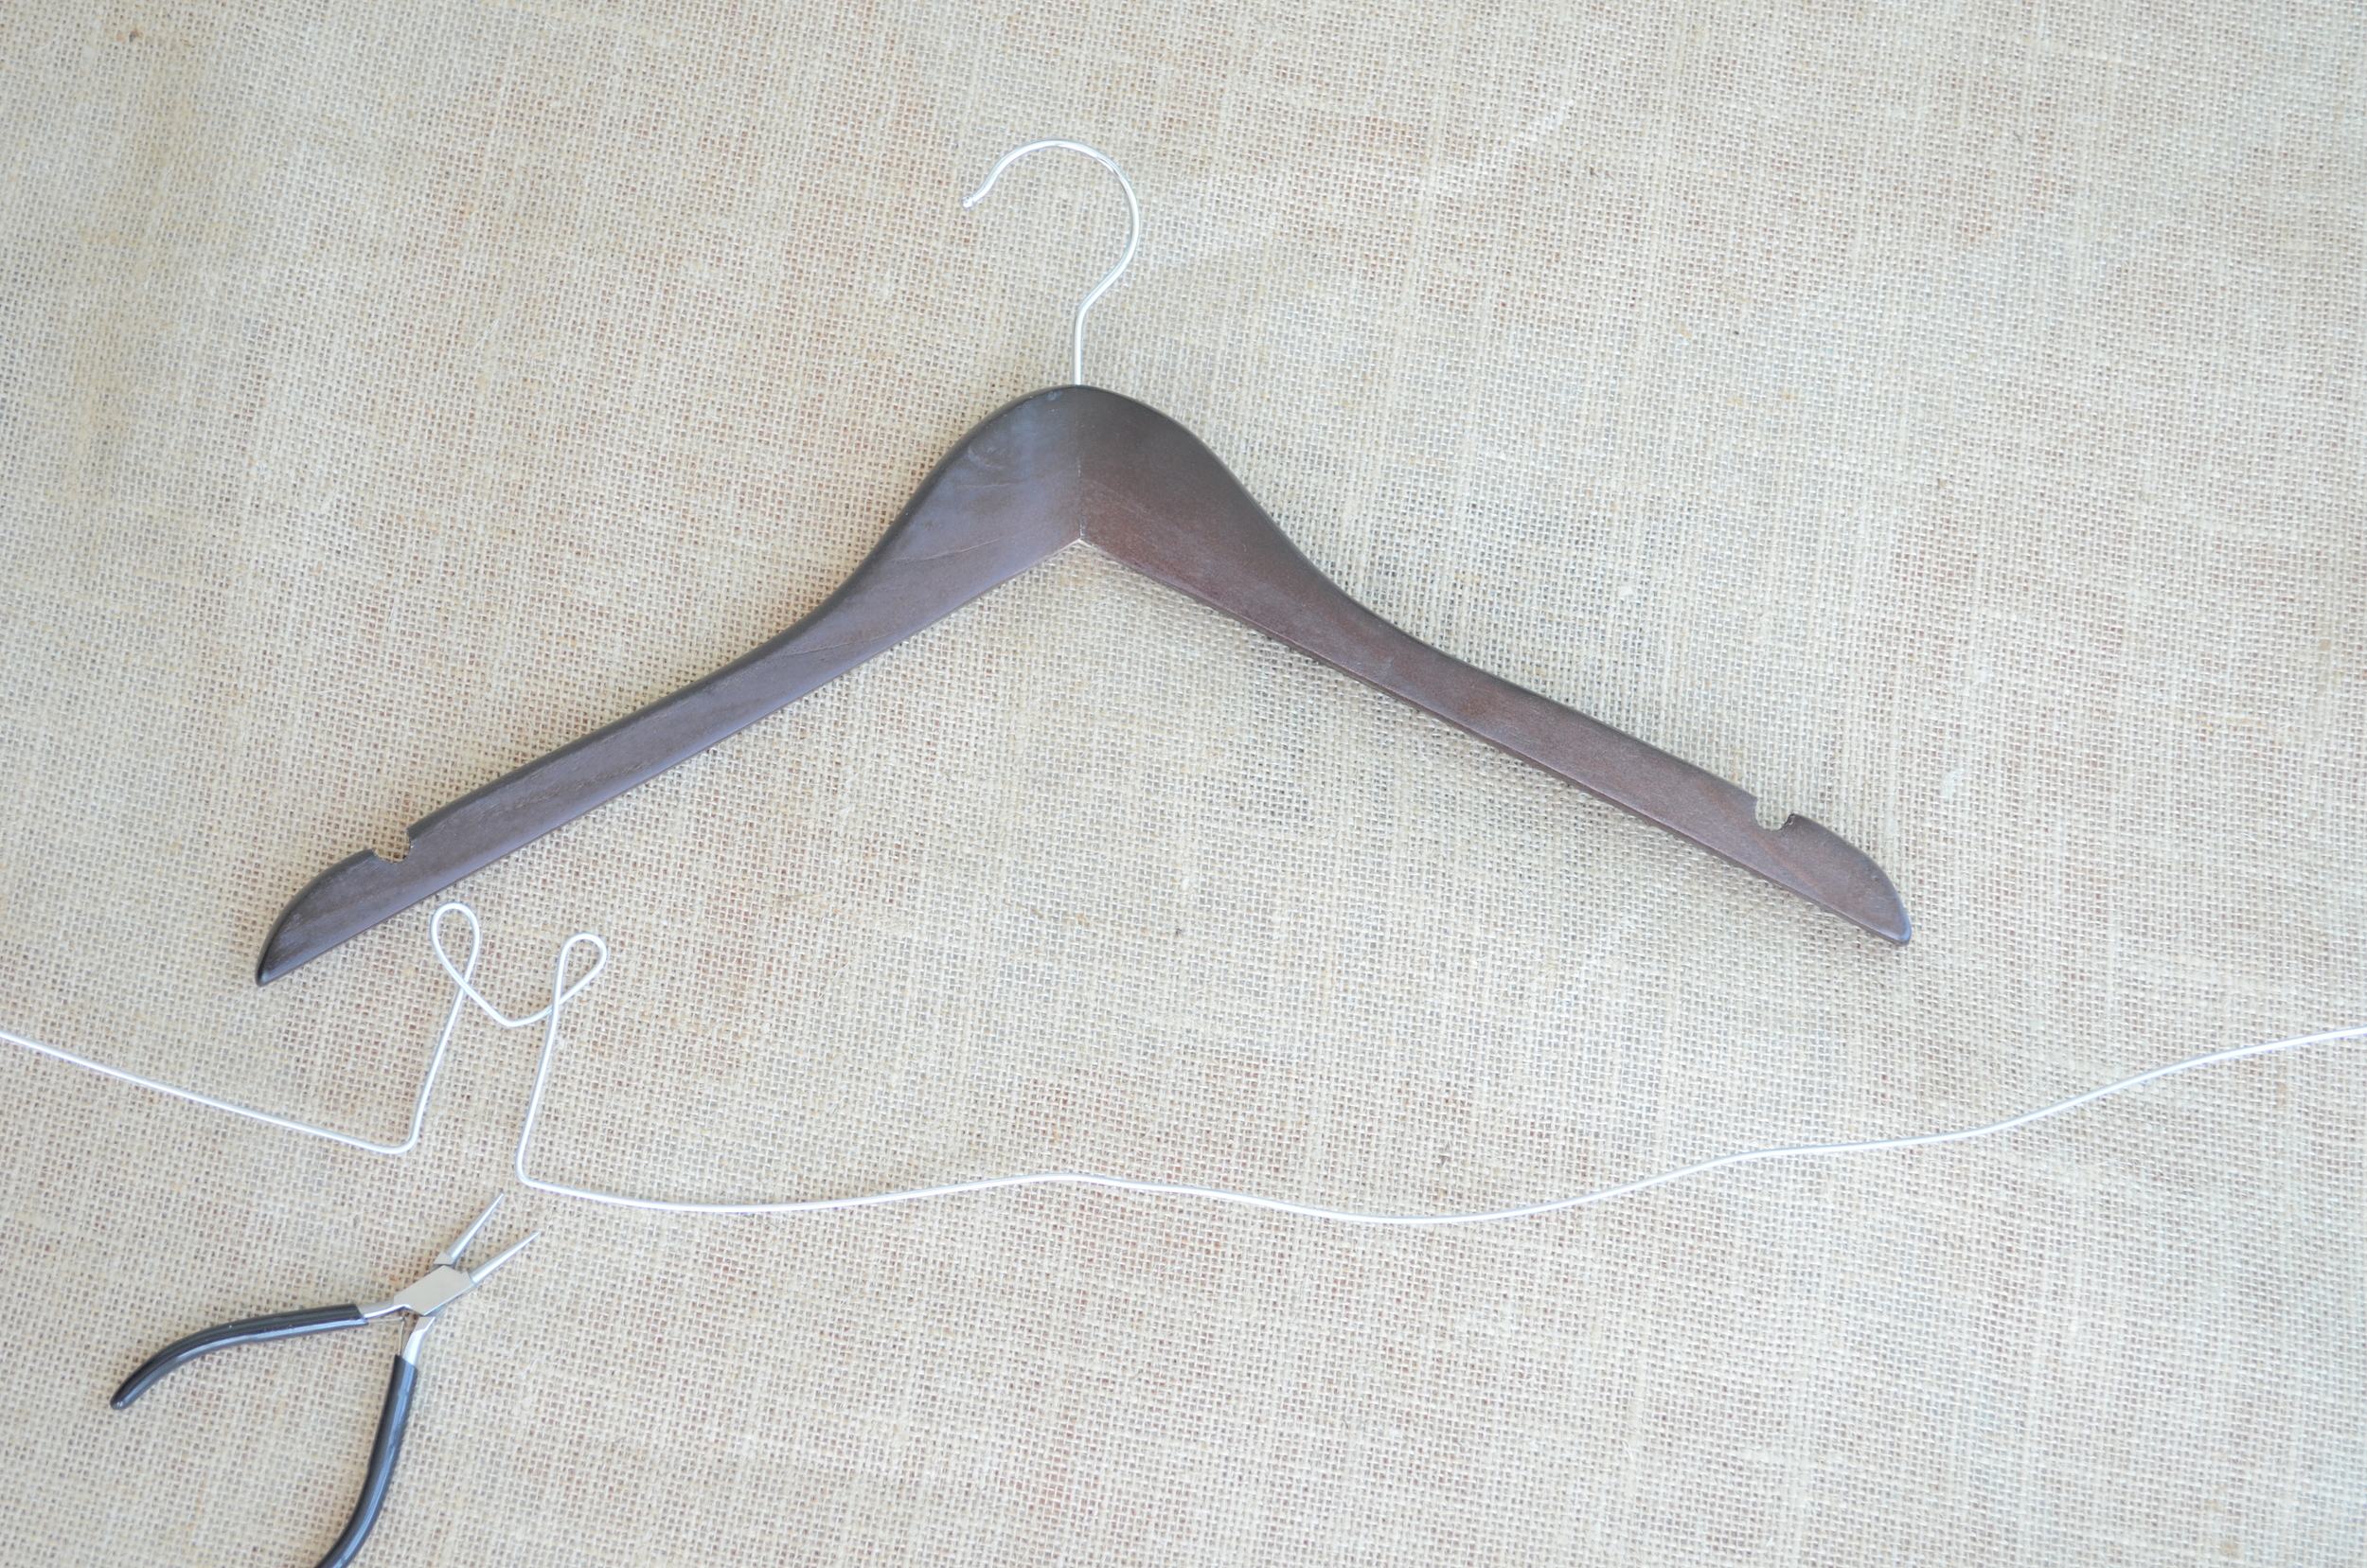
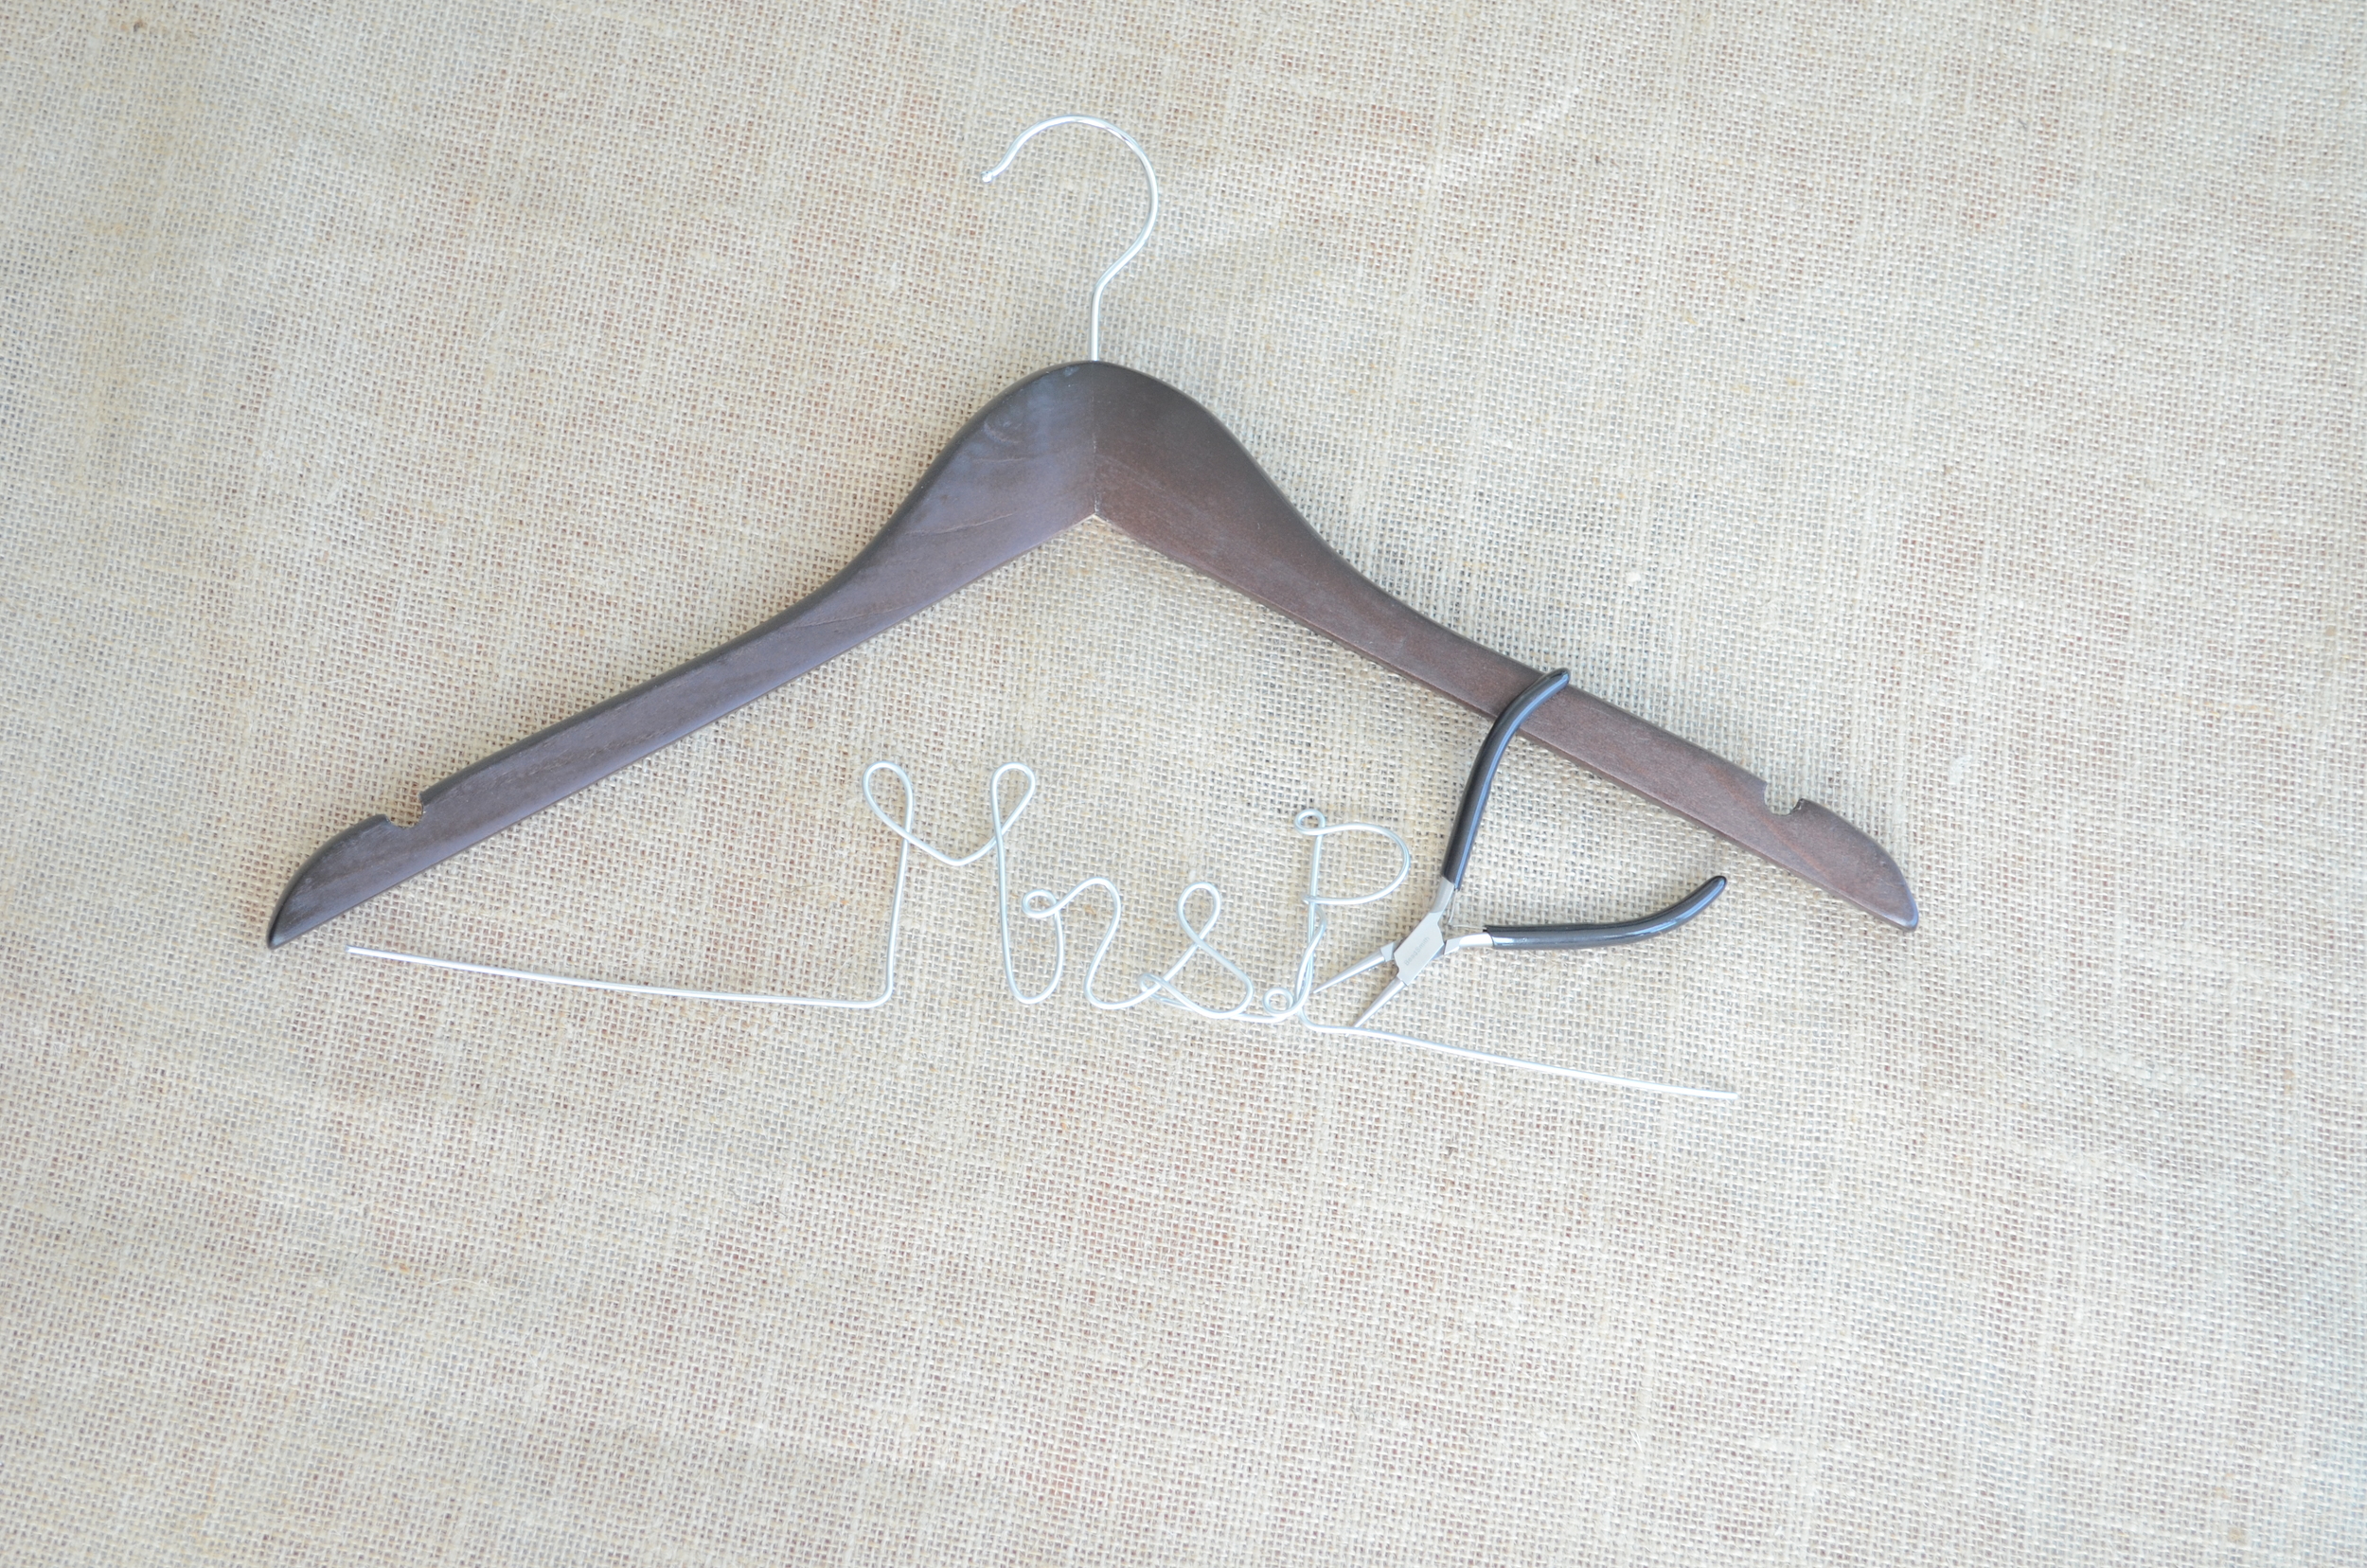
This part can be a little frustrating I'll admit-- but just go little by little and keep comparing it to your sketch. Make sure you get the right shape before moving onto the next letter or it will just go downhill from there. And that will probably happen at least once. Well, it did for me anyways...
5. Drill holes in the hanger for the wire.
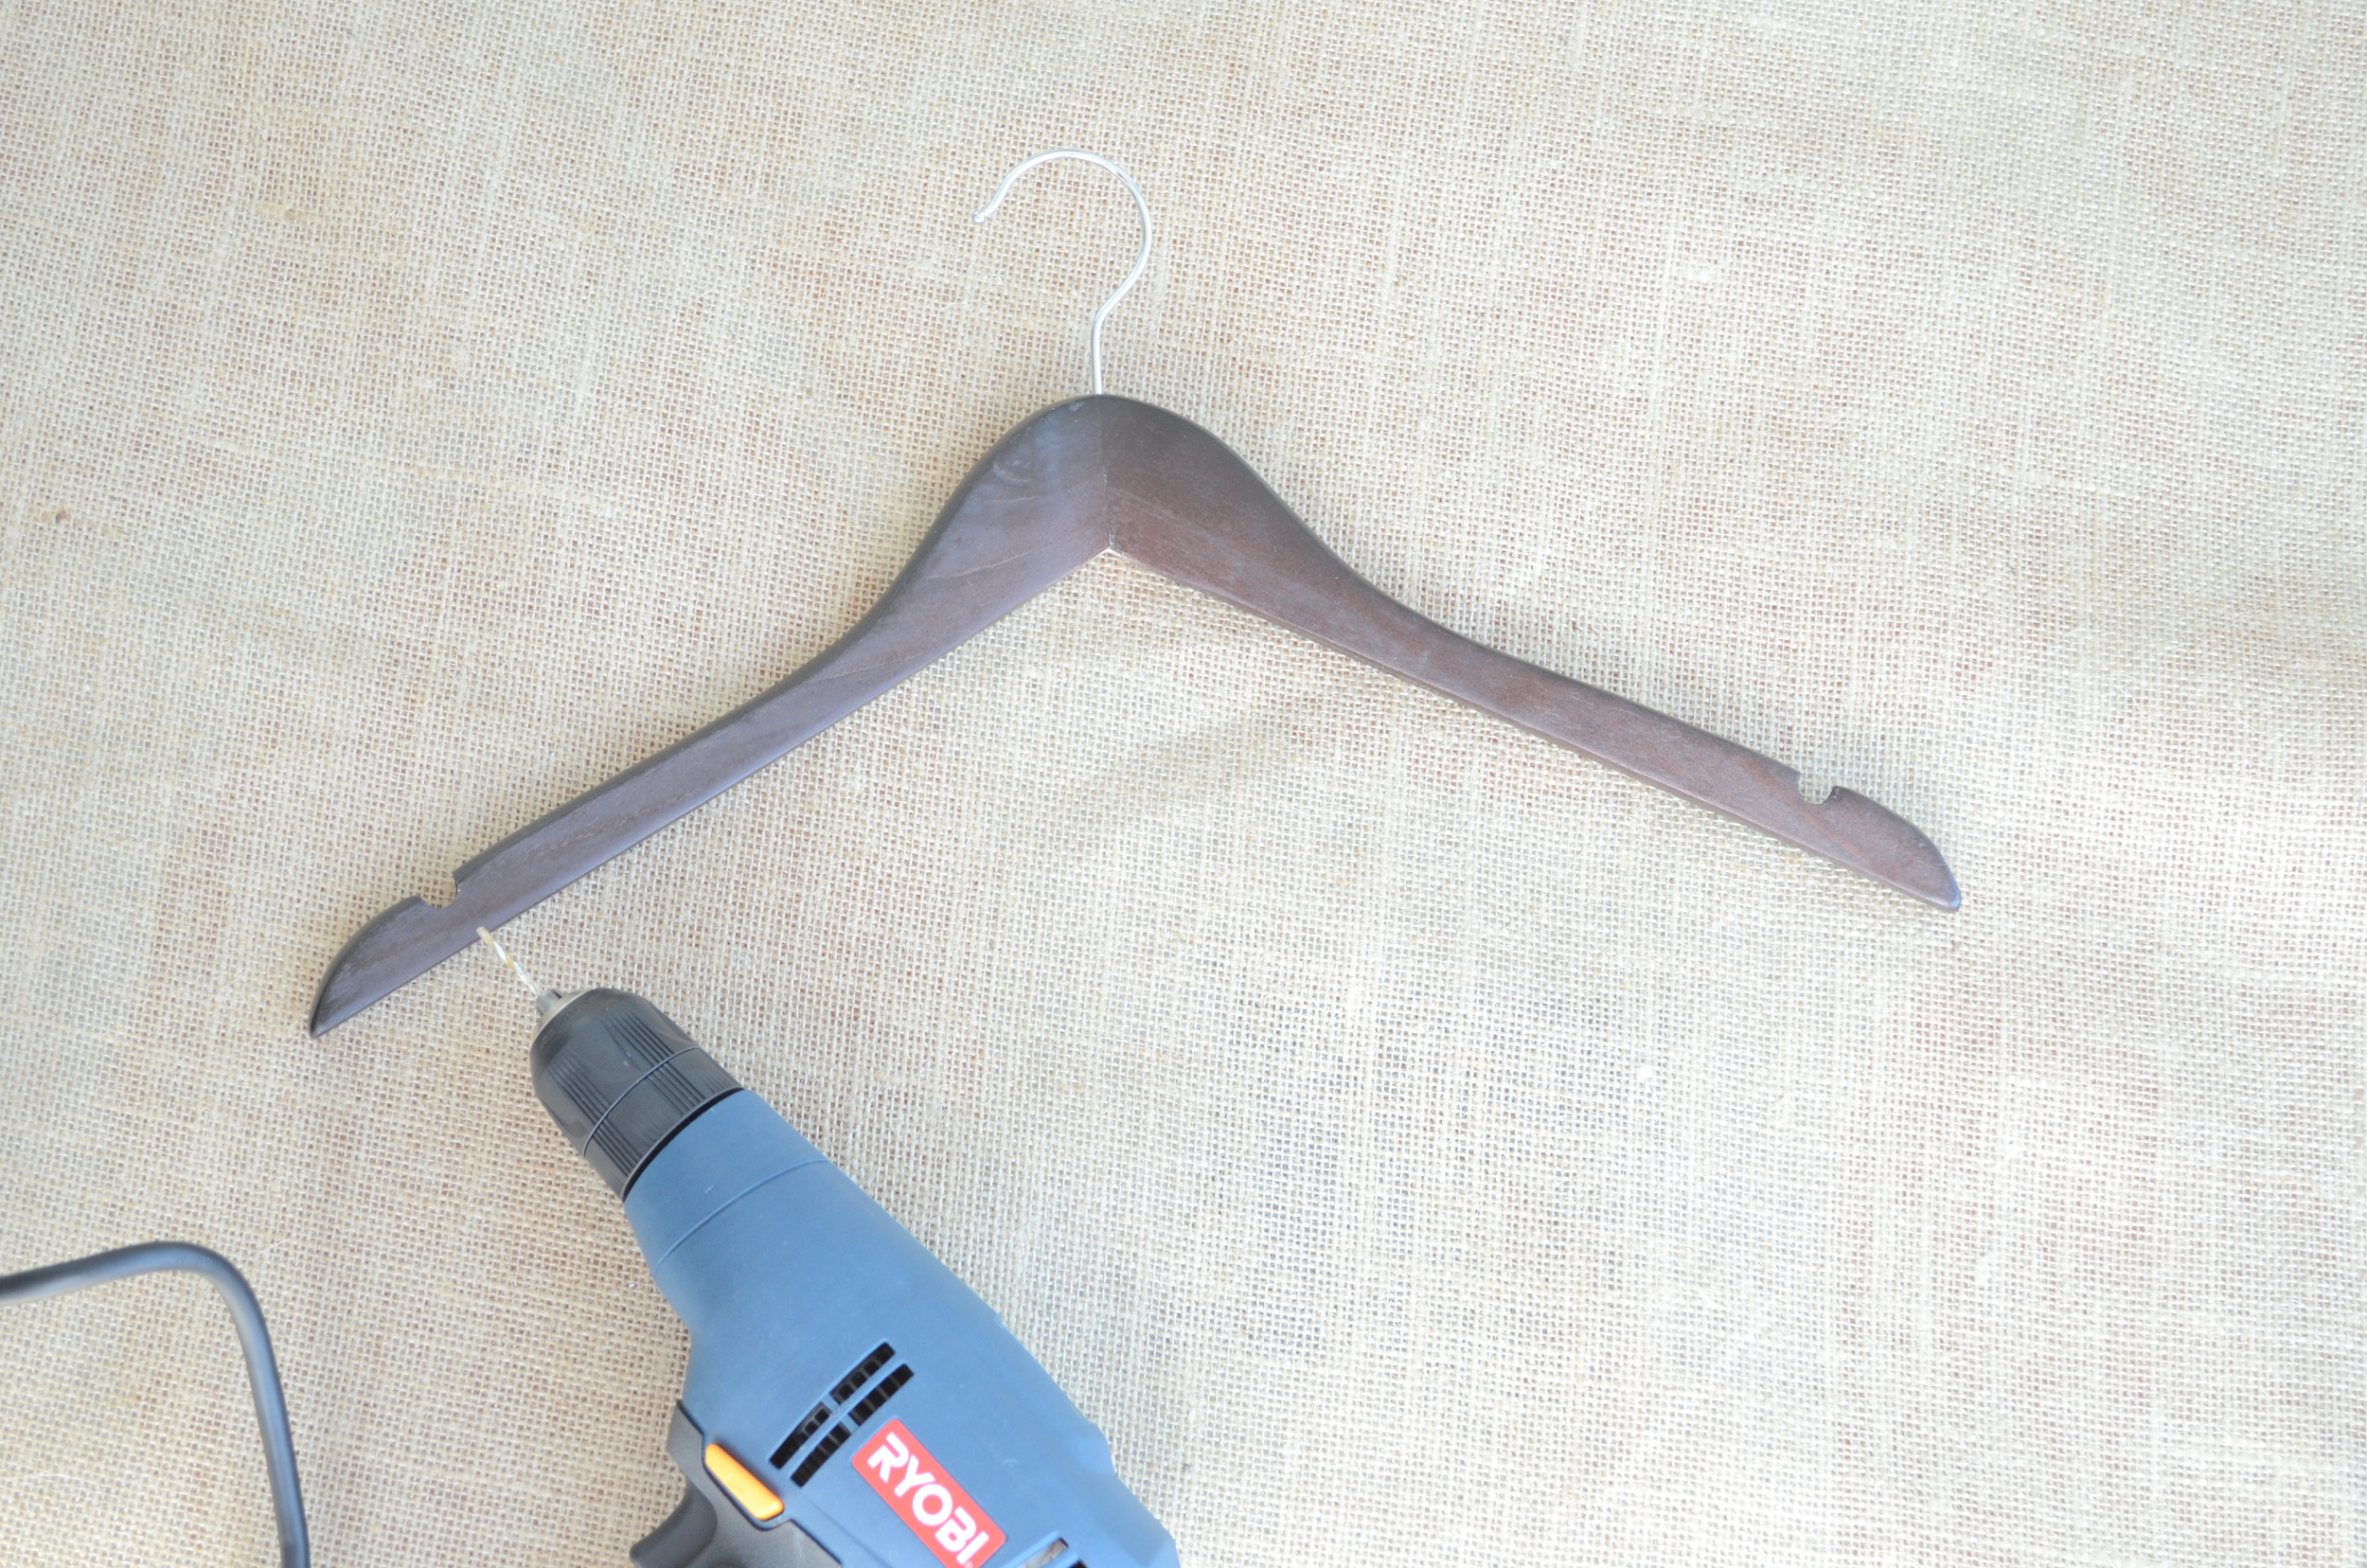
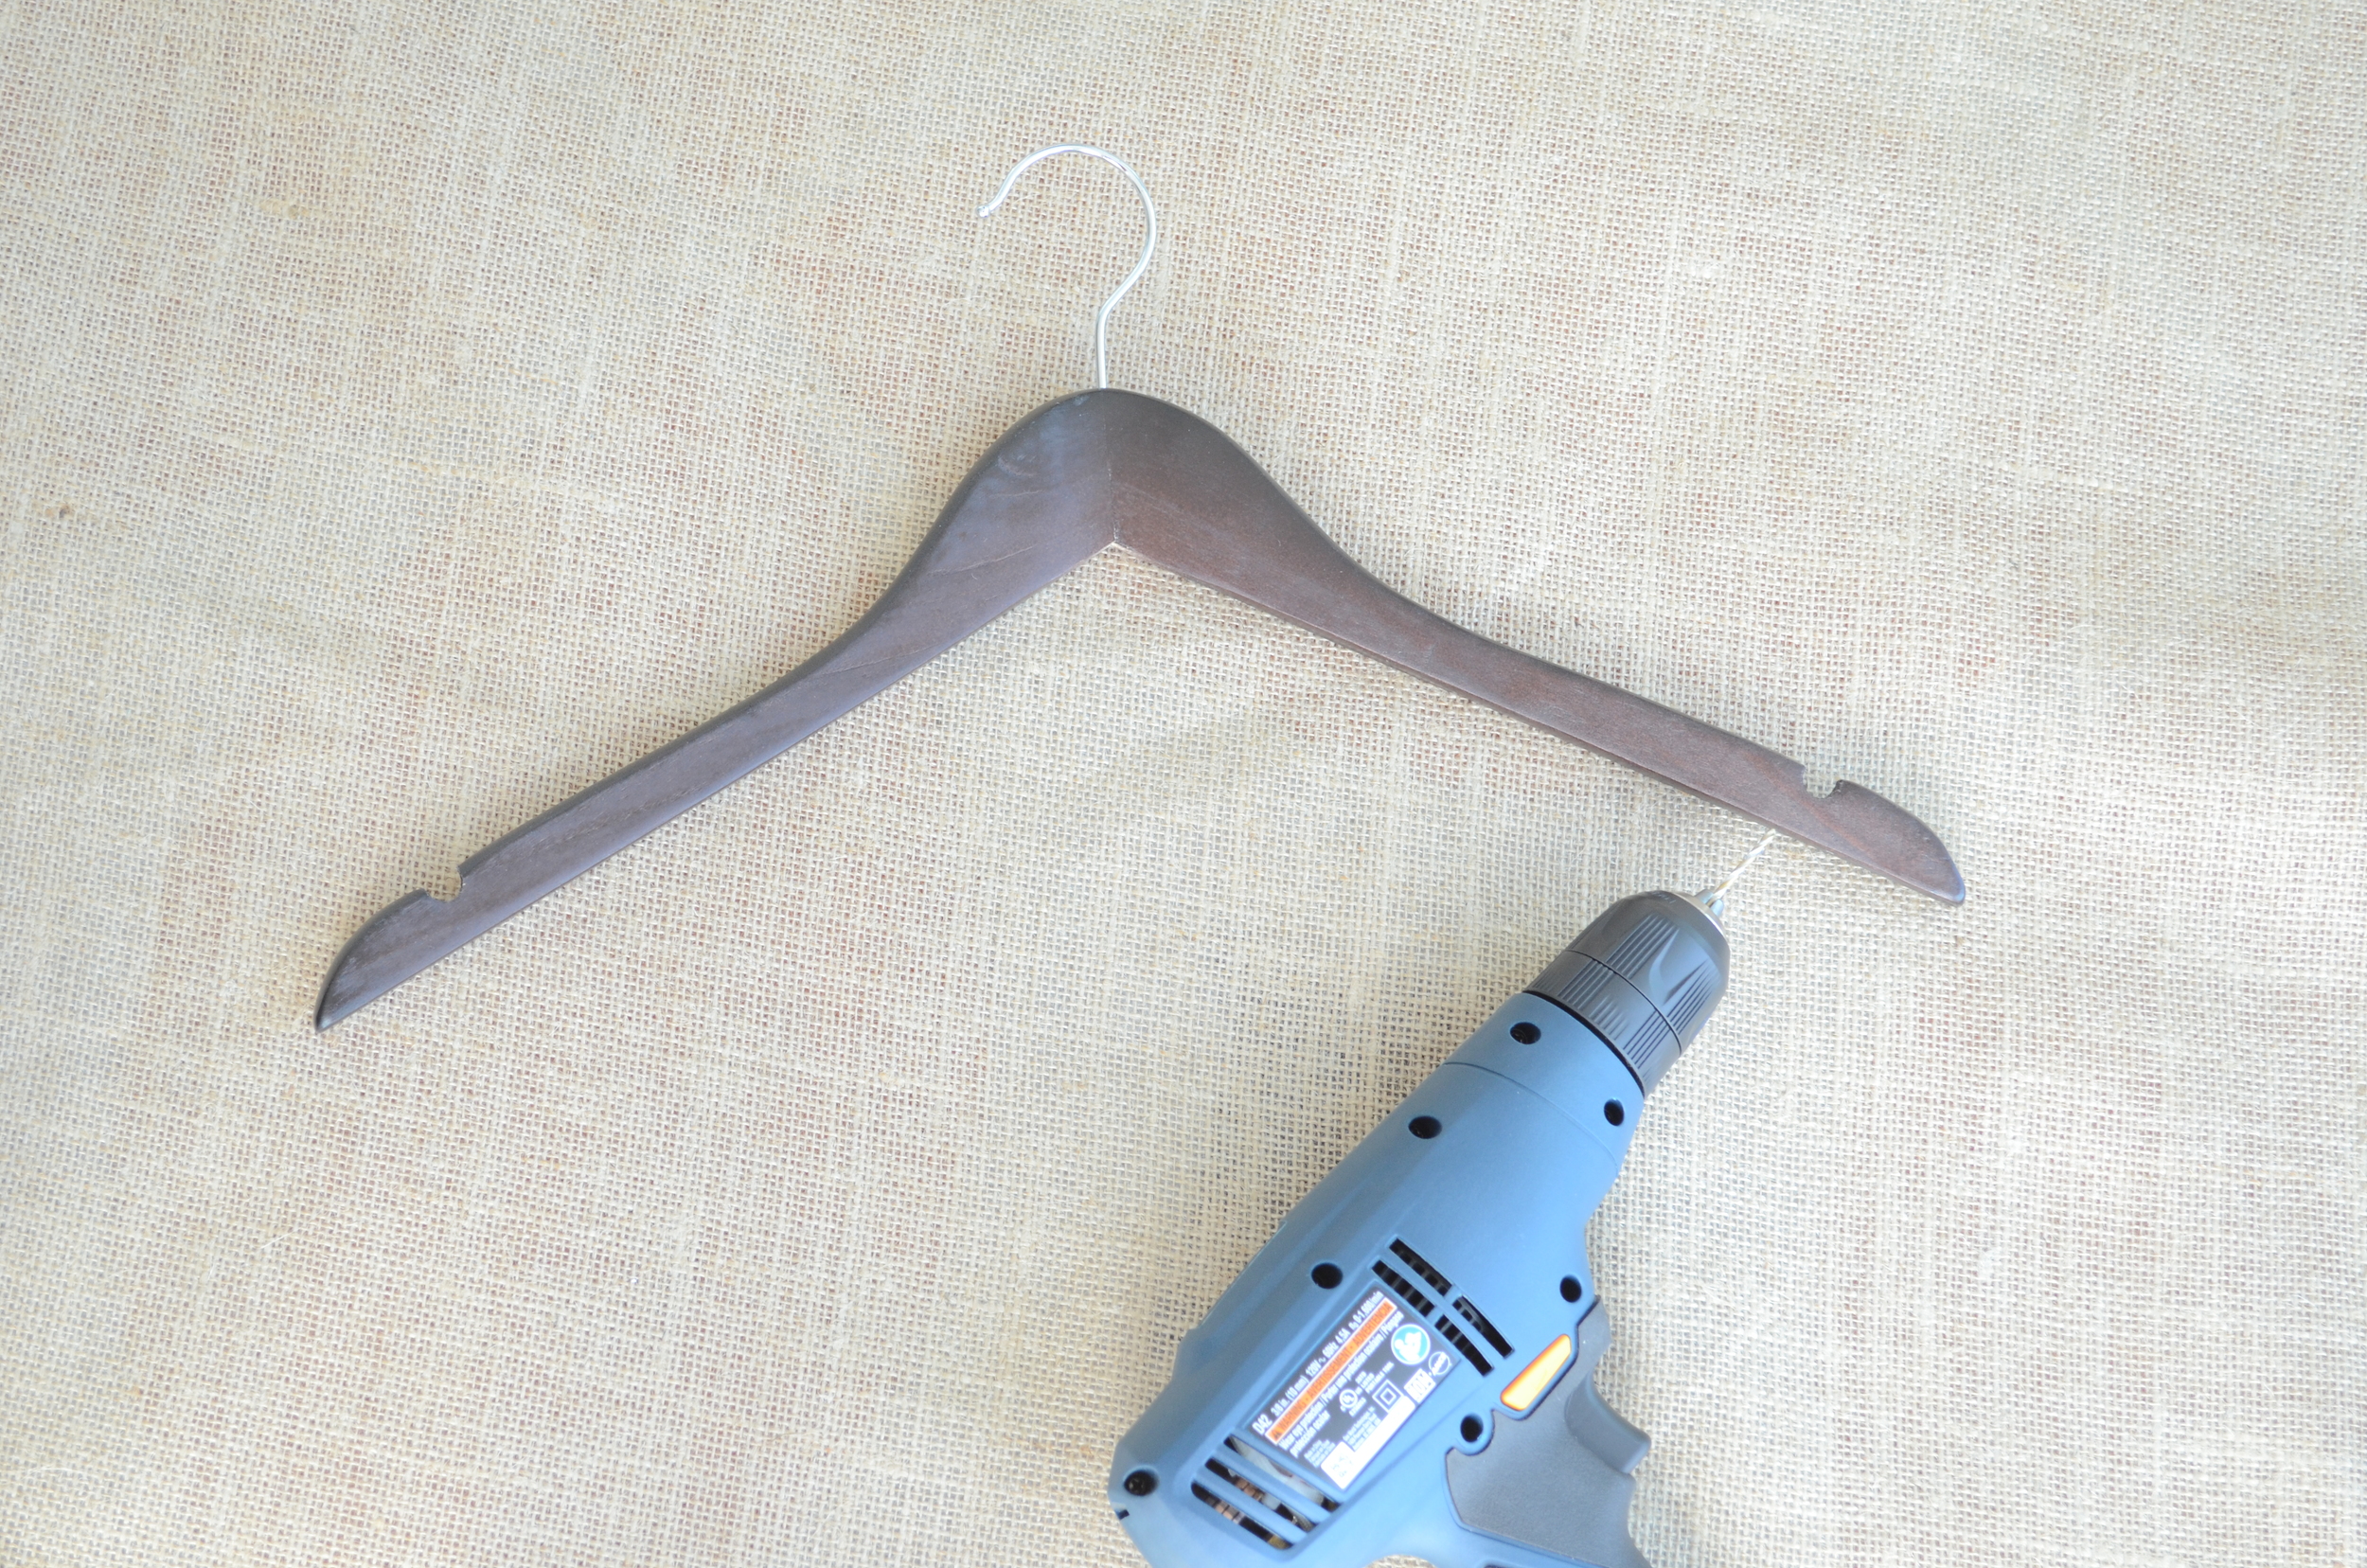
If you had the hanger that had the pants bar, then you may have holes already in the hanger, but they may not be wide enough to fit the wire. You'll just need to drill about halfway into the hanger with a drill bit that is about the size of the wire.
6. Glue in the wire.
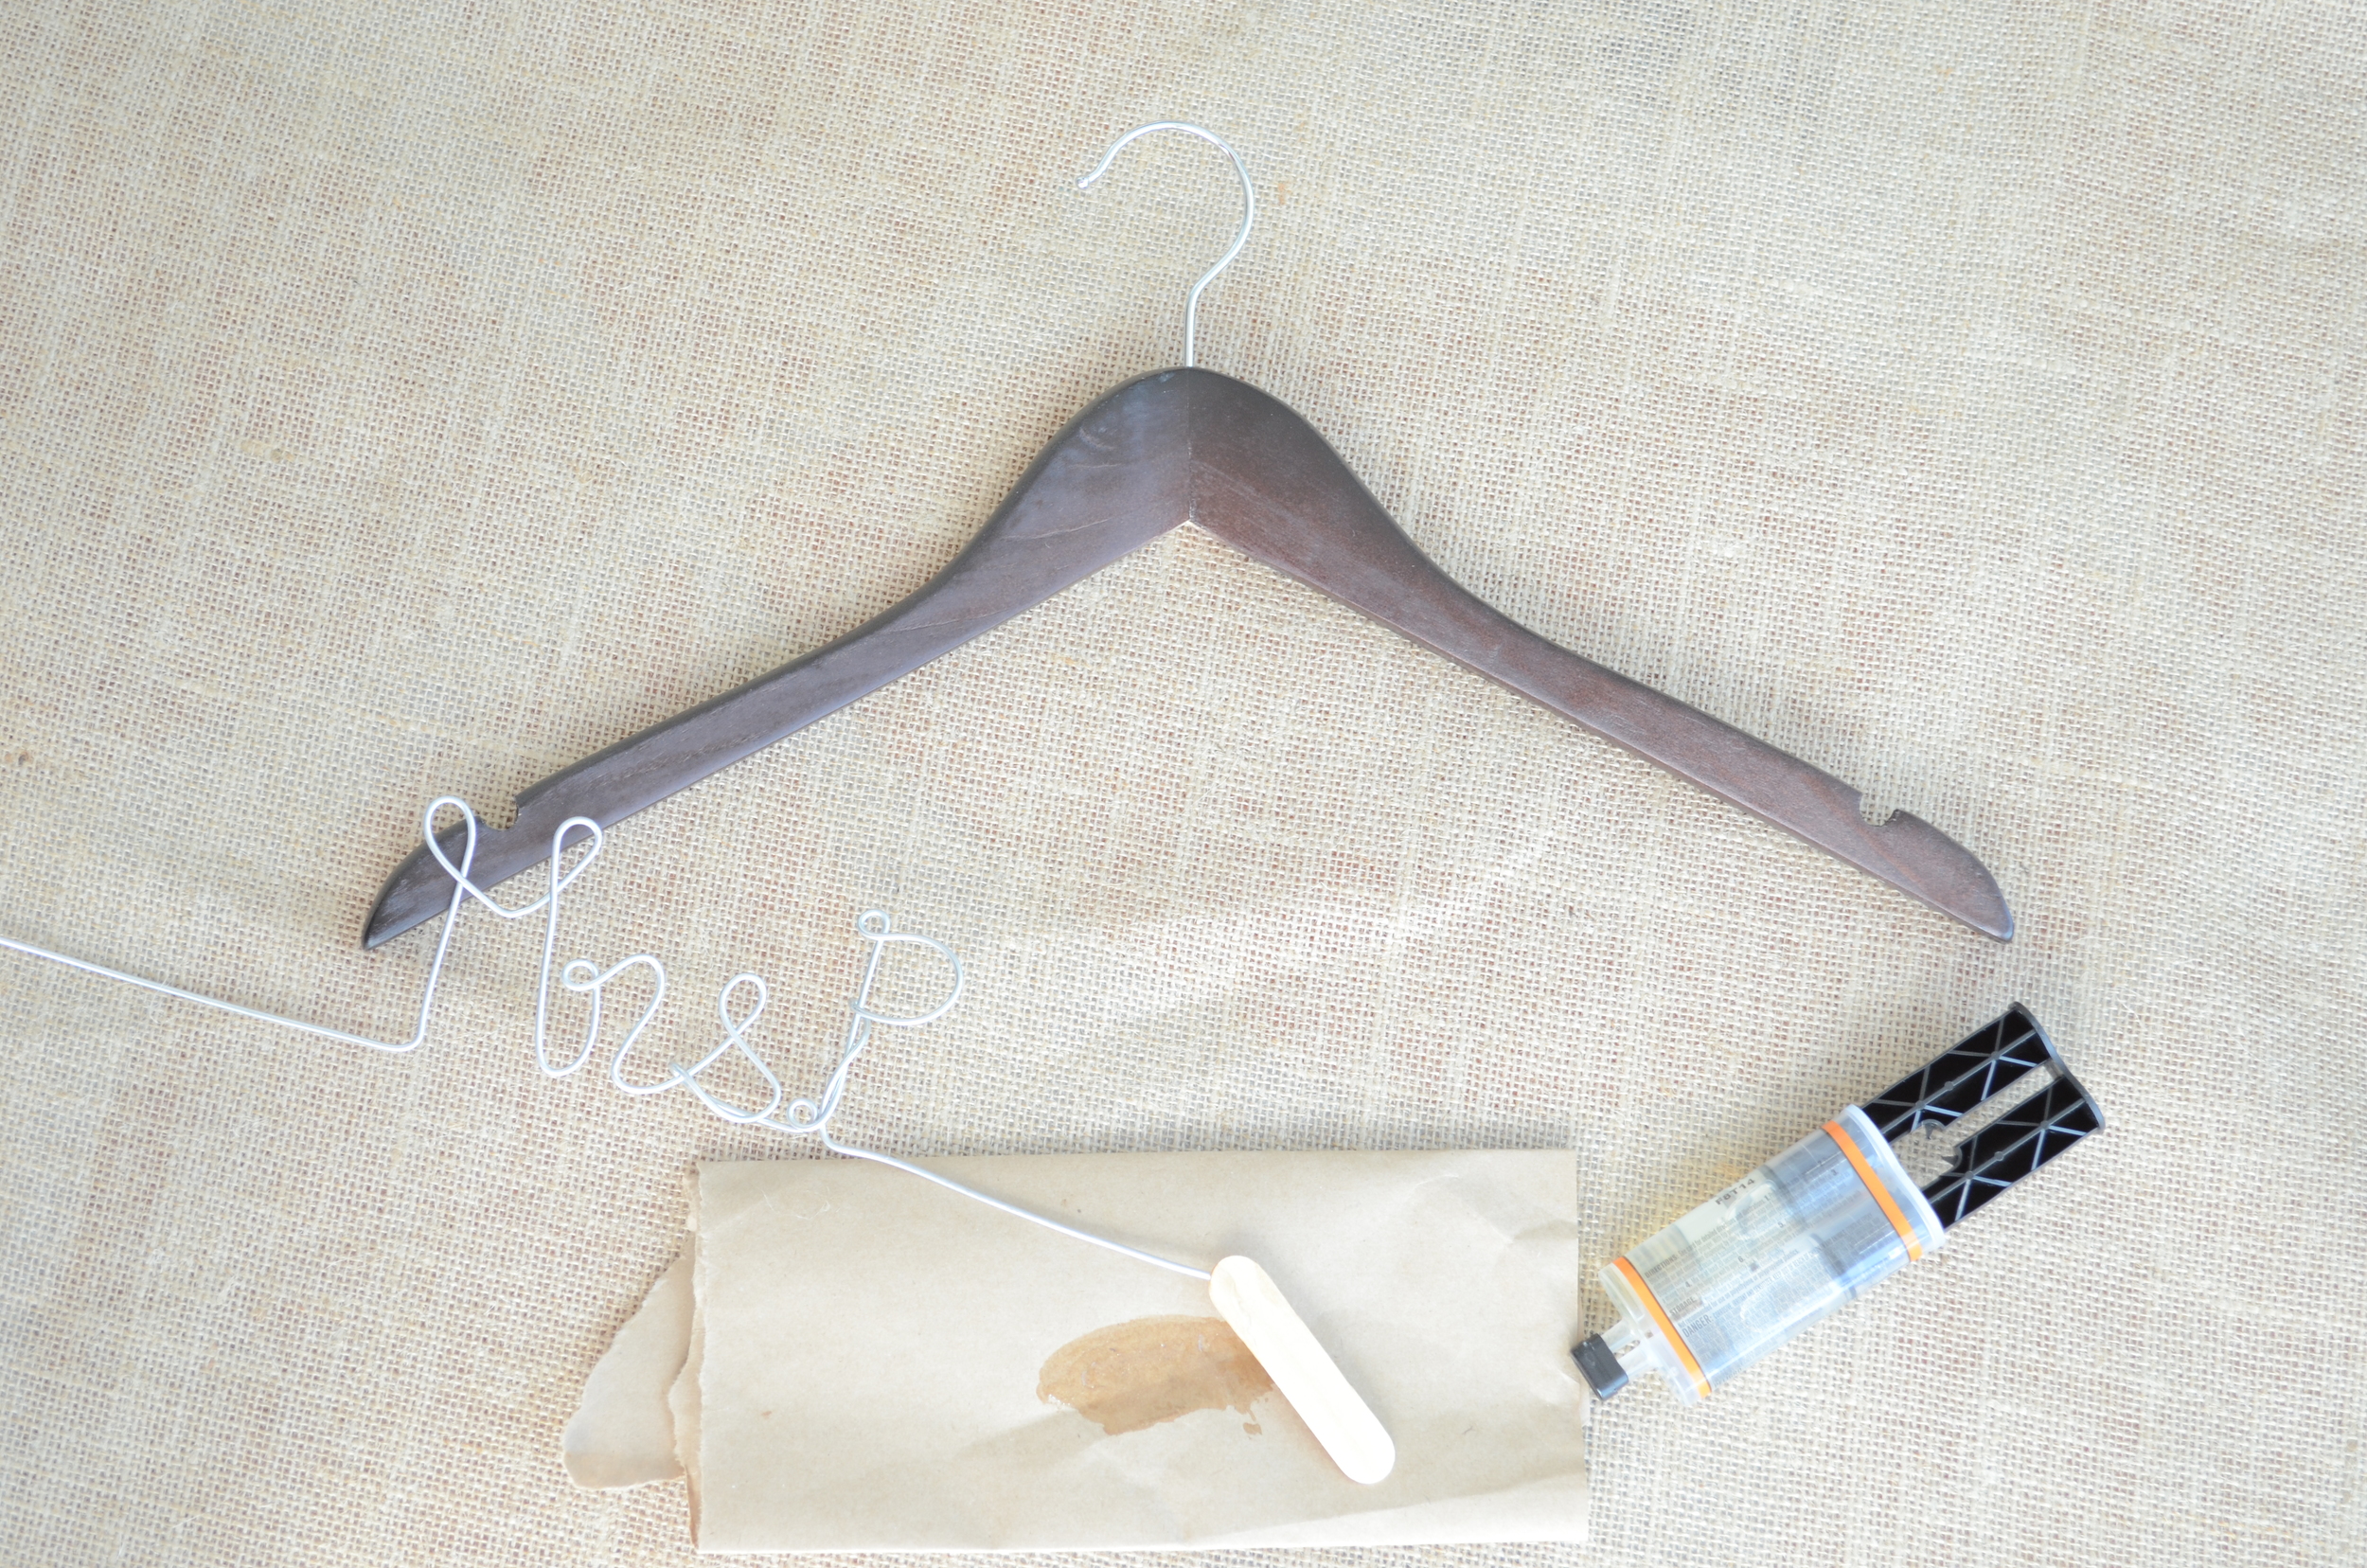
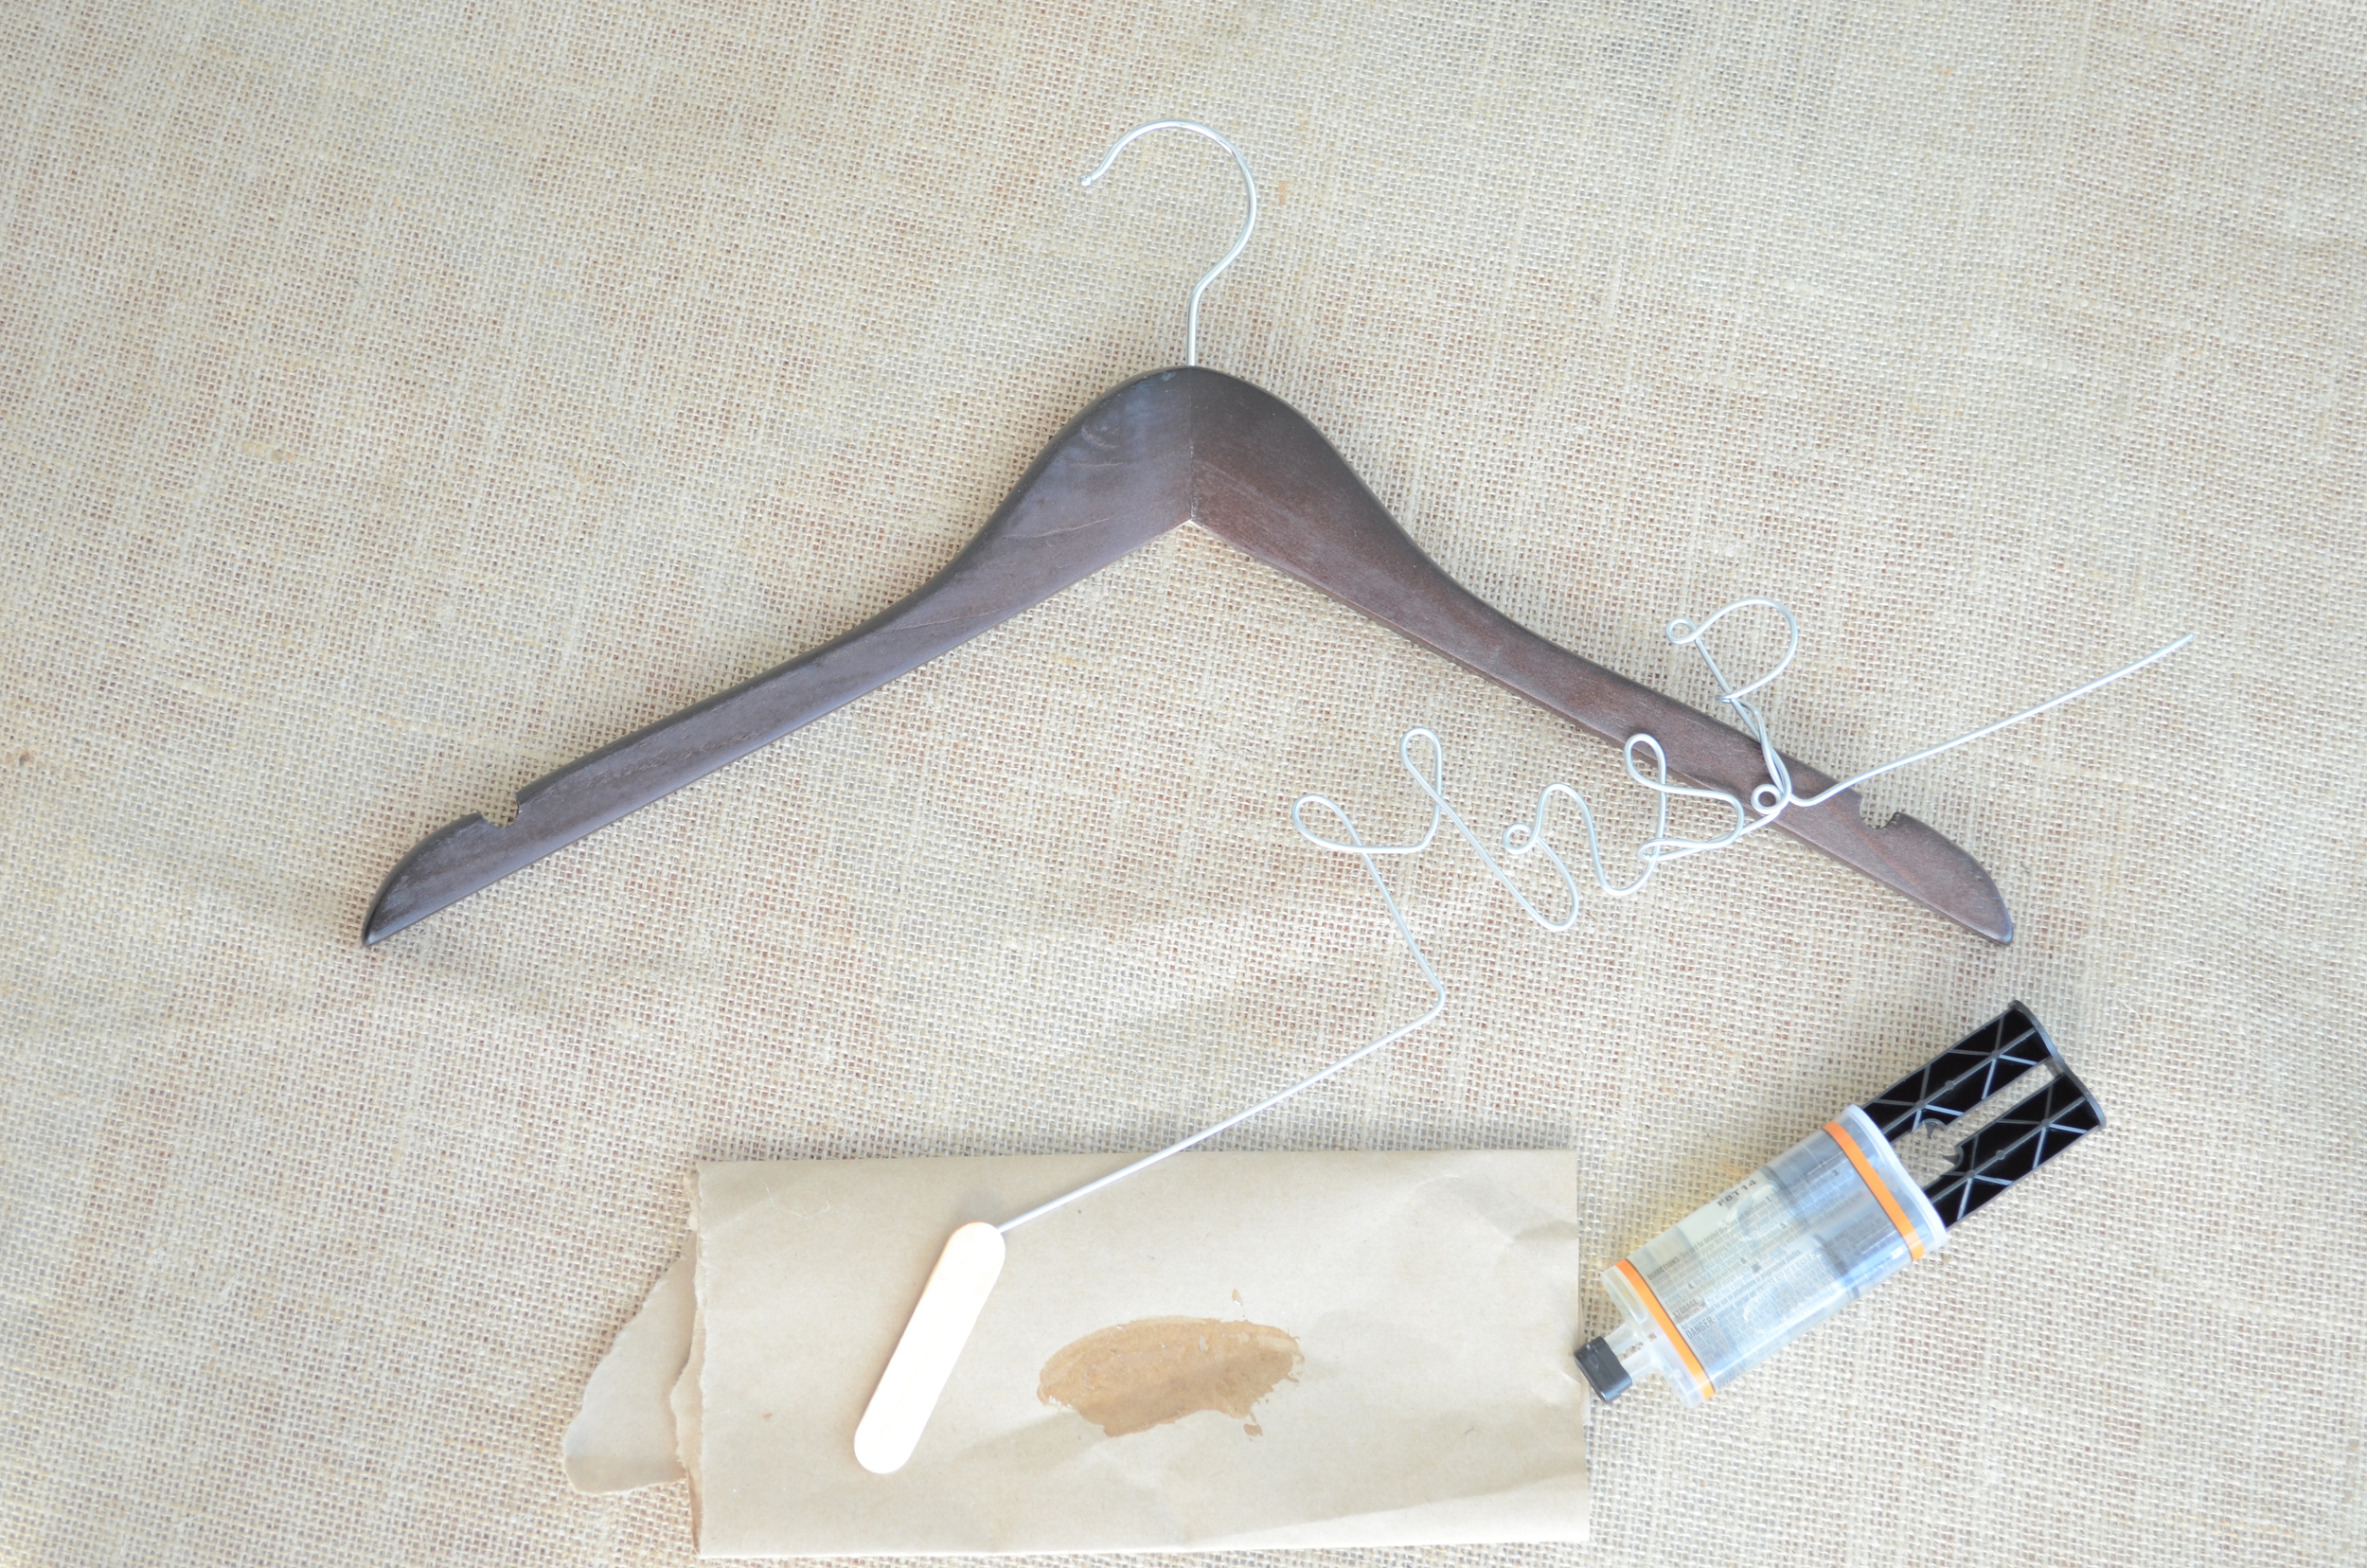
I like the quick set epoxy resin for this. It's a two part system that you mix equal parts and it works on wood and metal {{perfect!}}.
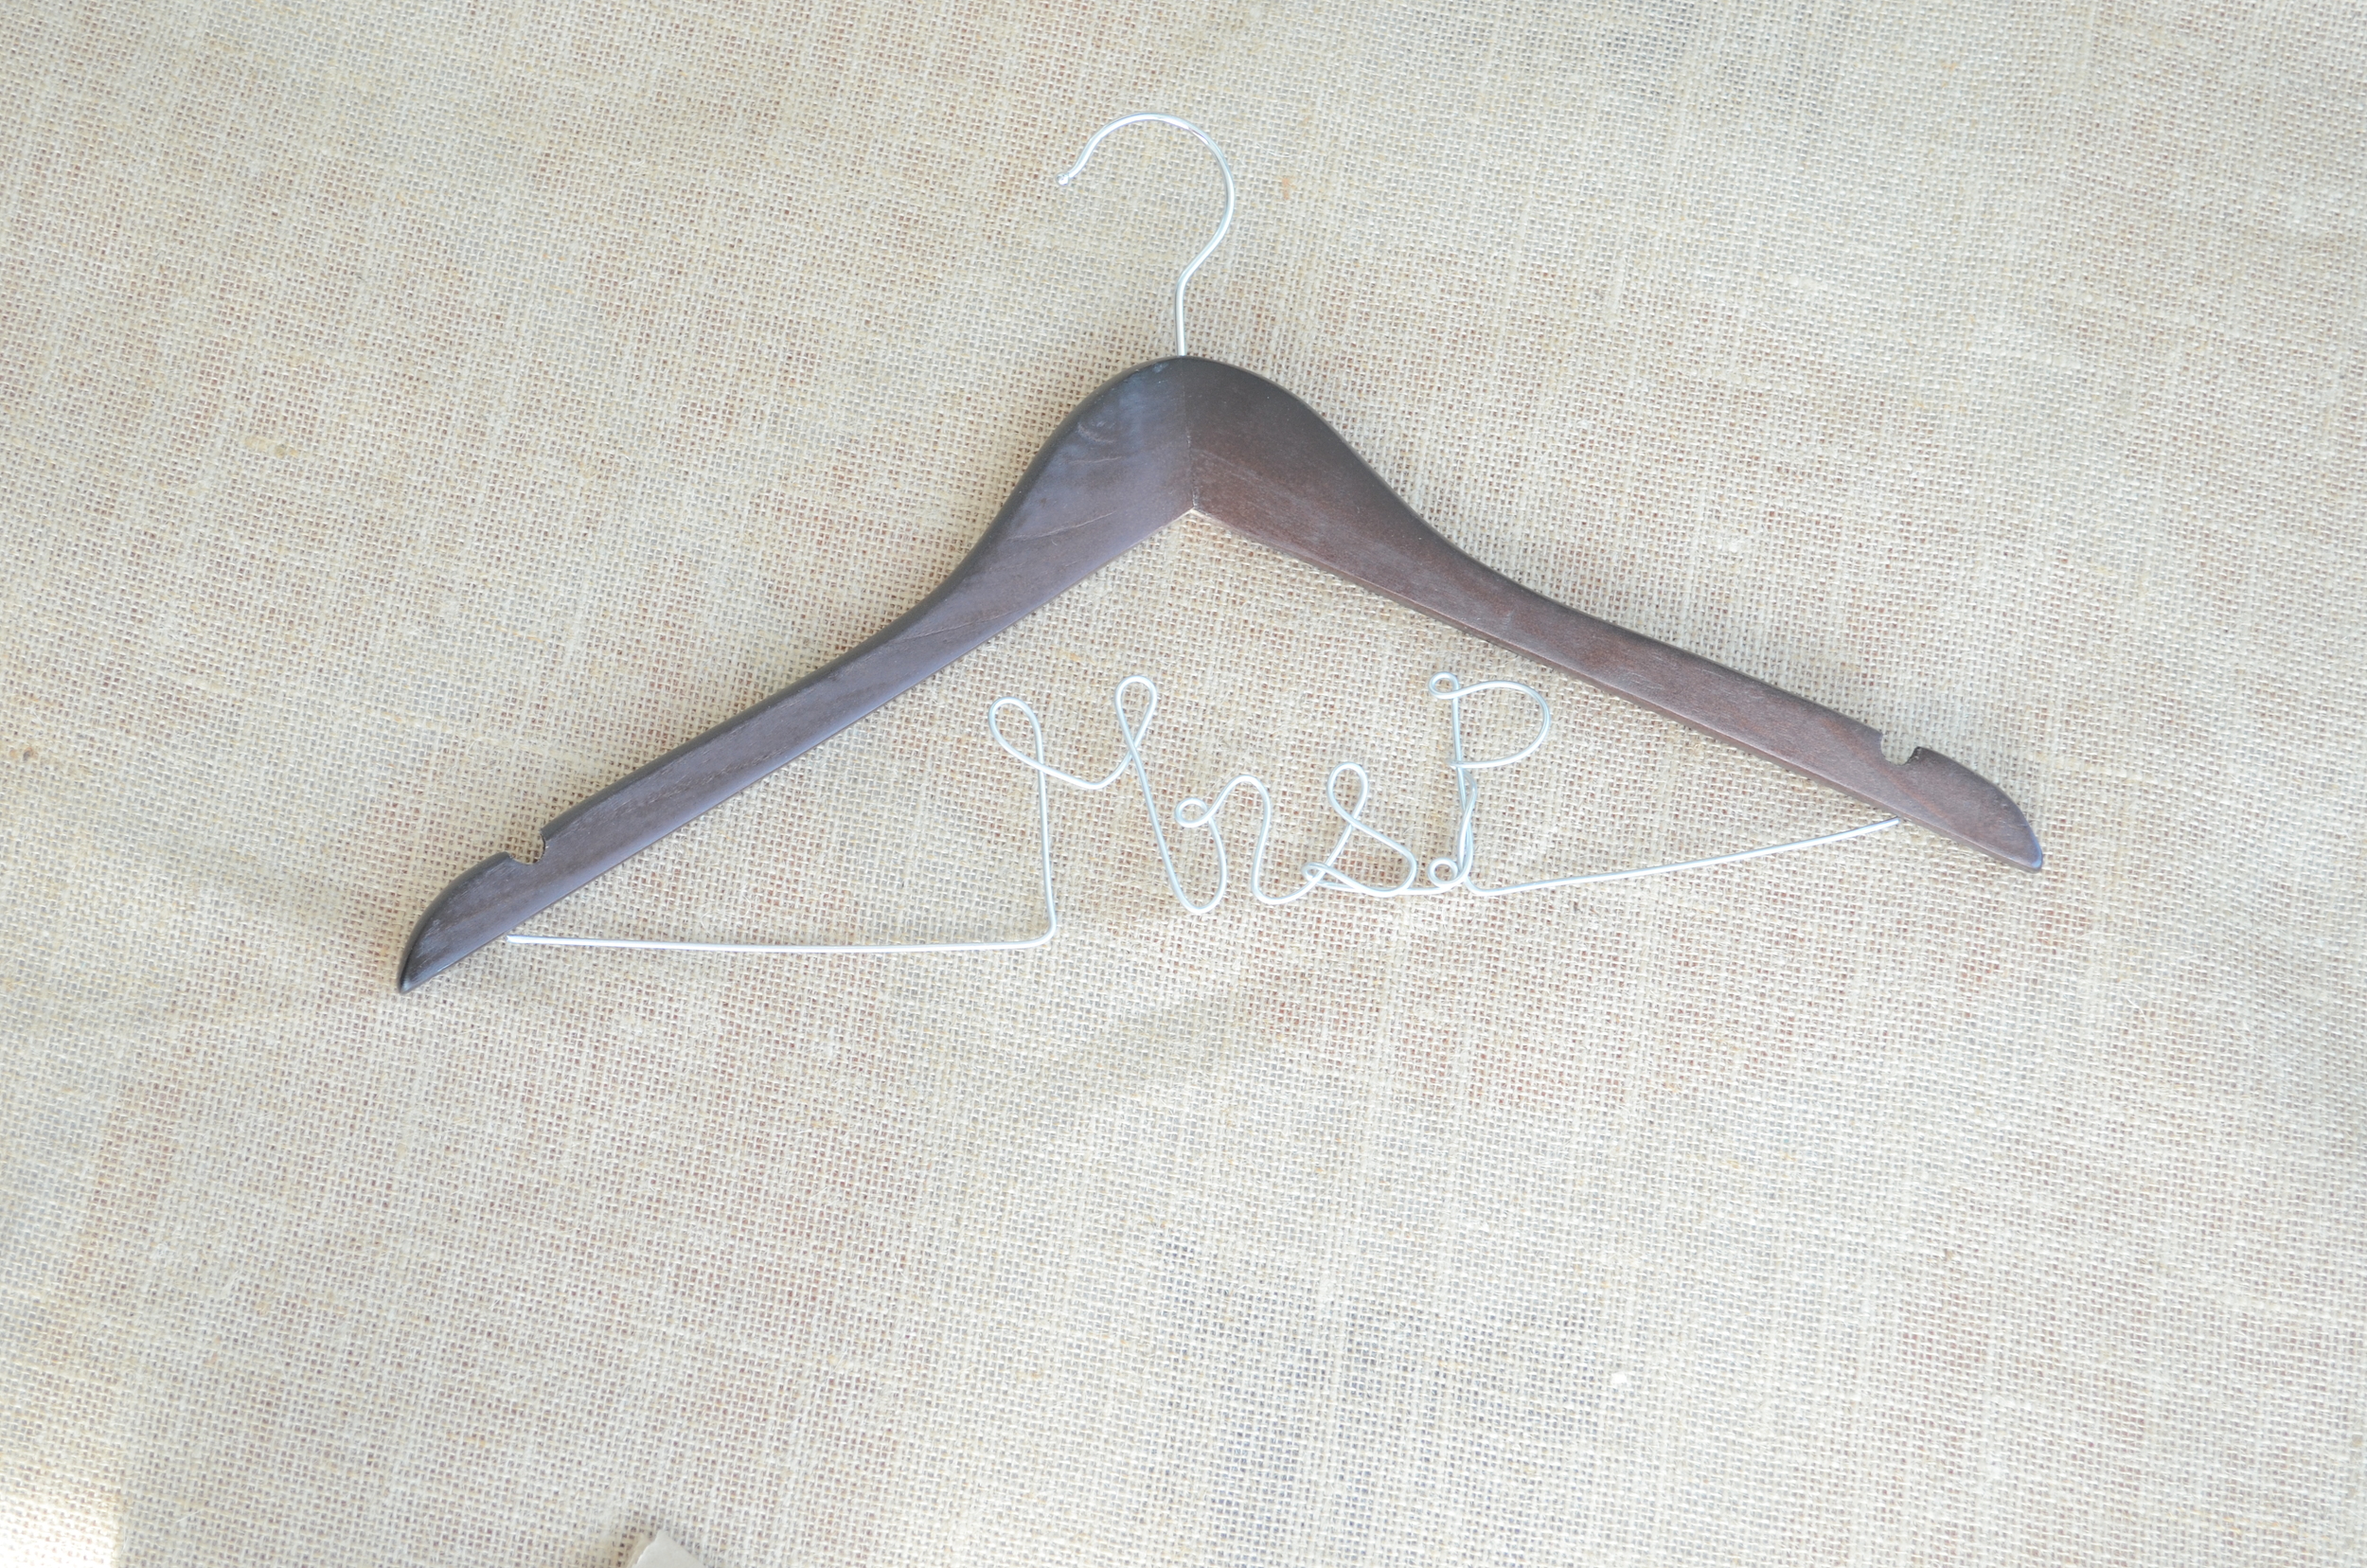
7. Add any embellishments.

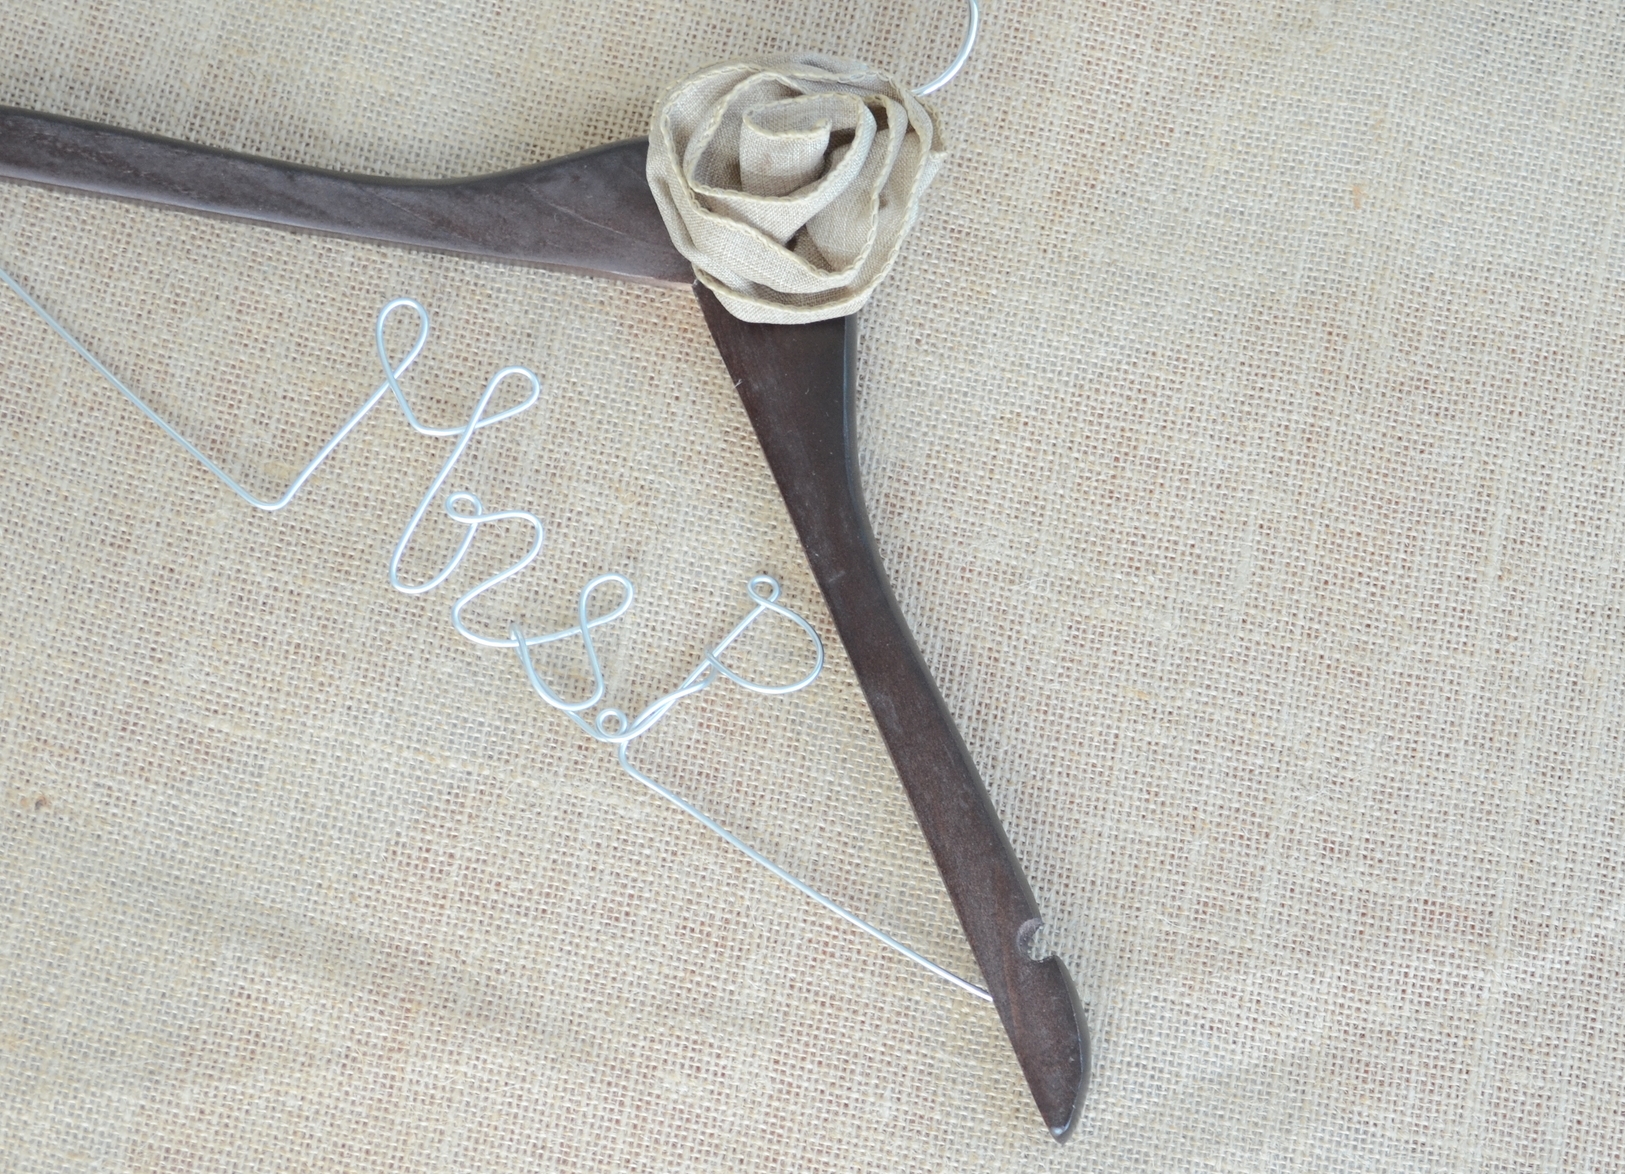
I preferred mine simple so I didn't add any on mine but you could add anything you want: a bow, a flower {{again, you should check out The Paper Flower Market for this!!}}, a ribbon, whatever.
Here is a photo of the one I used on my wedding day :)
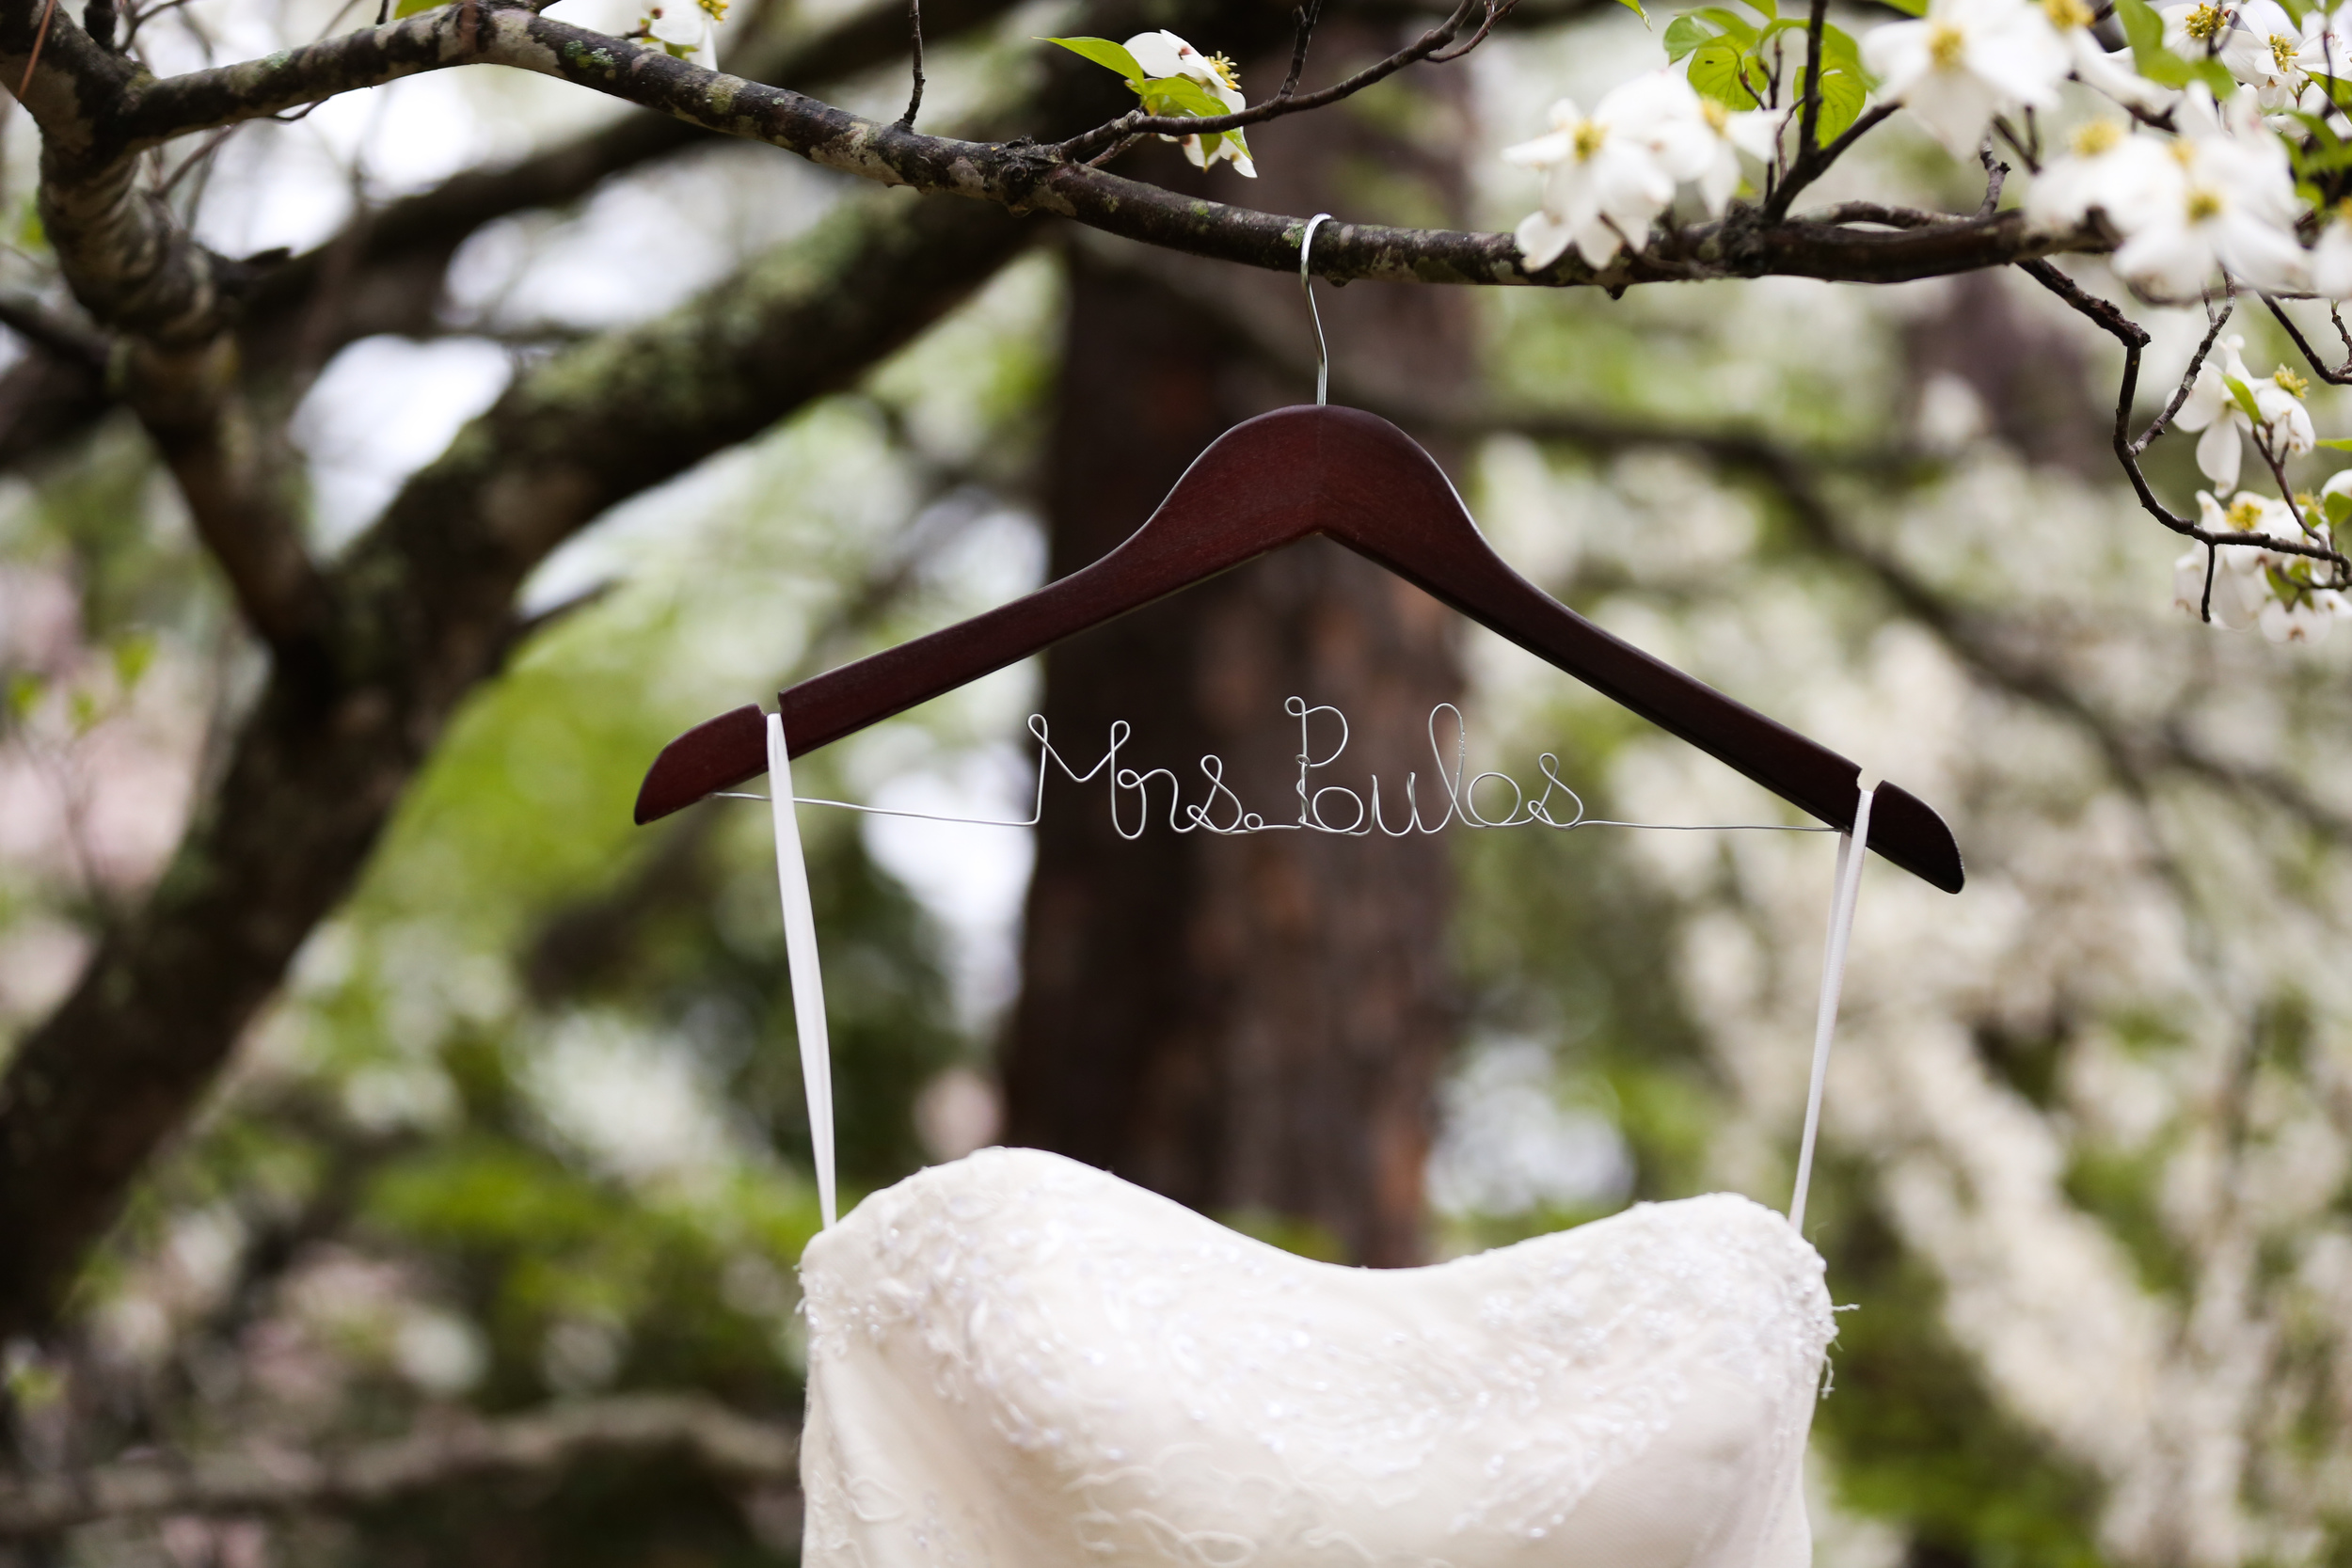
This image was captured by the most amazing wedding photographers >> Big Star Studios
Anyways, that pretty much does it. If after all that you find yourself still pulling your hair out... Wired & Flossin is happy to make you your very own personalized set of hangers! Just send an email to wiredandflossin@gmail.com and we can get started!!
Thanks for taking the time to read my very first blog post. I hope you found it helpful and interesting. Feel free to like, comment and share below!